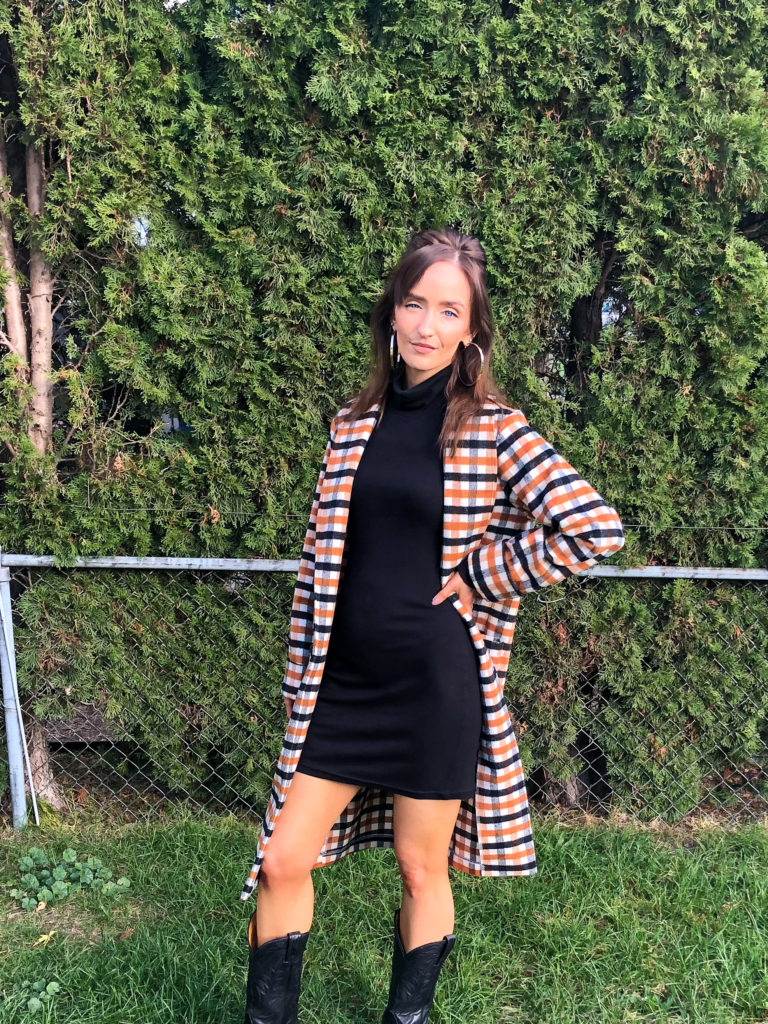
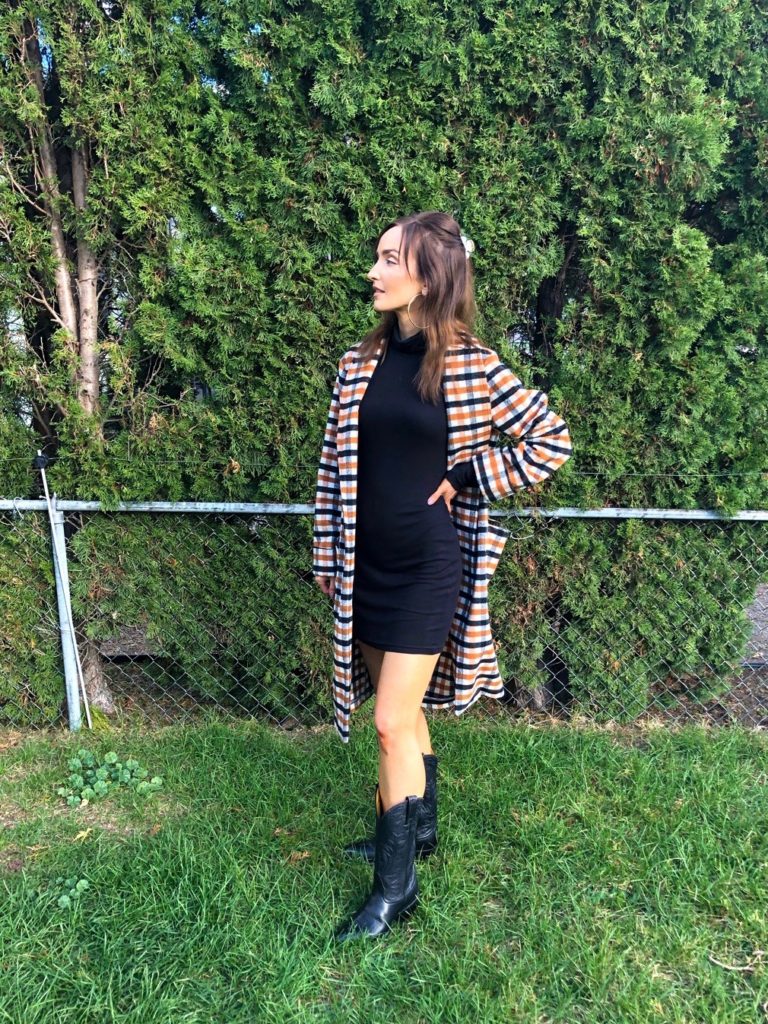
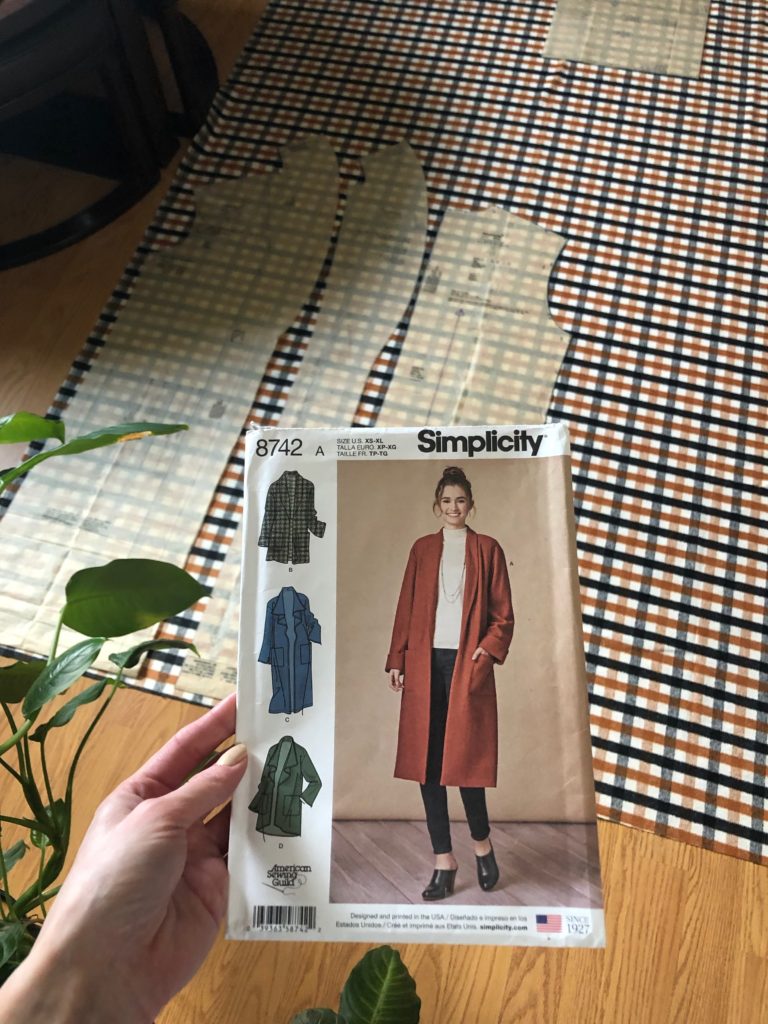
This is not the first time I’ve reached for this S8742 Pattern. I have a previous post on the waterfall style, but this time I went for the collar version. This plaid wool blend fabric is from Joann, I found it around this time last year. Unfortunately it doesn’t appear to be in stock anymore. When I first purchased the fabric I had the Ilford jacket in mind. Love the look of that pattern but I surprised myself and went for the longer line S8742. Looking at some street style on Pinterest, I saw a babe wearing a plaid longline coat and it sold me on the idea.
Pattern fit
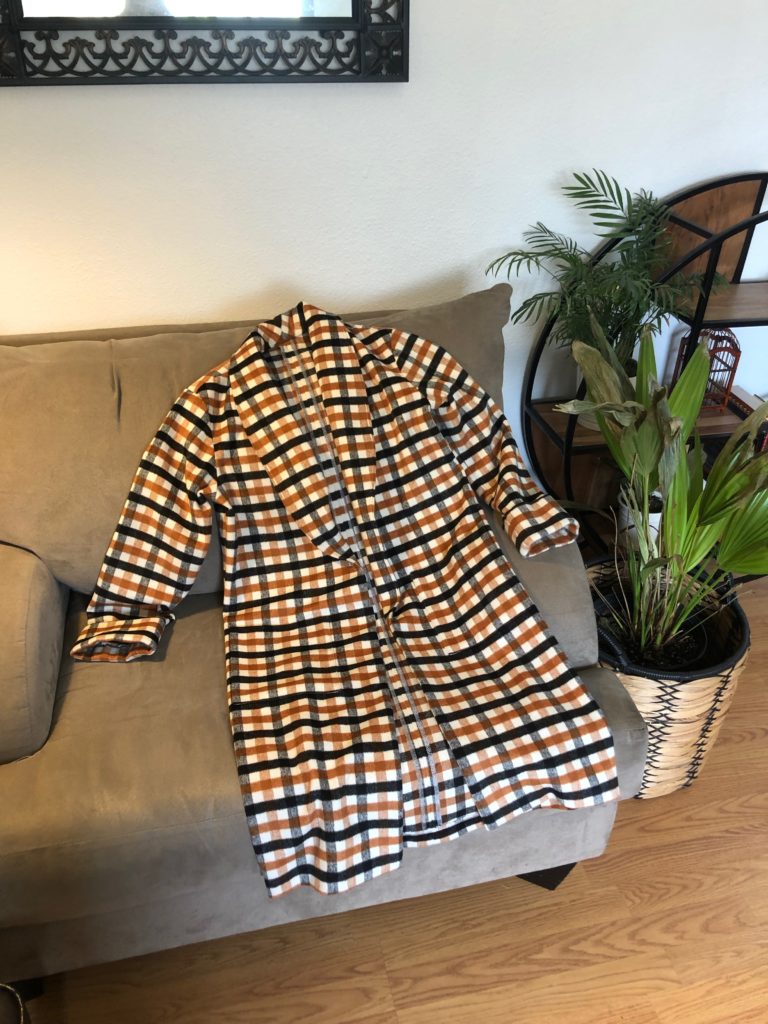
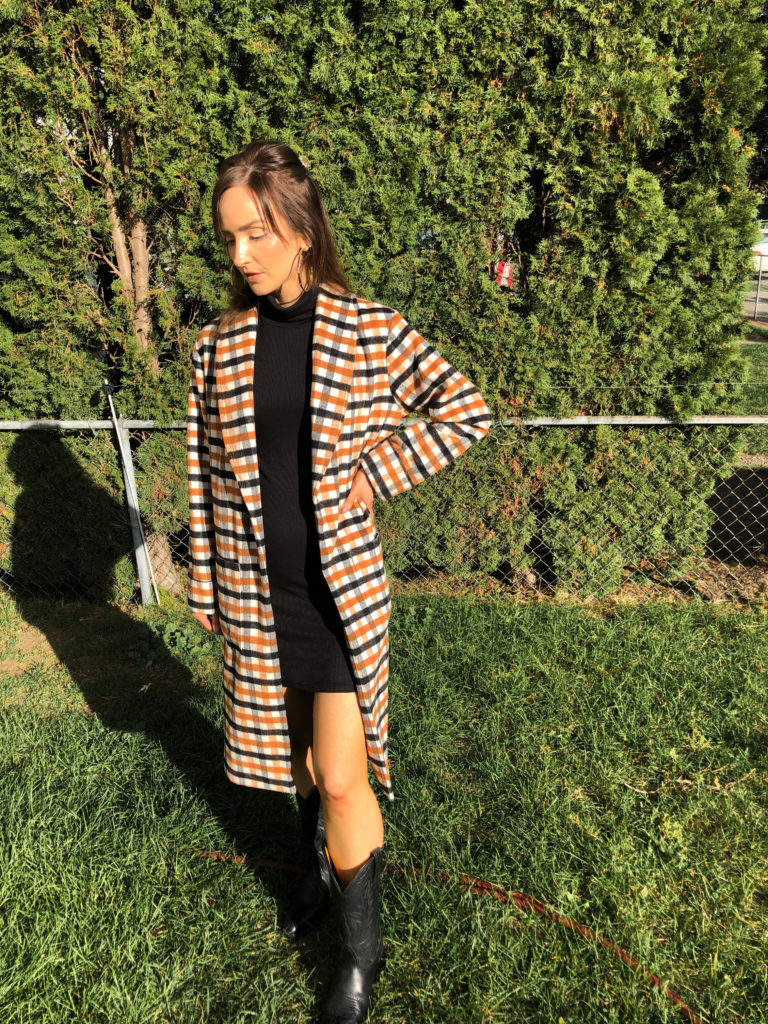
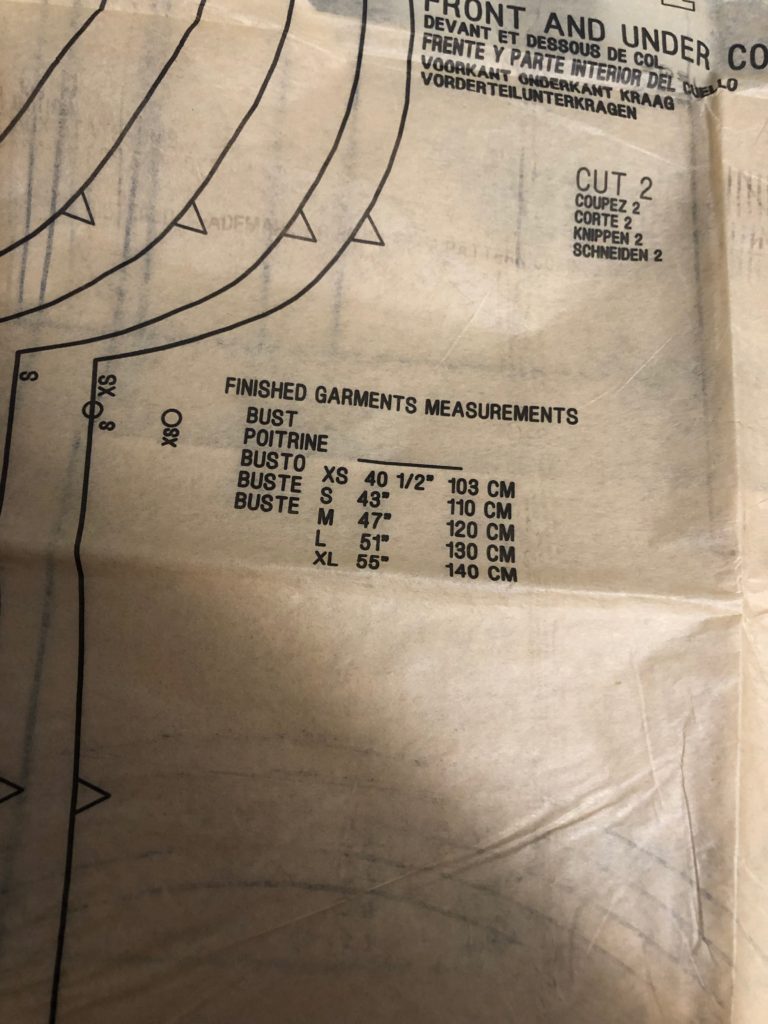
There is a considerable amount of ease in the fit of this pattern. I actually like the looser fit since it makes it easy to layer this jacket over bulky sweaters. For sizing I went with the XS in view A. This jacket is something I made over a month ago, so my memory is a little hazy on the details. I should keep a sewing journal. Anyways, I think I shortened the length of view A a couple inches. I remember not having quite enough fabric with pattern matching to do a full view A. As for the pattern matching, I did the best I could. Certain parts look chic and well matched and others I see room for improvement.
Pockets

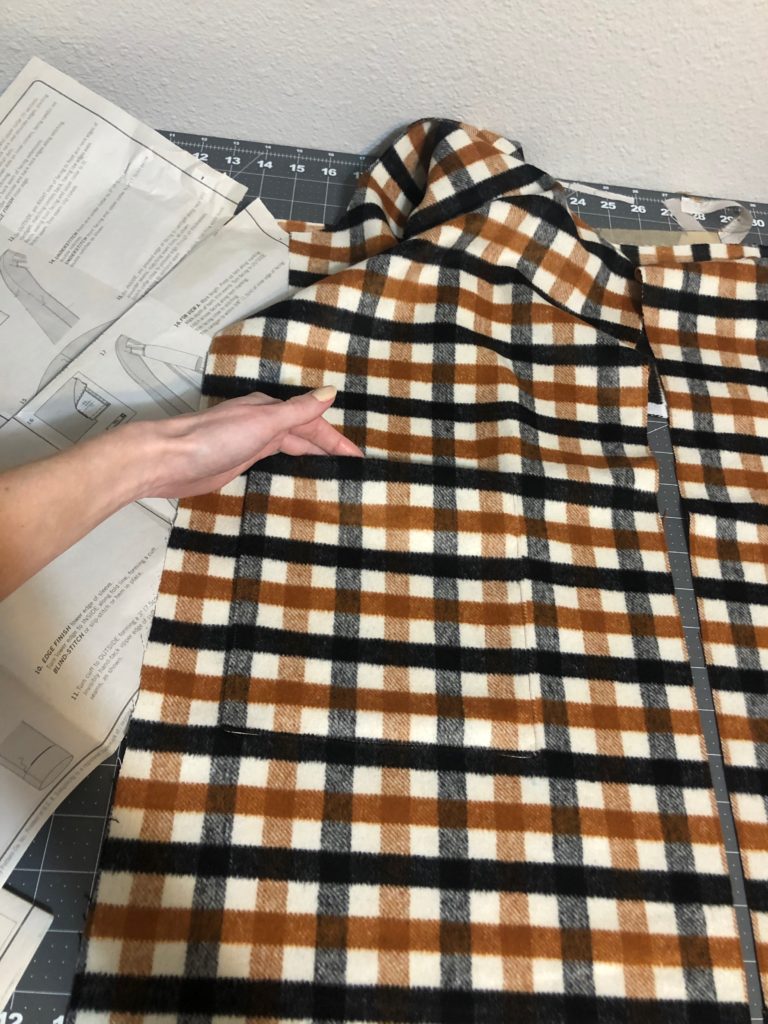
Ok so I obviously like the fit, but as for the pattern itself the directions leave something to be desired. Like it needed just one more edit and it would have been perfect. Starting with the pockets I sewed those as directed. I do like the pocket lining I used for the project. However, with the construction of the pocket I feel like you can see a tiny bit of the liner fabric after stitching the pocket onto the main jacket.
Reinforcing
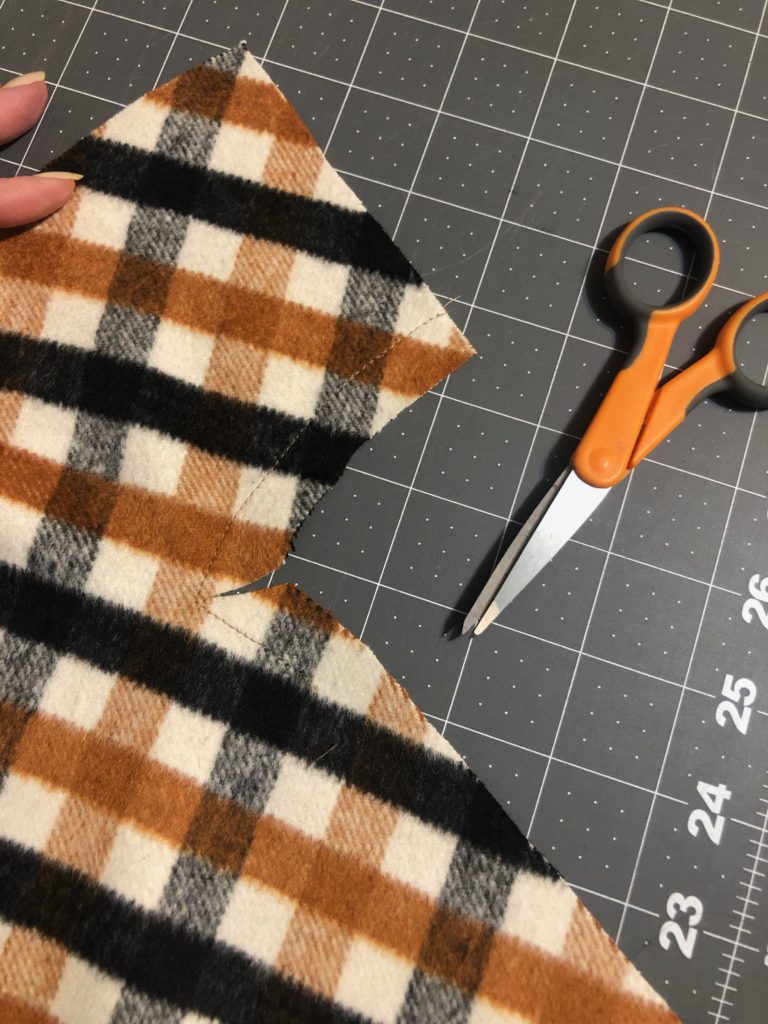
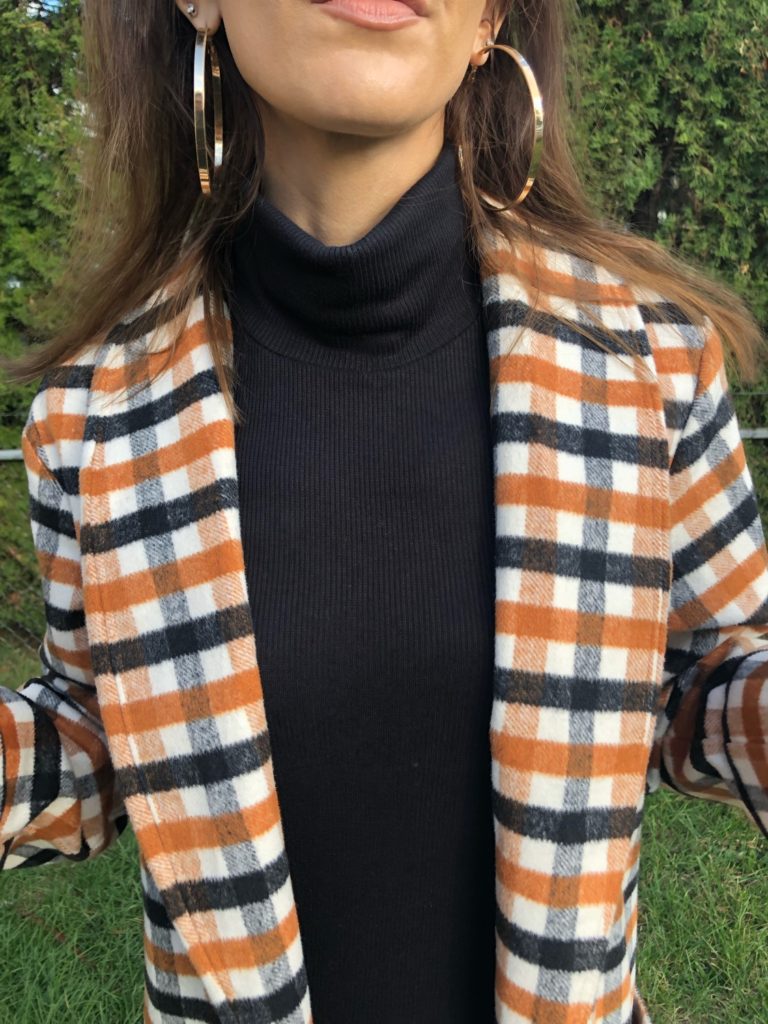
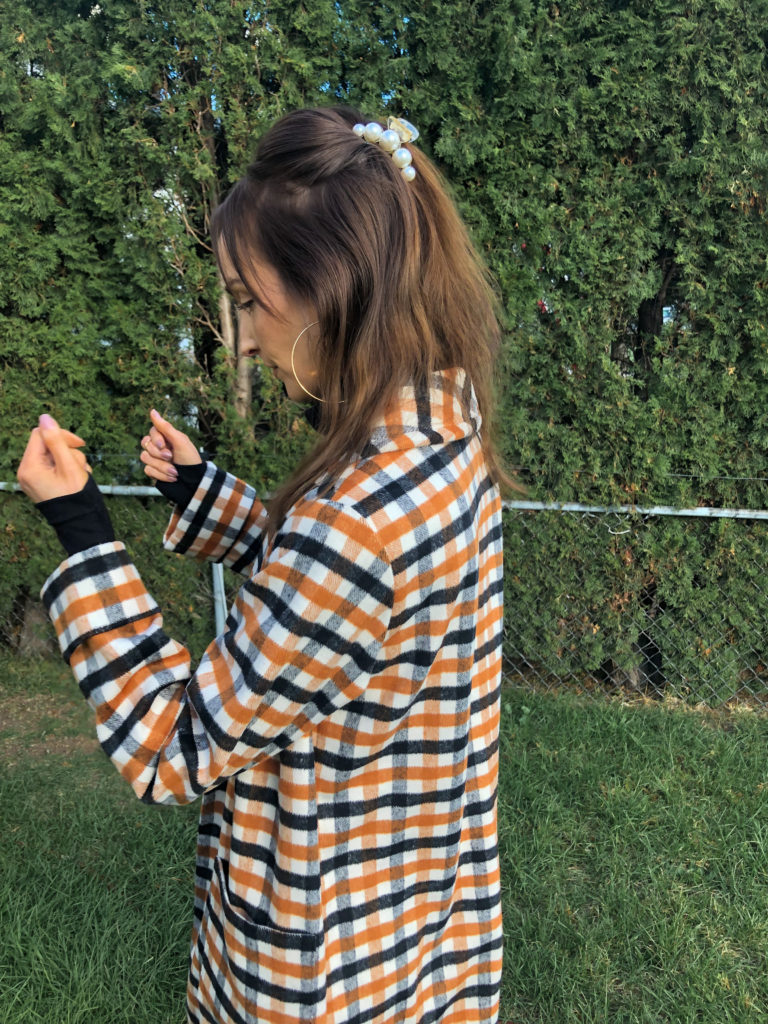
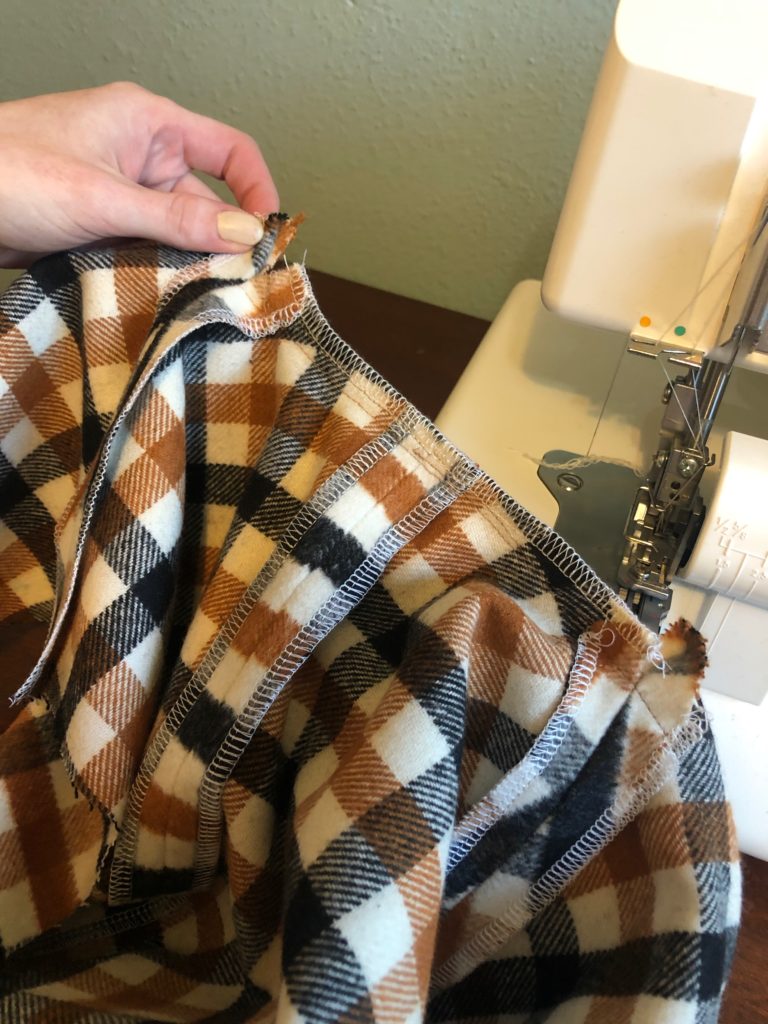
Next comes reinforcing the front collar by stitching along the seam lines between the dot. I think this part made me nervous because I worried it would be seen from the front. Beginning at the neck edge, sew along the seam line pivoting the piece once you get to the dot. Continue following the edge for an additional 1in. Then clip to the dot, not clipping through your stitching. This part will end up becoming the neckline and sewn with the collar so it wont show from the front.
Sewing front to back & darts
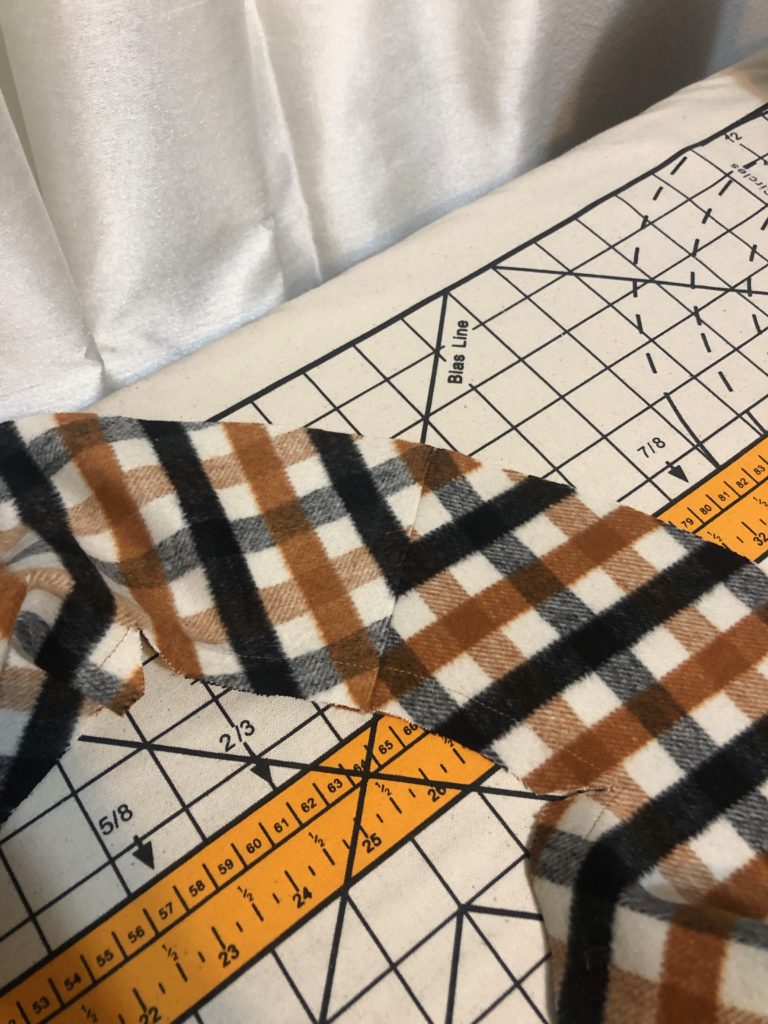
After the center back seams of the front and back are sewn the shoulder seams can then be sewn as well. The next part was a bit more interesting. In this step we attach the front center seam to the back center seam. Also this is when we stitch the darts. With right sides together, pin the front collar to the back and continue pinning along the dart lines. Once ready to stitch, start at the center of the back and stitch towards the point of the dart. After the dart is sewn you can tie it off with a knot. Then repeat the process for the other side of the neck. Again beginning at the center and working to the end of the dart.
After that it’s insetting the sleeves and sewing up the side seams. I cuffed the sleeves like the pattern suggests and I love that little detailing. Next comes sewing the interfaced front facing collar to the main part of the jacket. Finally, the hem. There were only a couple parts to this project that could have used better instructions but overall I’m very happy with how this project turned out.
Final Thoughts
With this jacket and other recent makes, I’ve been trying to make a conscious effort to consider what I’m making before I make it. I want to create pieces that will serve me long term. With a long winter ahead of me I have no doubt I will be reaching for this coat constantly. Also my turtleneck mini dress is a memade #M7999 out of a black ribbed knit. This was done in a size xs and I shortened the length 3in.