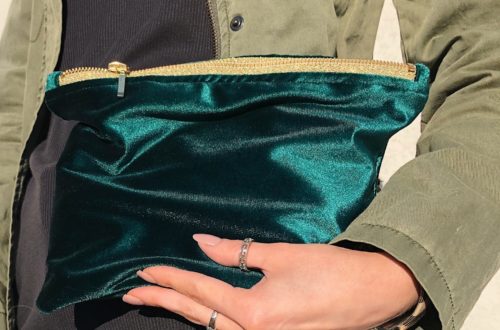
Hi guys! Today I’m showing you how I made this designer inspired leather trim cardigan. Ive seen so many great leather trim jackets, sweaters, skirts, all sorts of gorgeous pieces I was really inspired to make my own. Now that I’ve easily sewn this one I know I will be incorporating this design detail in other pieces too. I would love to see how you would sew with the leather bias tape and if you do tag me on instagram @Jessjustmade

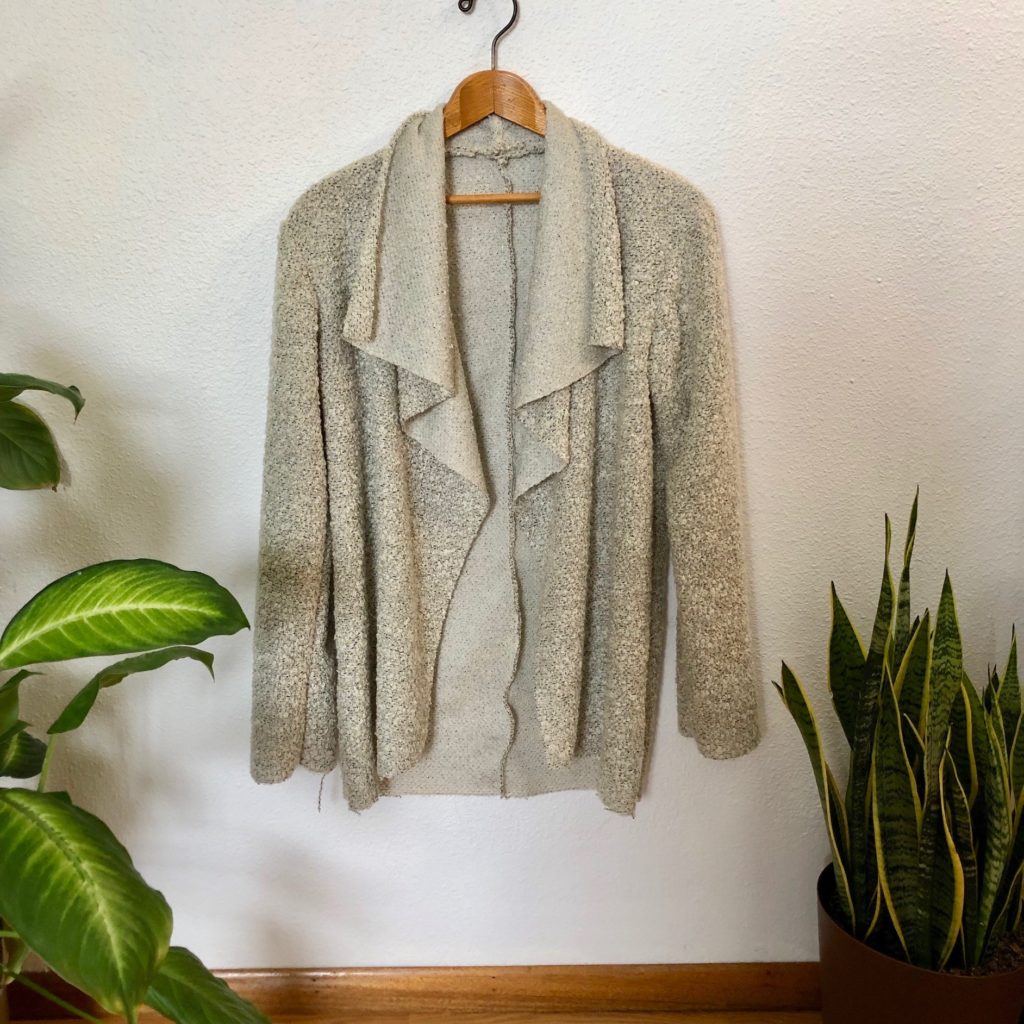
The fabric for this cardigan is a wool blend ivory curly cue boucle by Telio Fashion fabrics purchased from fabric.com and the brown leather trim I purchased on amazon. The pattern I am using is from Simplicity 8742. This is the second time I’ve sewn view D, the waterfall cardigan, and I love it. I sewed an extra small and it fits well. If you are looking for an easy to sew versatile jacket pattern I would suggest this one.

The construction of this jacket is very simple, one of those sews that doesn’t require too much effort. There are 3 pieces to the jacket: the front piece, the back piece, and the arm piece. The last time I made this cardigan I simplified it by cutting the back piece on the fold.
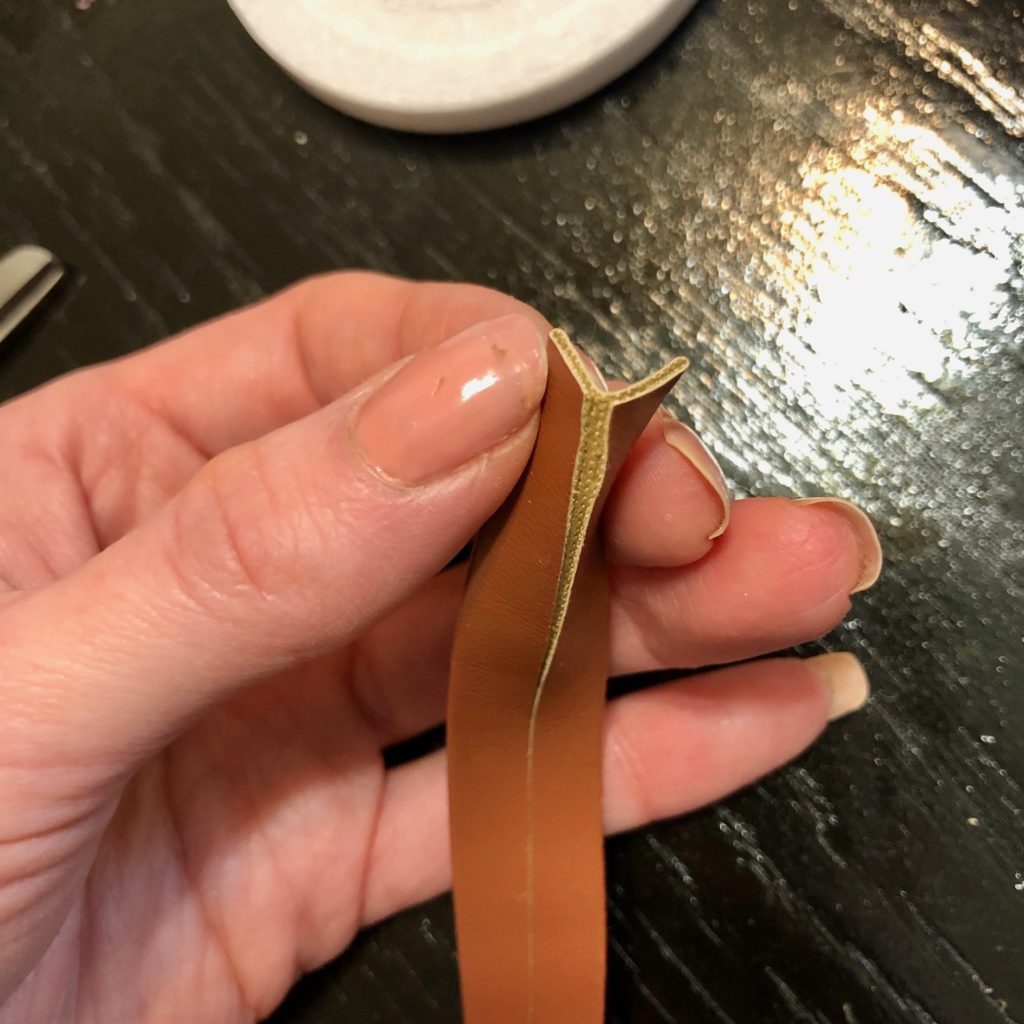
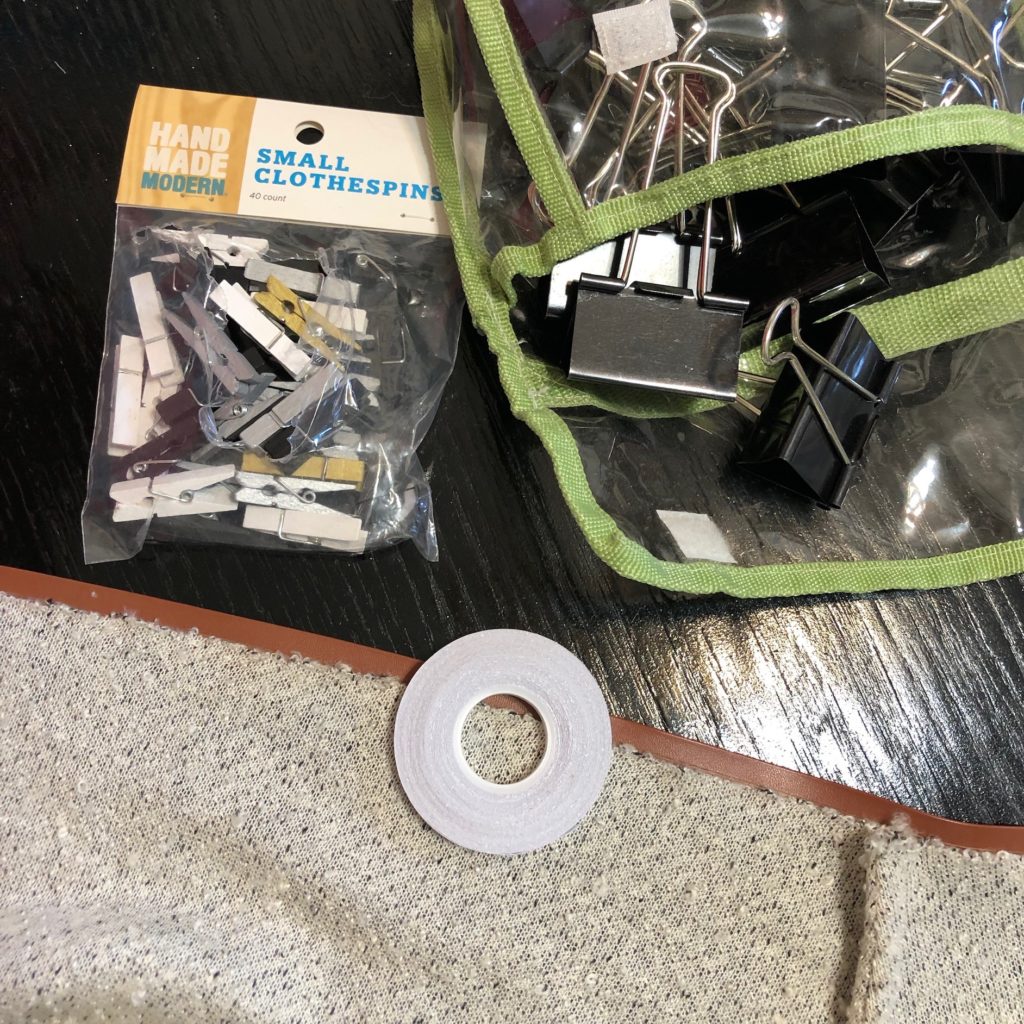
I’ve never sewn with leather bias tape and there were very few blog tutorials online, like only one that I could find and it was a cosplay sewing blog. Hopefully what I’m going to share can help fashion sewists and cosplay sewists all the same. So this faux leather bias tape looks like double fold bias tape but the folded sides were glued down (see the image below I’m trying to show you its glued). So anyways taking that into consideration I used some scrap pieces to practice. I used clips to try and secure the bias tape but it kept slipping against the wool fabric. So I took a day off since I couldn’t figure how to sew and then I remembered wonder tape!
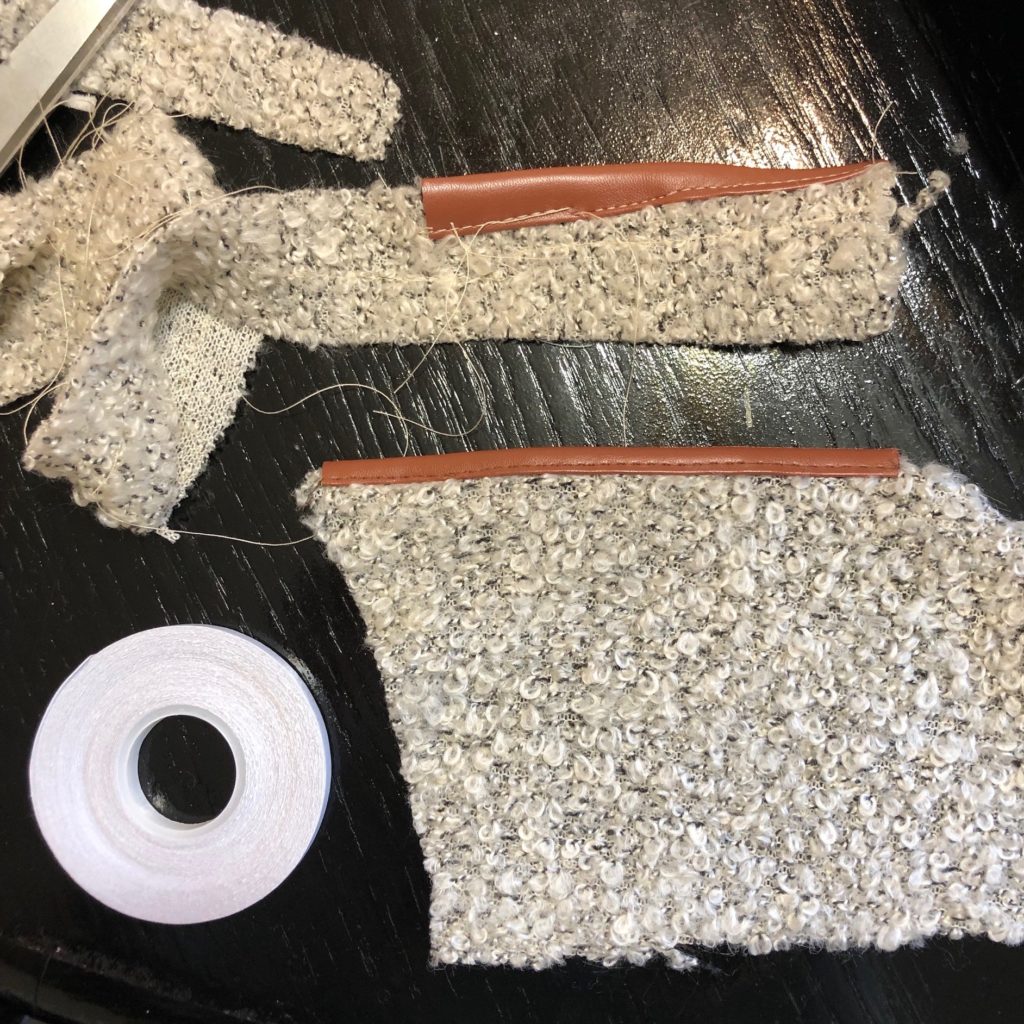
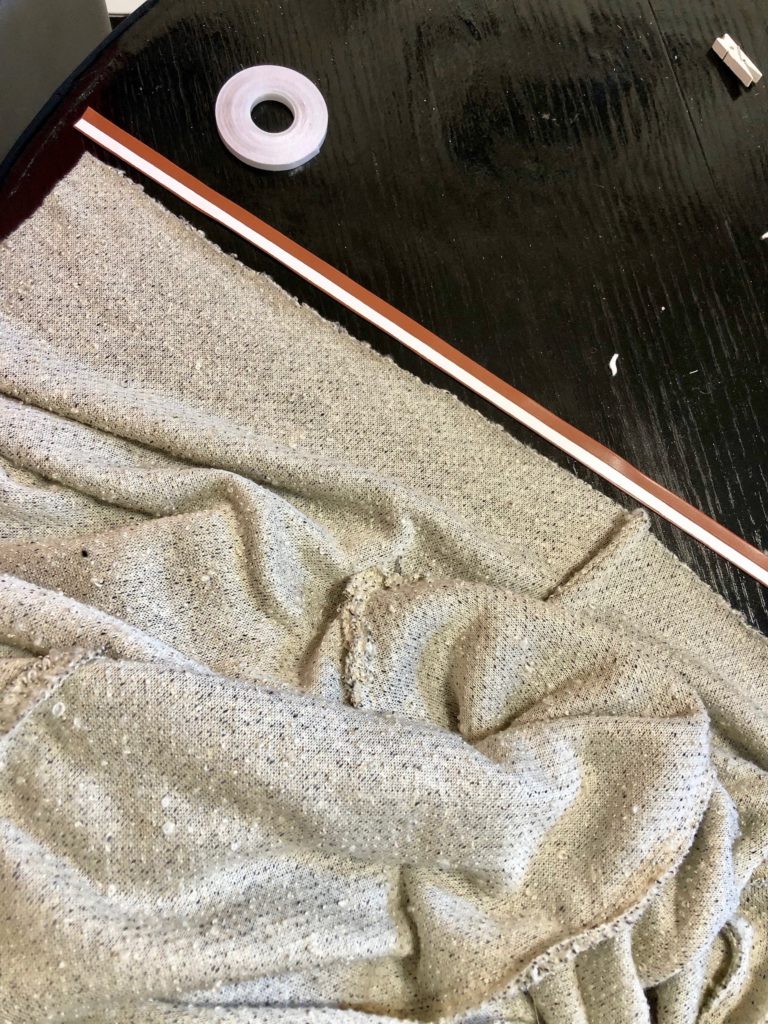
Oh, how I love wonder tape! As you can see from the picture above on the top scrap piece the bias tape wanted to curve and distort and sewed very unevenly. Then on the bottom scrap piece, with the use of wonder tape and clips, I was able to sew a beautifully even leather trim. If you haven’t heard of wonder tape, it works like a double sided sticky tape but you can sew through it without gumming up your needle and it dissolves in water with the first wash.

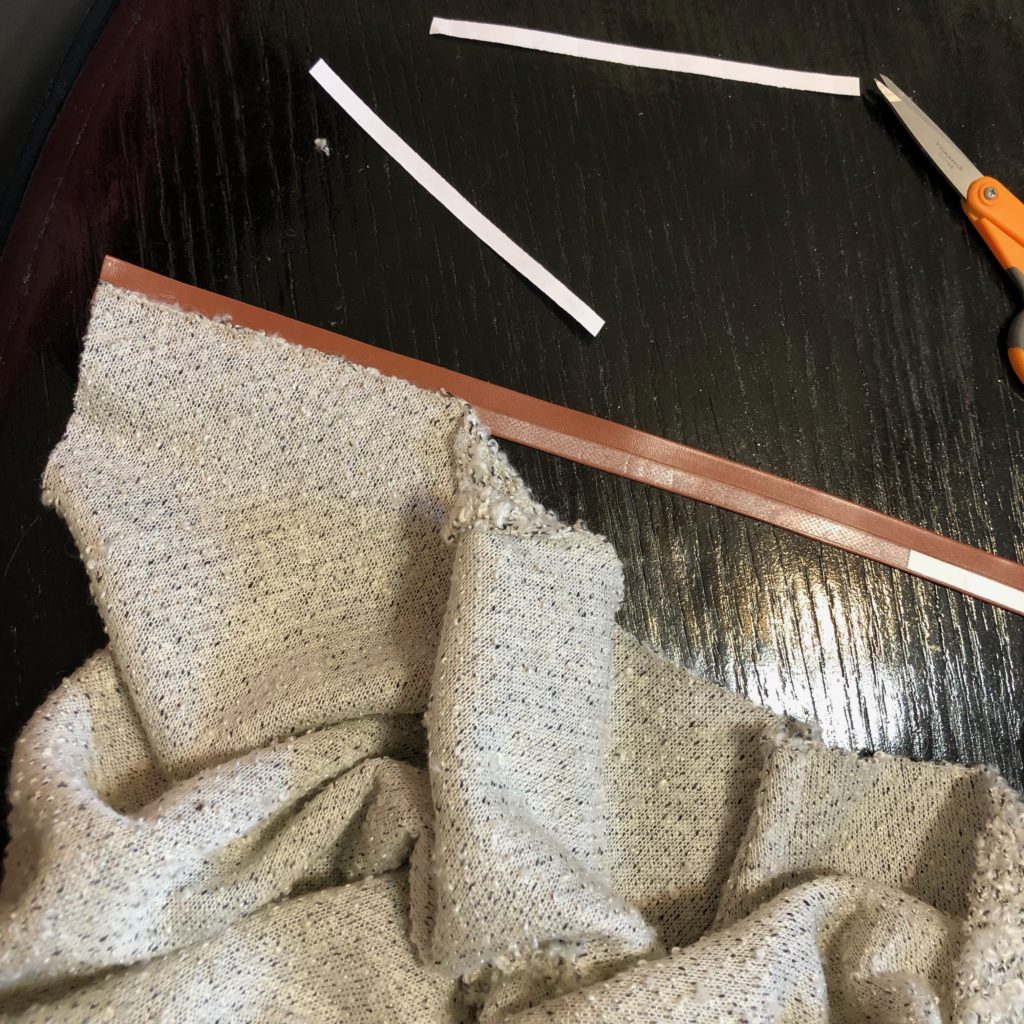
The wonder tape is the perfect size for the faux leather bias tape I got. Working one side at a time, on a flat surface, I applied the wonder tape to one side of the bias tape and then pressed the edge of my cardigan against the sticky wonder tape up to the fold in the bias tape. Once the first side was finished, I applied wonder tape to the other side of the leather bias tape and firmed folded the leather tape against the edge of the cardigan. I also immediately placed clips over the folded leather tape to help hold it down and in place.

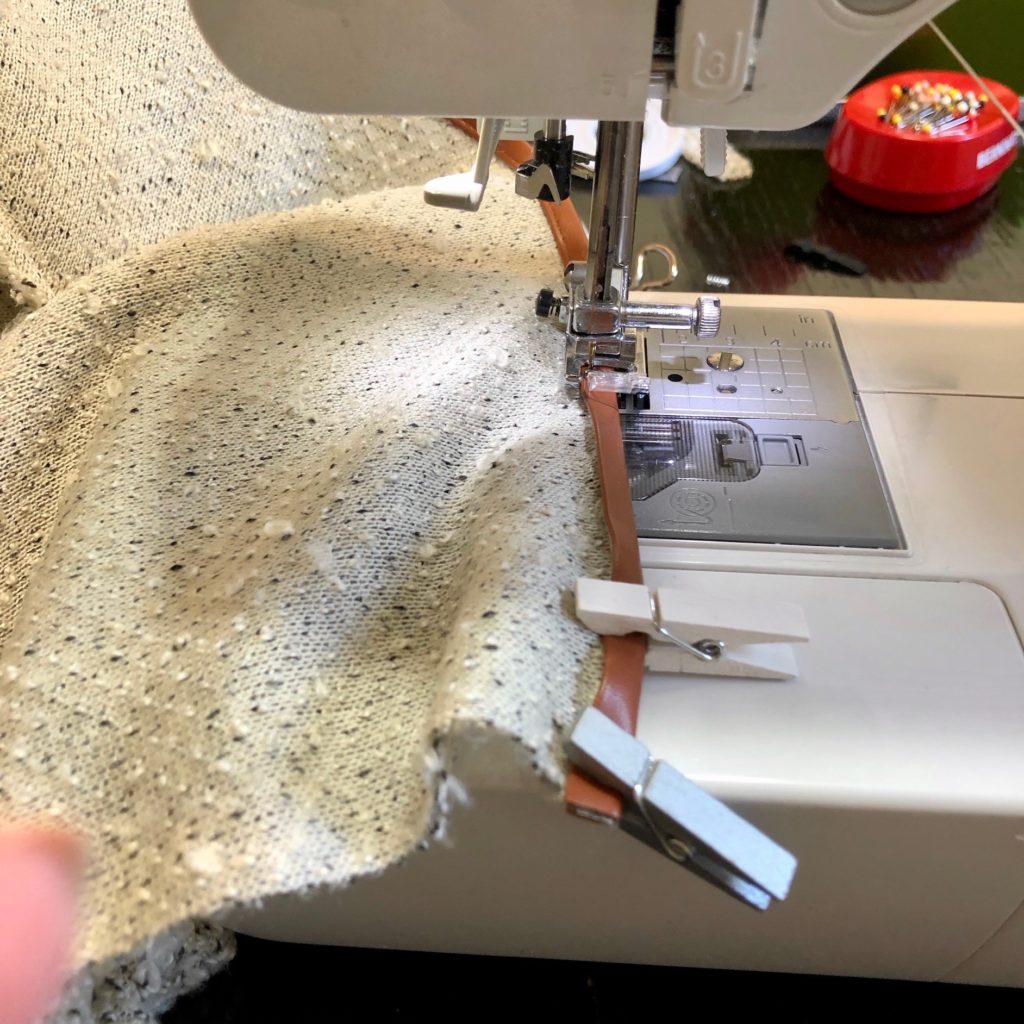
I’m not an expert but sewing with wonder tape helped this sewing process go so much smoother and quicker. Also sewing through the faux leather bias tape I was using my 100/16 needle but it was struggling to get through all the layers. I was hesitant to switch over to my leather needle since it says not to sew with knits, but it worked well through the layers and I haven’t noticed any tears with the knit. I love how this project turned out and I’ve already been wearing my jacket all the time!