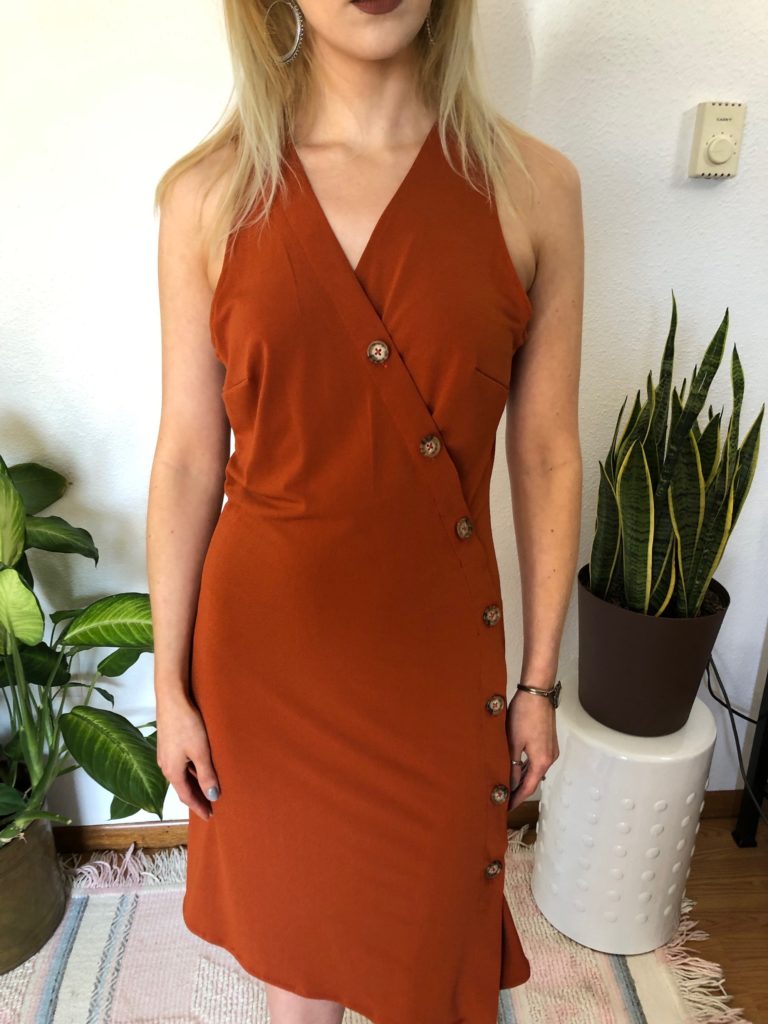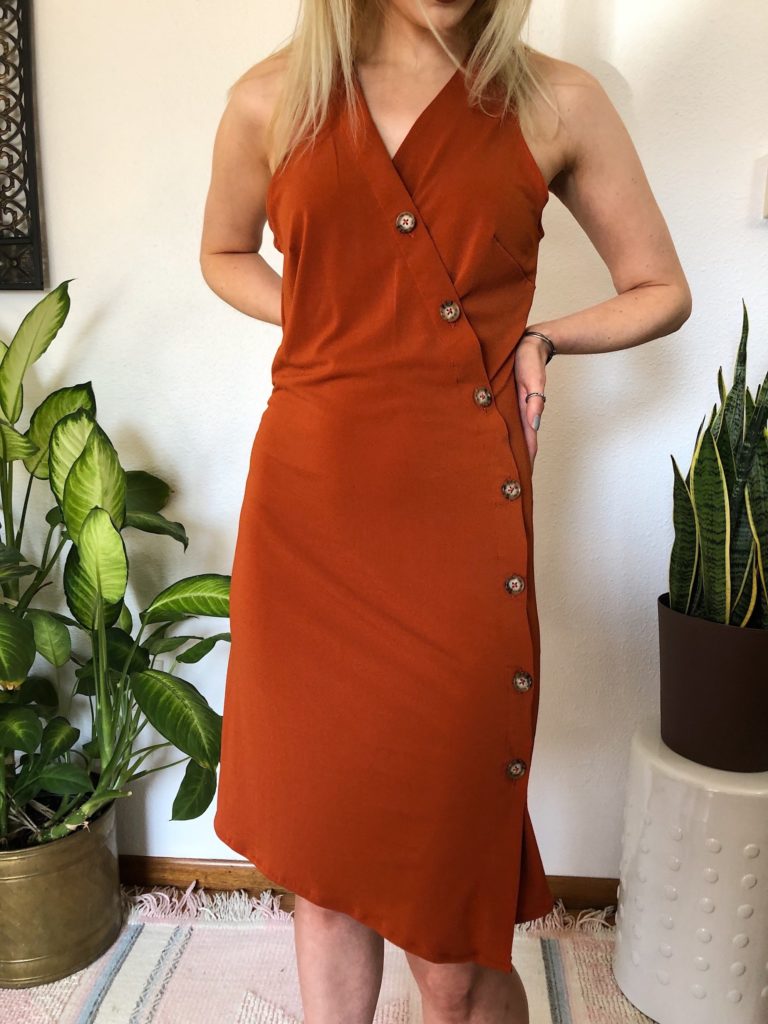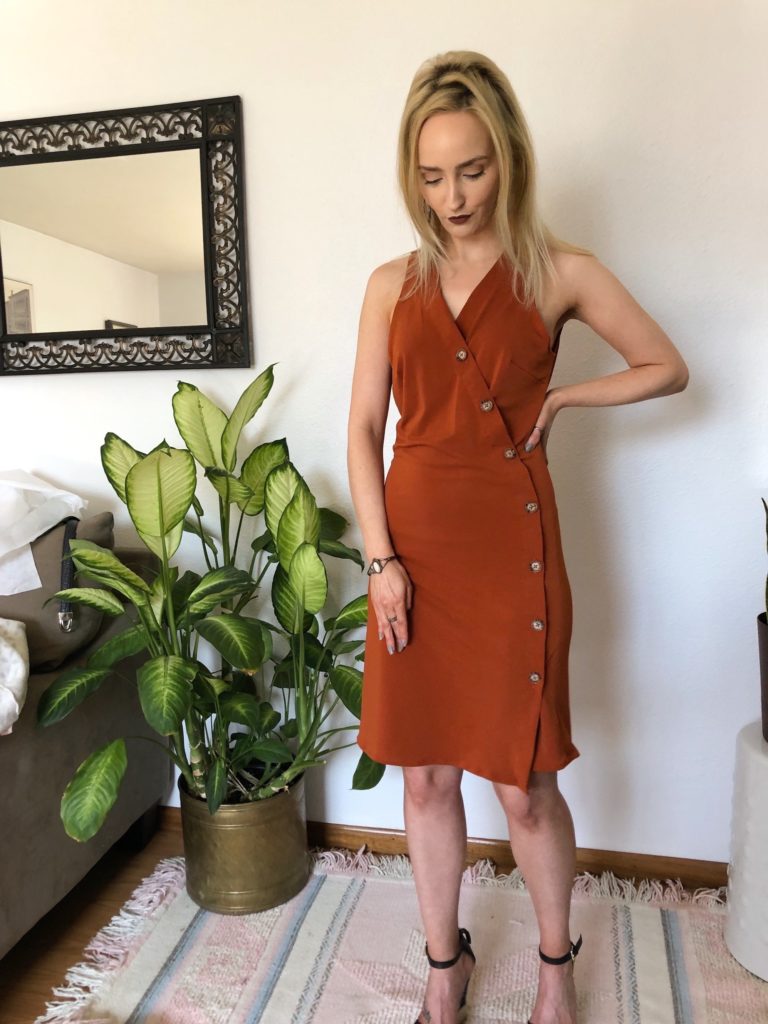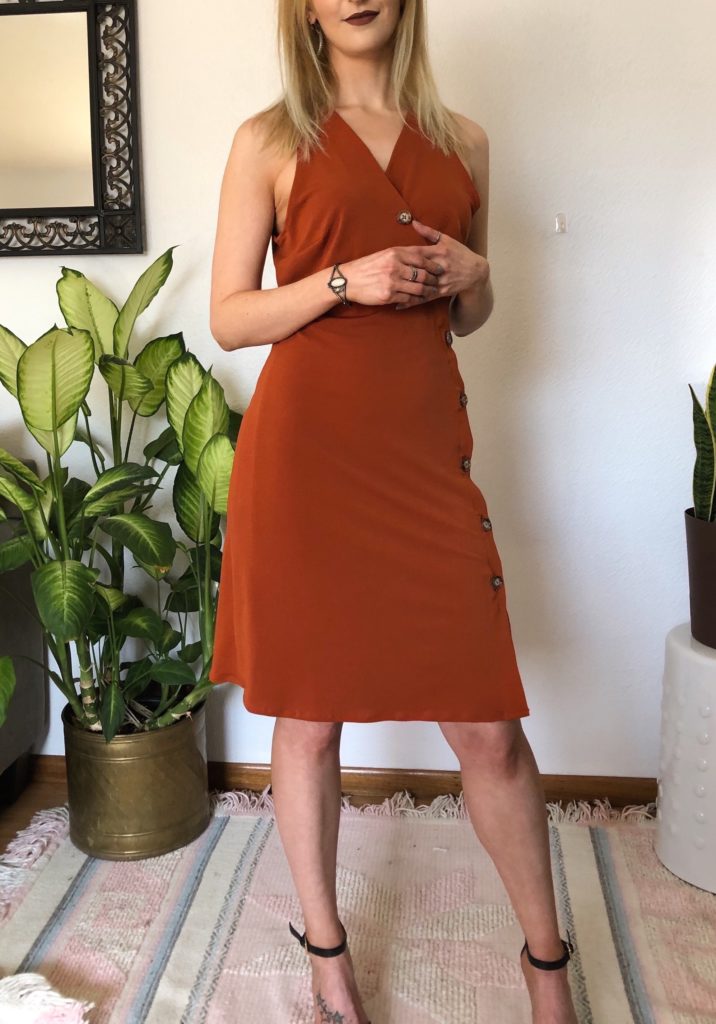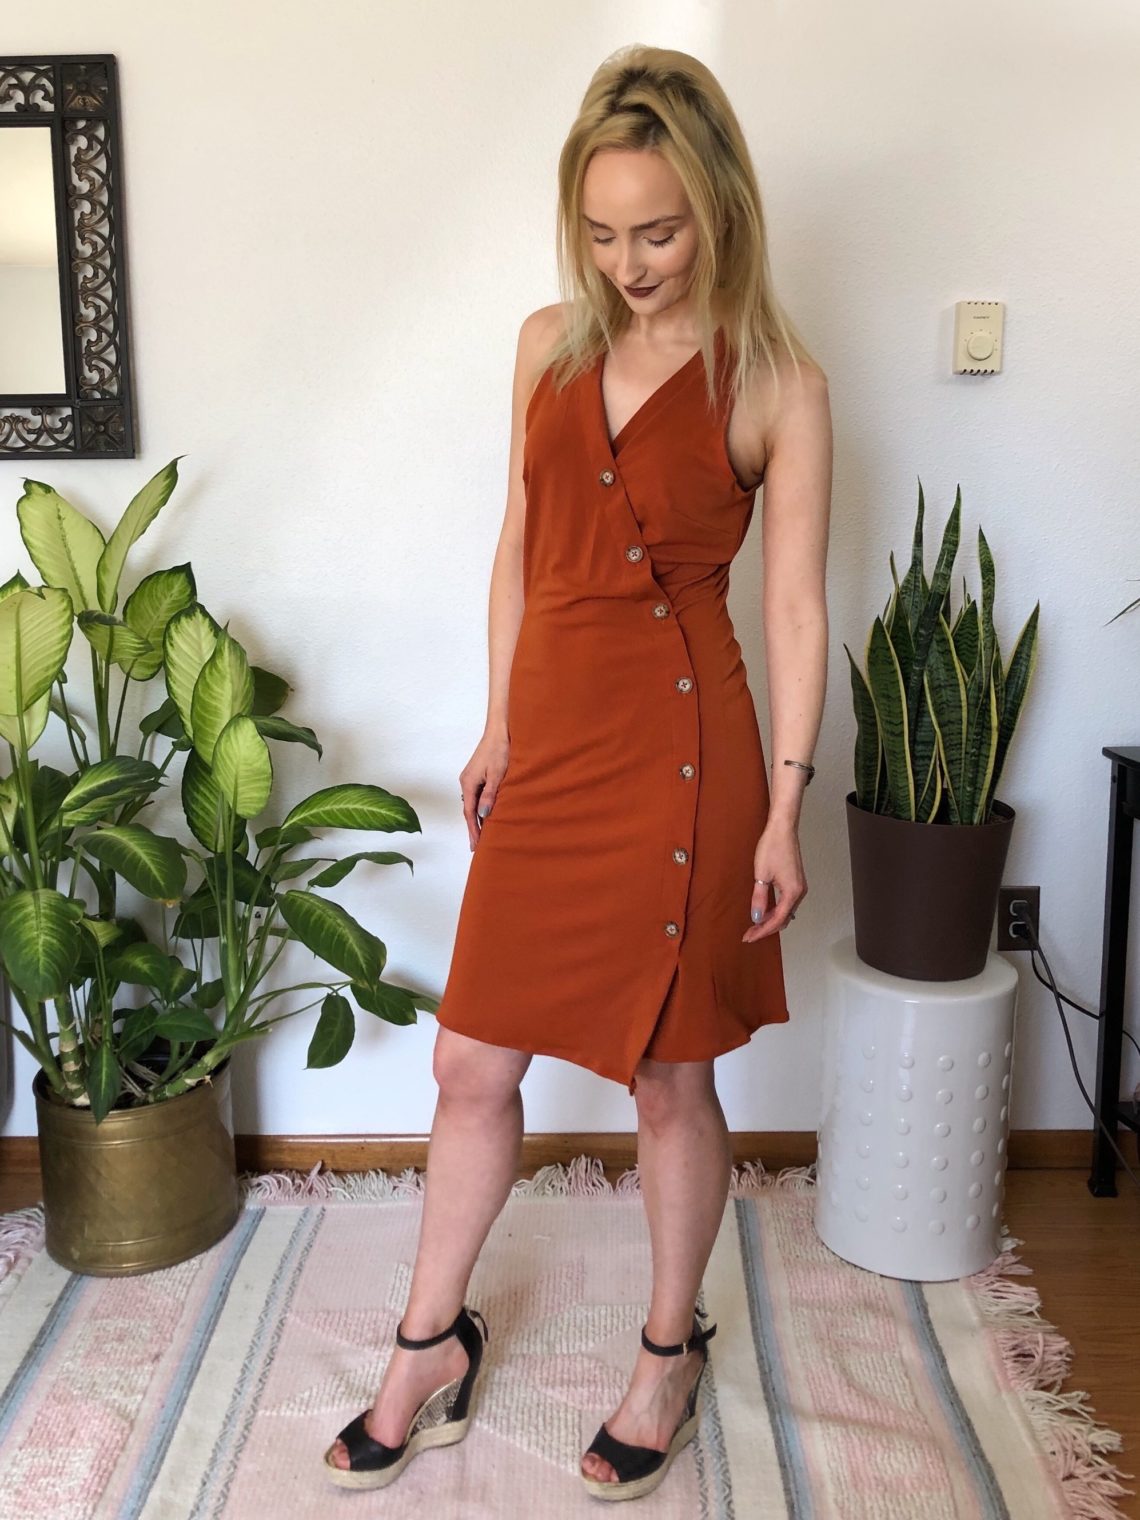
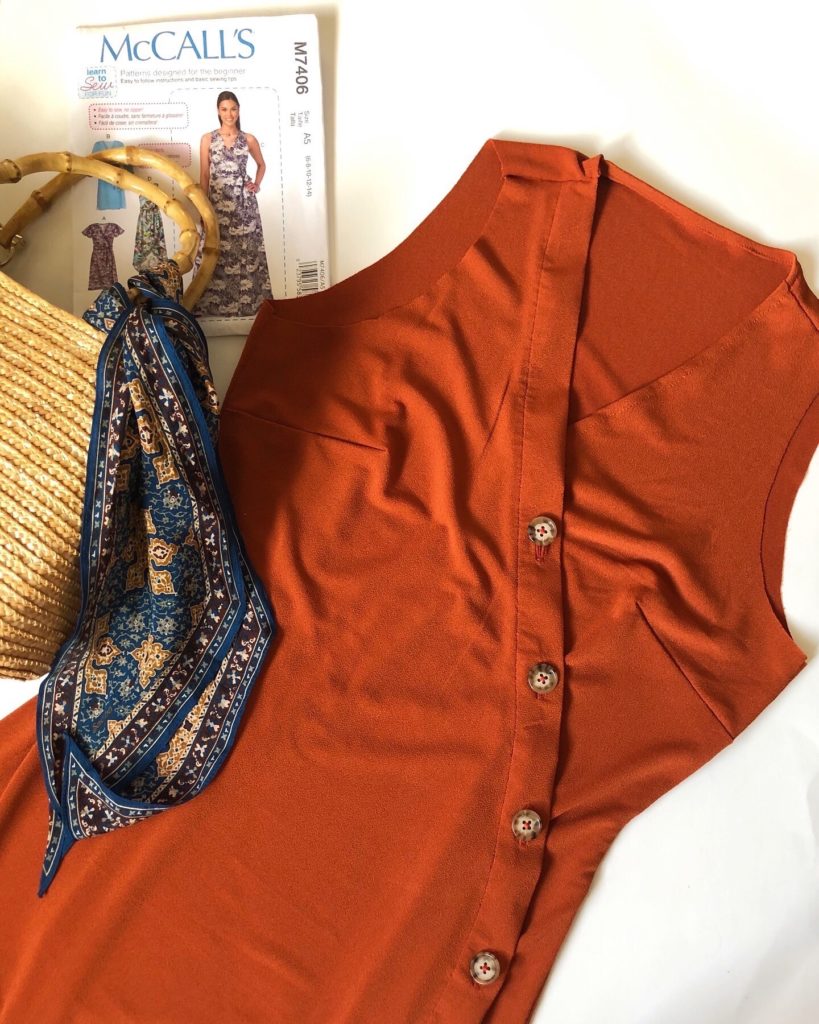
Hi guys! Today I’m showing you my latest pattern hack. After seeing so many button dresses online I thought this would be a fun DIY. Who doesn’t love a good wrap dress? Well, I am sure there are some people but maybe the button detail can convince non-lovers. For my dress pattern I used McCall’s pattern M7406 although you could apply this concept to any wrap dress pattern.
When I visit my mom in Arizona we go out and do the touristy things and eat at amazing restaurants. But one of my favorite things to do is go out shopping at thrift stores. During my last visit we were doing some shopping the afternoon before I left town when we drove past SAS fabric store. We ran in and had a great time looking around. While we were there my mom bought me the rust colored stretch knit crepe I used for this wrap dress. Thanks mom! The fabric reminds me of the rust colored mountains in Arizona so it seems fitting.
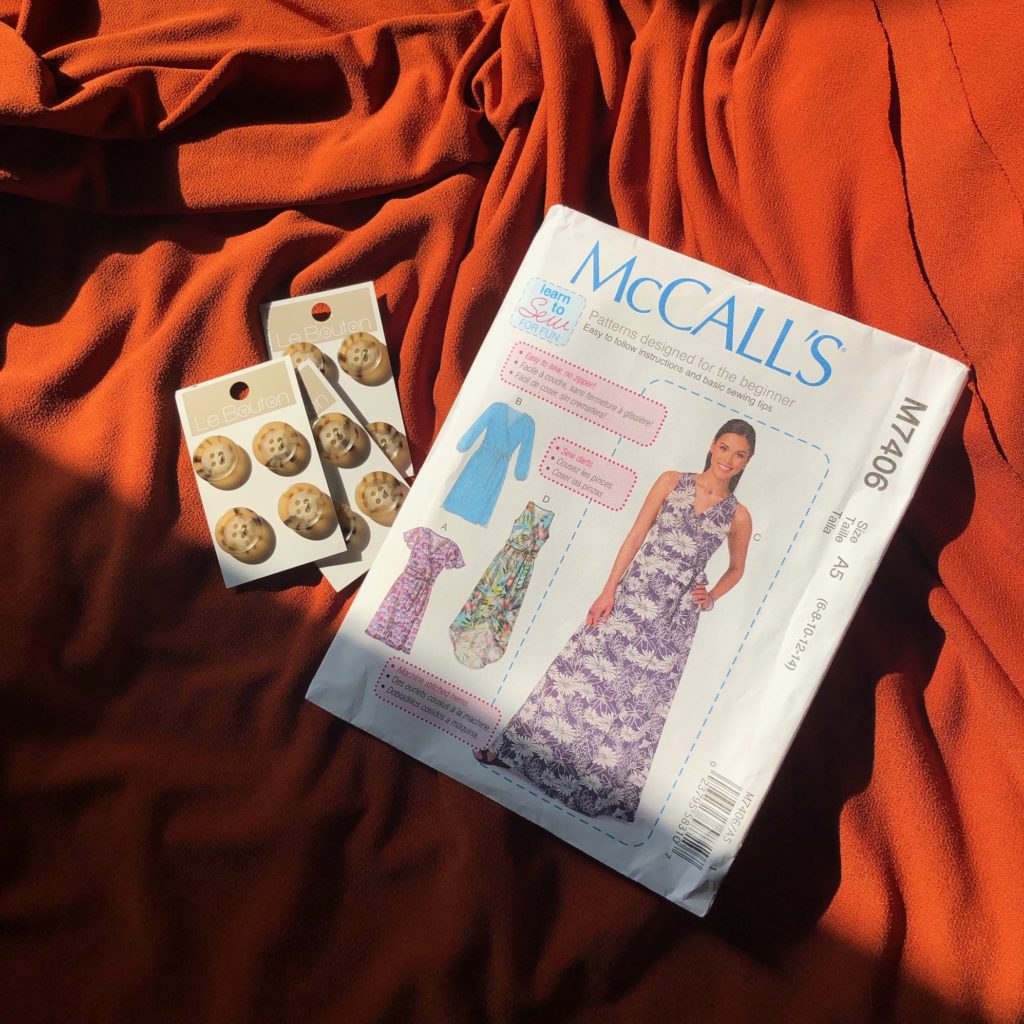
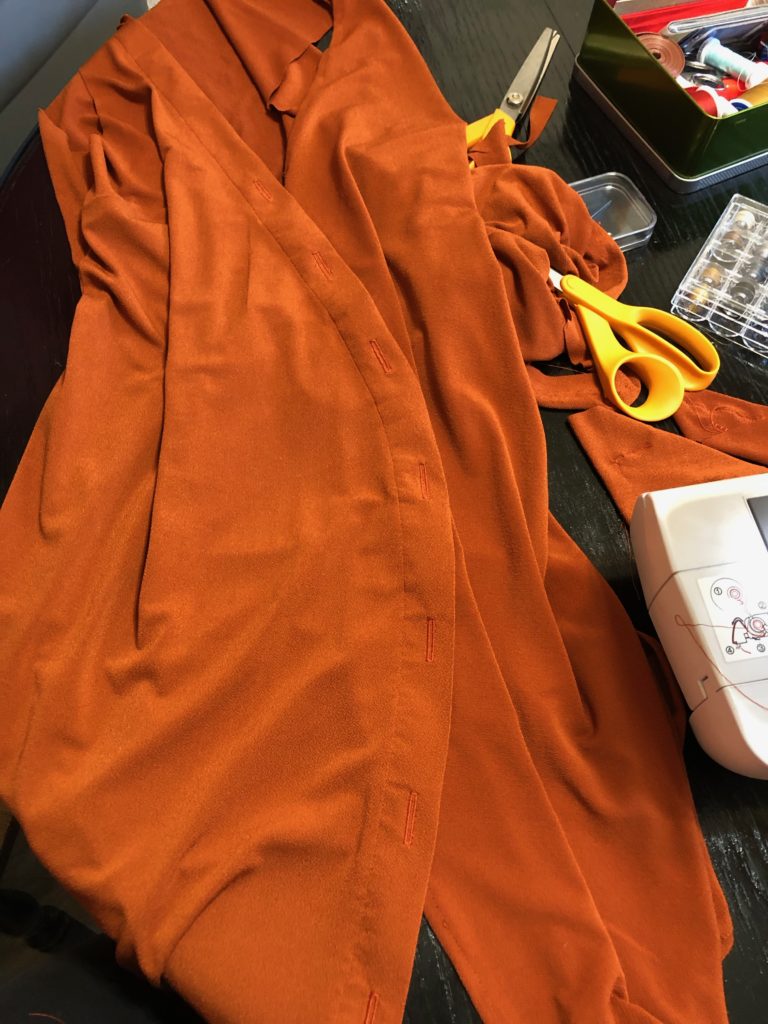
I enjoyed shopping at SAS fabric, but its was interesting because some fabric was on the bolt but some were in piles precut. I found my rust crepe in the pre-cut pile, I think it measured 1&3/4 yard of 60in fabric. I was happy to be able to squeeze my wrap dress out of this fabric. With the amount of fabric I had I decided to try out a fold over button placket. I’m not a professional so I don’t know if this is proper sewing, but it worked for what I wanted.
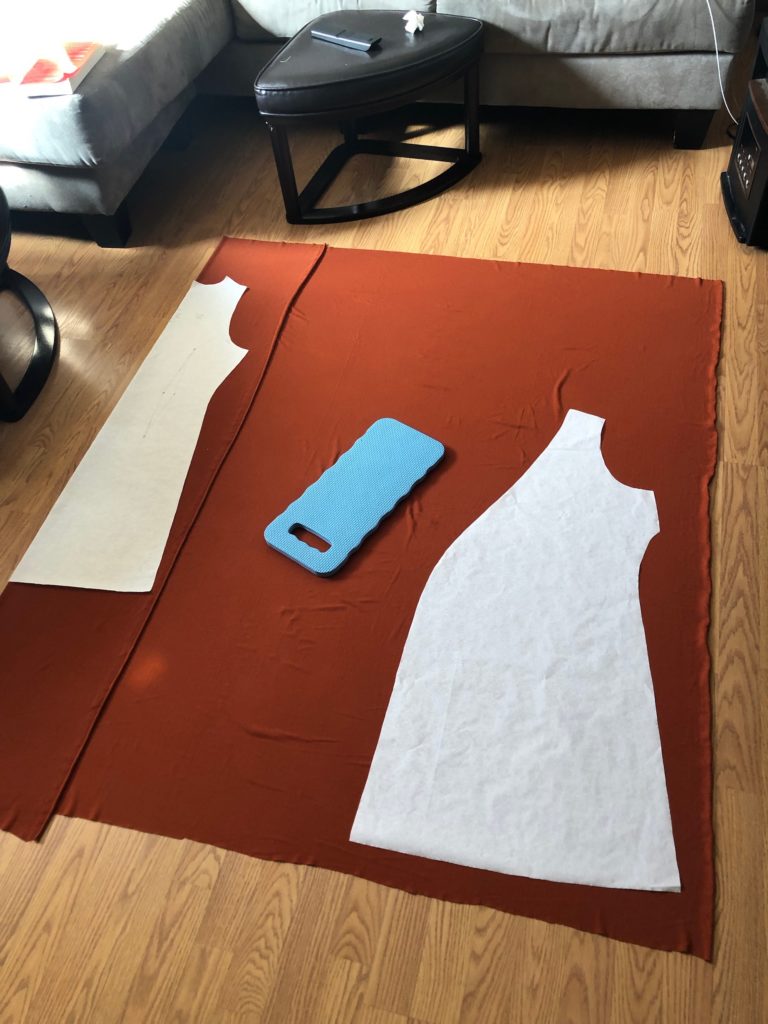
The pattern I used has the right piece of the dress as the front piece, which ties to the left side. I made alterations only to the right front piece of my dress. I extended the right side of my dress the width of my button placket. To calculate my button placket width I first measured my buttons. Those measured 3/4 of an inch. For spacing around the button I added 1/4in to each side. My final button placket measured 1&1/4in wide. I pinned the front pattern piece and added an extra 1&1/4in to the seam.
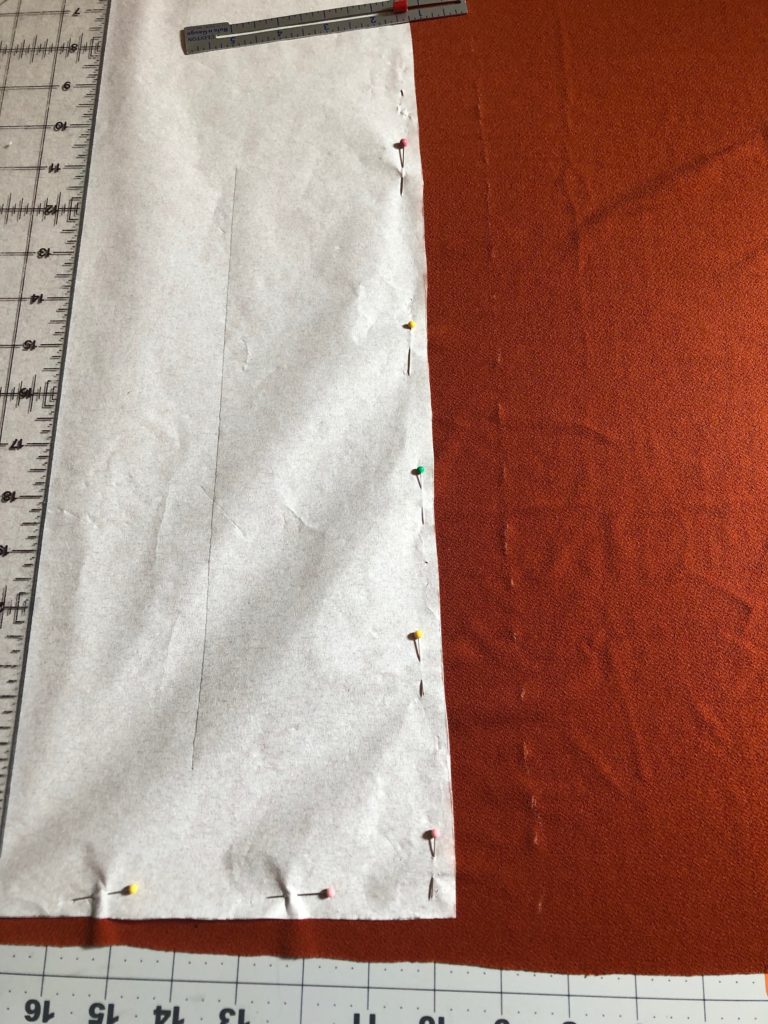
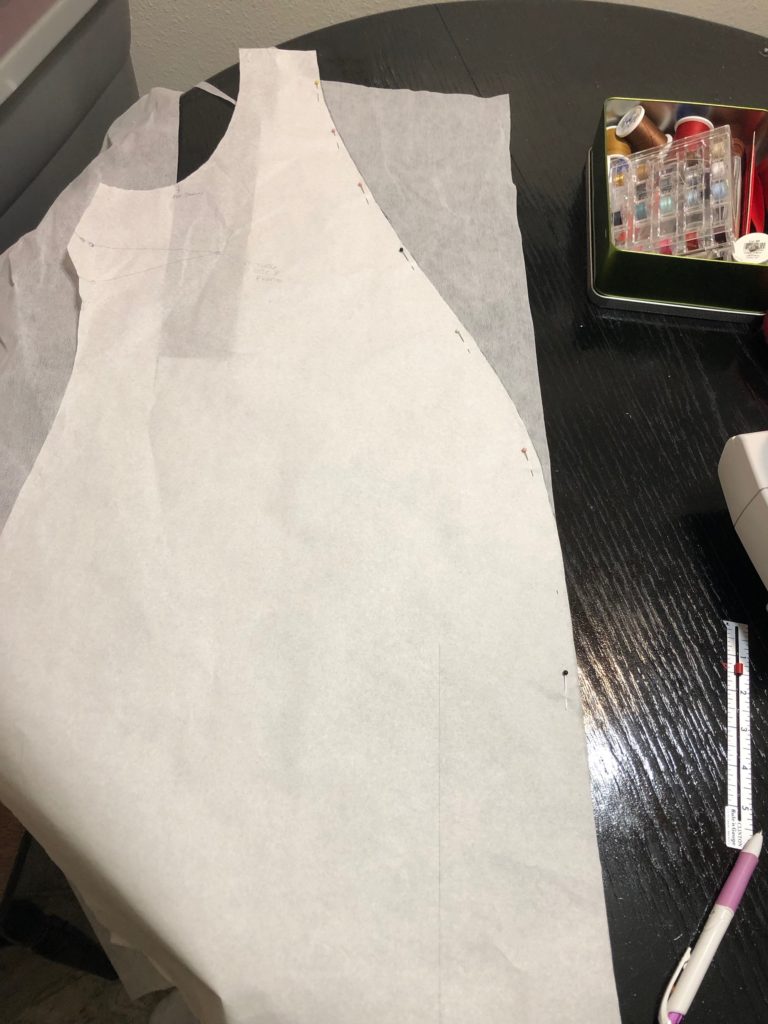
I used interfacing on the width and length of my button placket. To measure out the interfacing I pinned the dress pattern to the interfacing and traced the shape of the edge. After my first line I measured out 1&1/4in following the same shape. Once the interfacing was cut, I could determine where my button placket would be and therefore where to place to the interfacing. To calculate this I added the seam allowance (5/8in) and the width of my button placket (1&1/4in) for a total of 1&7/8. On the wrong side of the front piece of my fabric I adhered the interfacing 1&7/8in away from the edge.
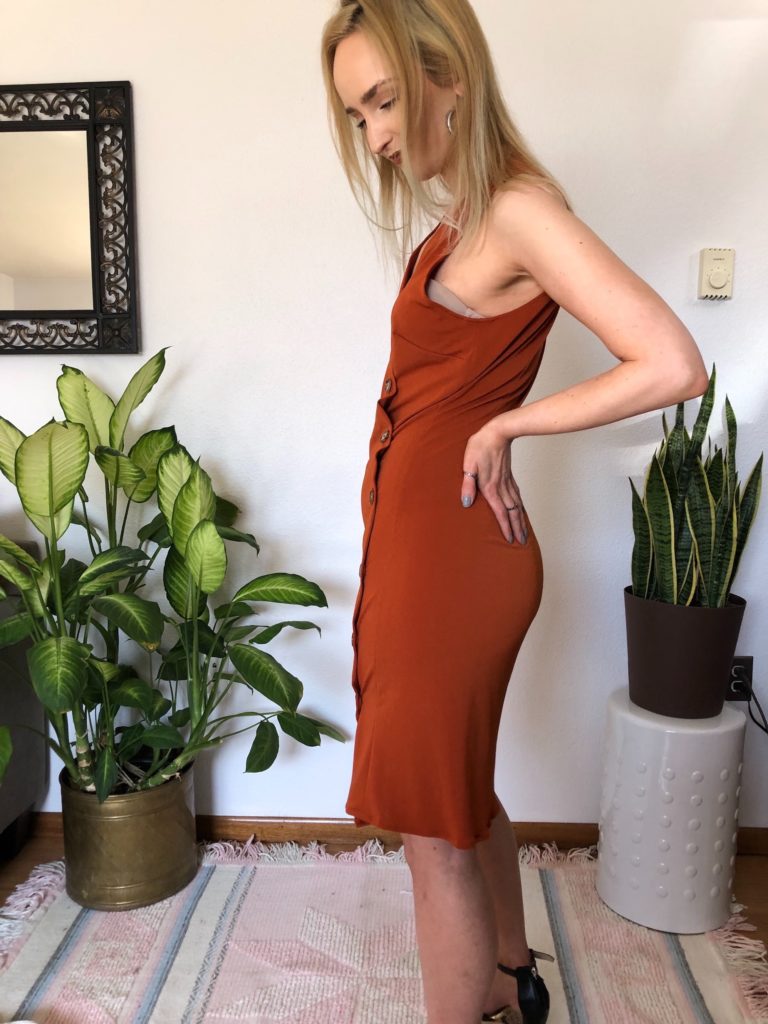
Once the interfacing was applied to the underside of the front piece I was able to fold over the fabric to cover the interfacing and create the backside of my button placket. To begin I first folded the 5/8 seam allowance towards the interfacing. After that I turned the now clean folded over edge to cover the interfacing. I pinned the folded placket with the pins on the top side of the dress, since my stitching would be on the top side as well.
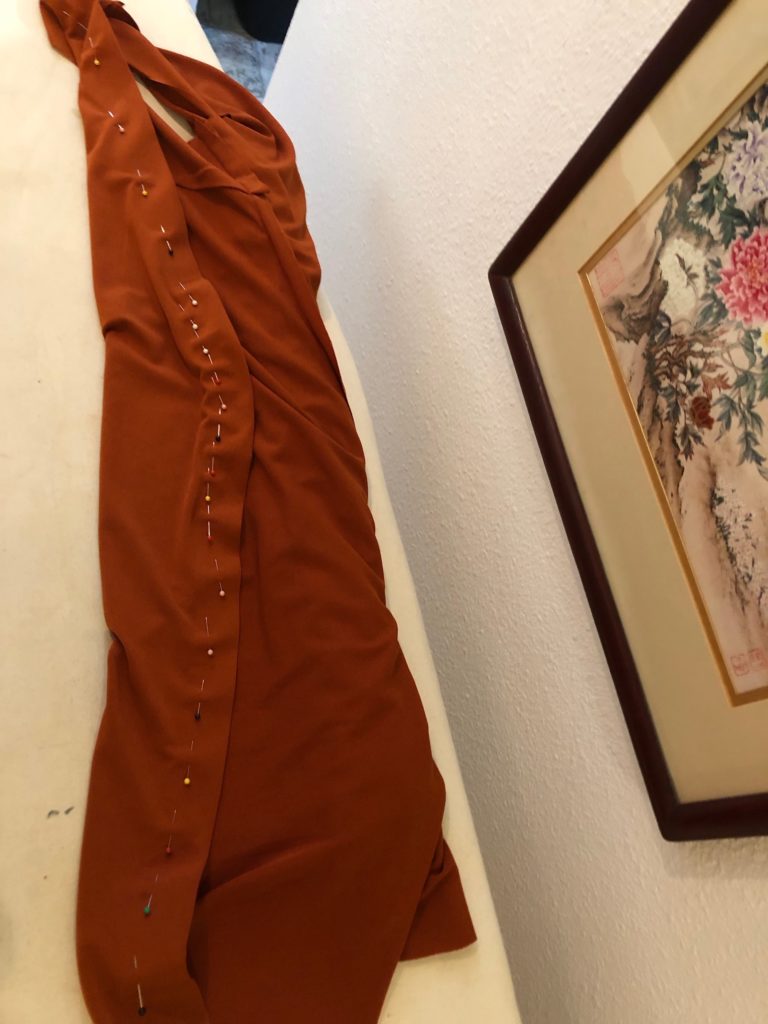
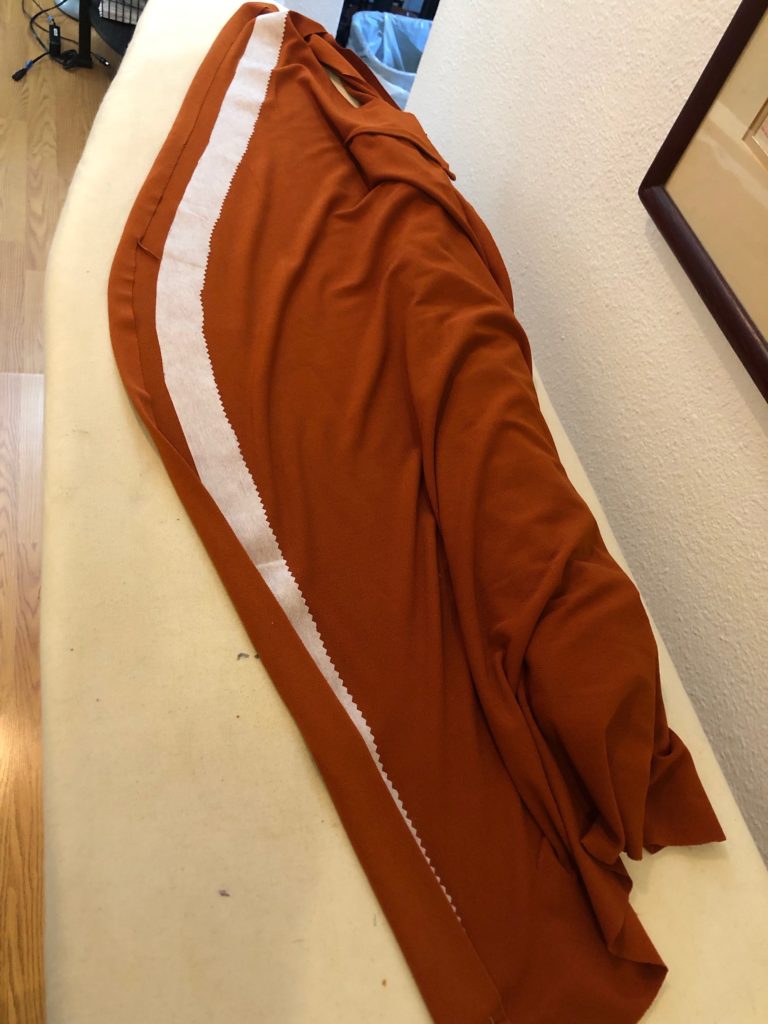
With the top stitching in place I could decide on the spacing of the button holes. As you may have noticed in my top pictures, my dress was partially sewn together while I made my placket. I basted the sleeves and sides to determine the fit of the dress since this was my first time using this pattern. Before moving onto the button holes I finished the sides and sewed the button placket into the right shoulder. It was easiest for me to start at the top of the placket with the button holes. I tried on the fit of dress and made my first button hole on bust area of the placket. From there I determined I wanted my button holes placed 2&1/2in apart down the front of the placket. I continued that spacing till I got towards the bottom, I ended with 7 button holes.

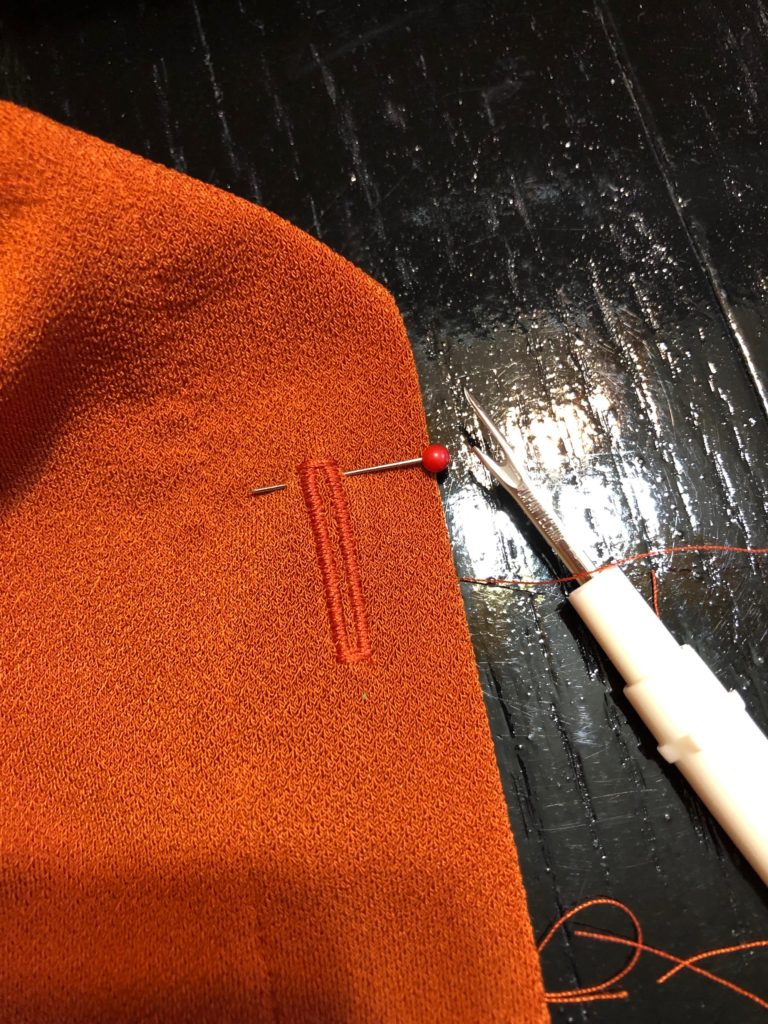
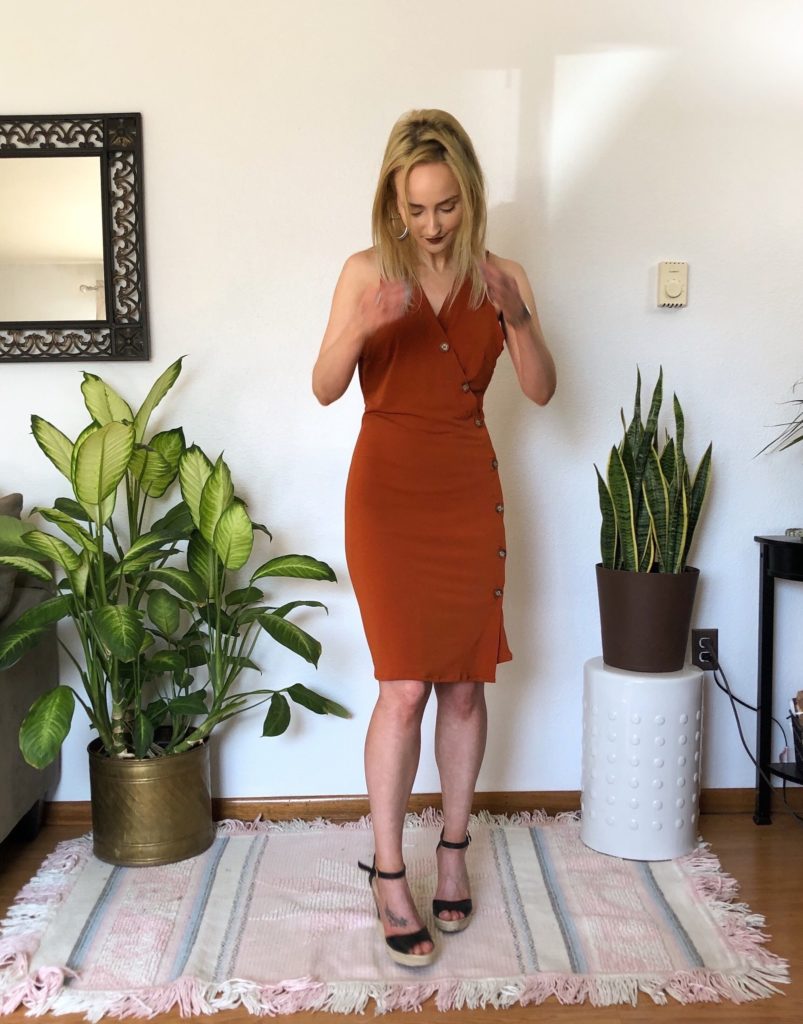
After the button holes were placed I seam ripped them open. I like using a pin at the top of the button hole so the seam ripper won’t tear through your newly made button hole. Once your button holes are placed I suggest having a partner or close friend mark where you want to sew your buttons. I tried my dress, making sure I was standing straight, and had my boyfriend mark on the left side of the dress. After that I sewed on my buttons. For sizing reference I cut out an 8. I am so pleased with how this dress came out! I know a few of you from Instagram were inspired by this DIY and I love seeing what you guys create so tag me @Jessjustmade