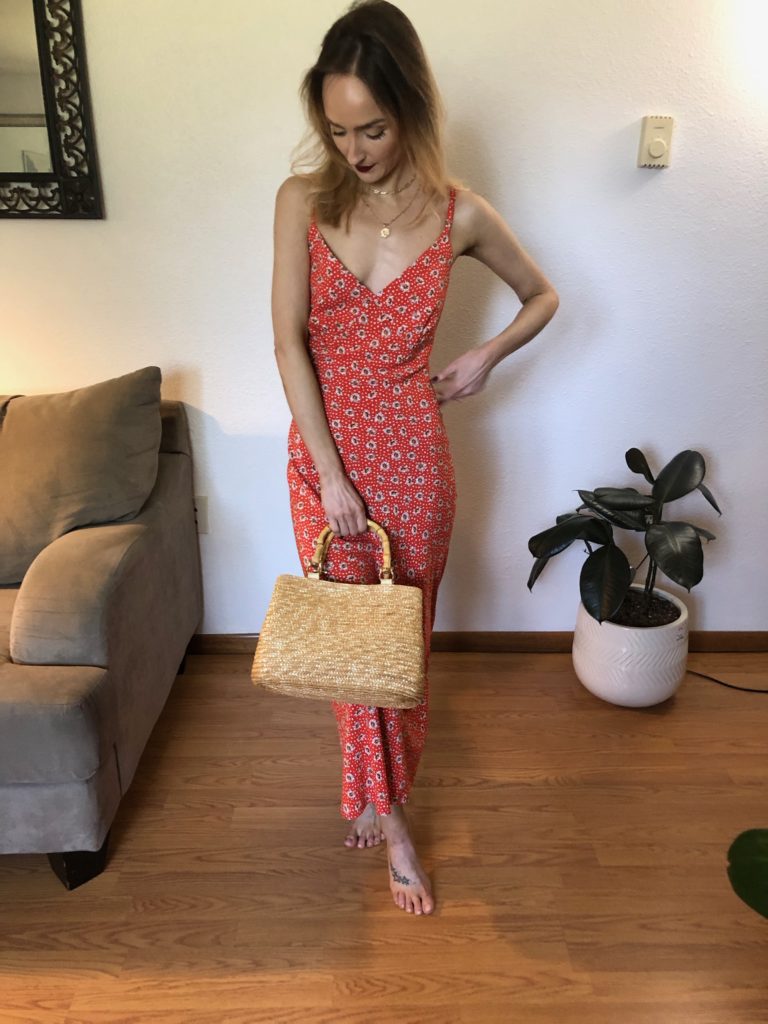
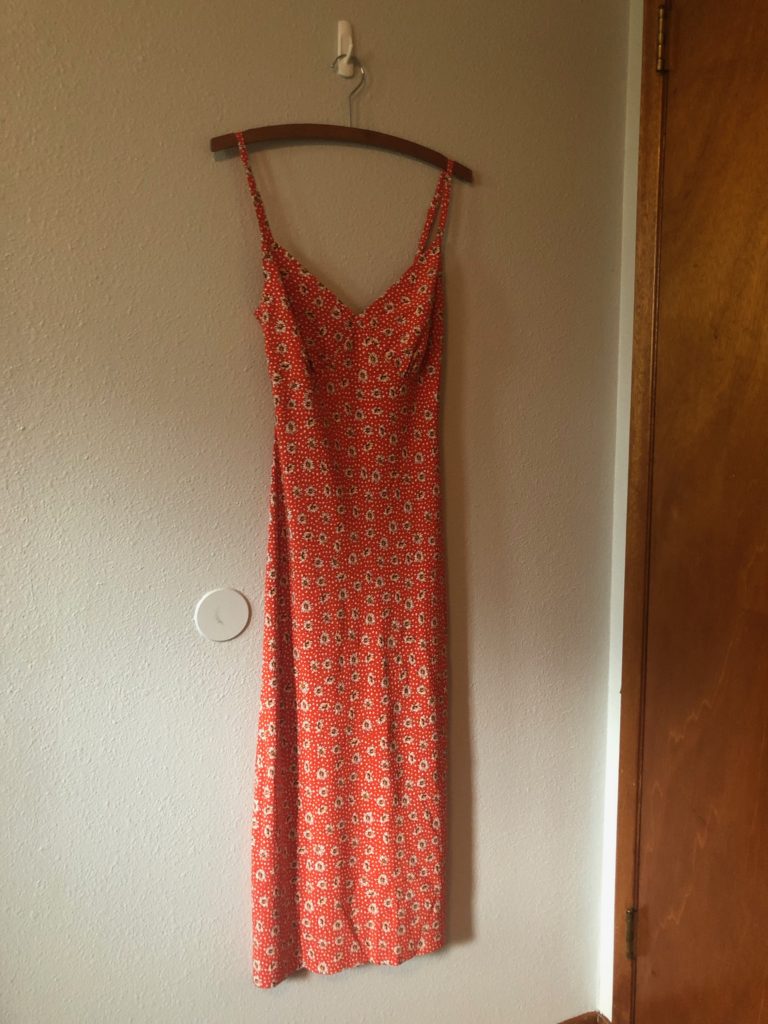
This is my second time making the Maya Dress. The first one you can find on my Minerva post. This project actually began with the fabric. My sunny red daisy fabric I purchased together with the fabric for my last wrap dress. The fabric is a rayon poplin by Telio Brand. Since I’ve been craving red I knew I wanted to use it soon. I originally planned a cute button up dress but this easy slip dress won out. This is a piece I will be wearing all summer.
Pattern & Sizing
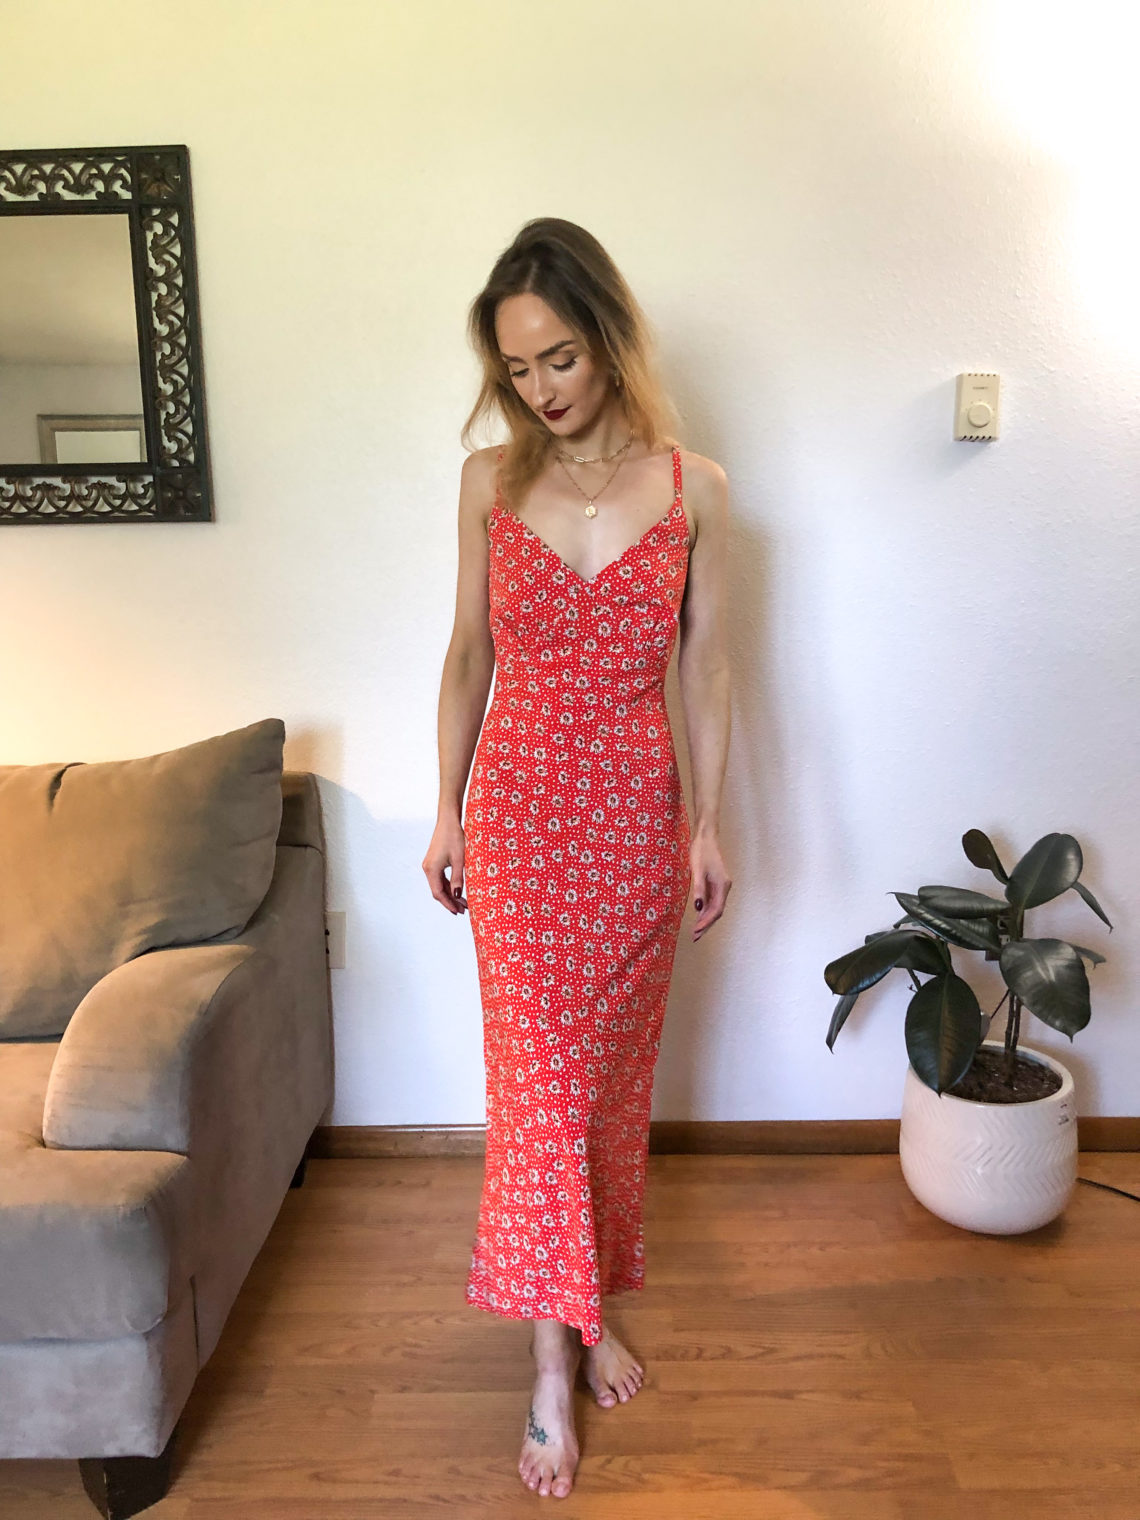
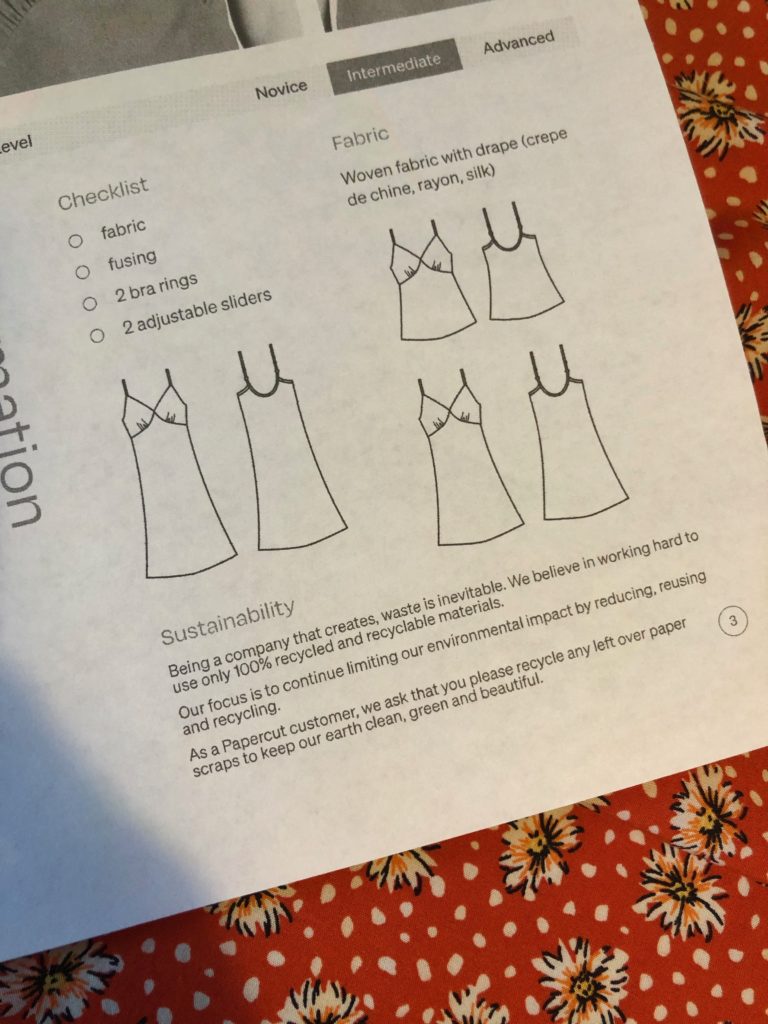
The Maya dress pattern is from Papercut Patterns. It can be made as a cami, knee length or midi. This pattern is in size 1-8 which is equivalent to UK 6-20. I cut out the Papercut size 2 (UK size 8). My measurements are currently Bust 31in, Waist 24in, and Hip 34.5in. This is snug form hugging dress, at least in the size I chose. Because of this, its a bit of a wiggle to get the dress on. Also, I’m 5’2″ and I extended the length of the midi 2in.
Sewing
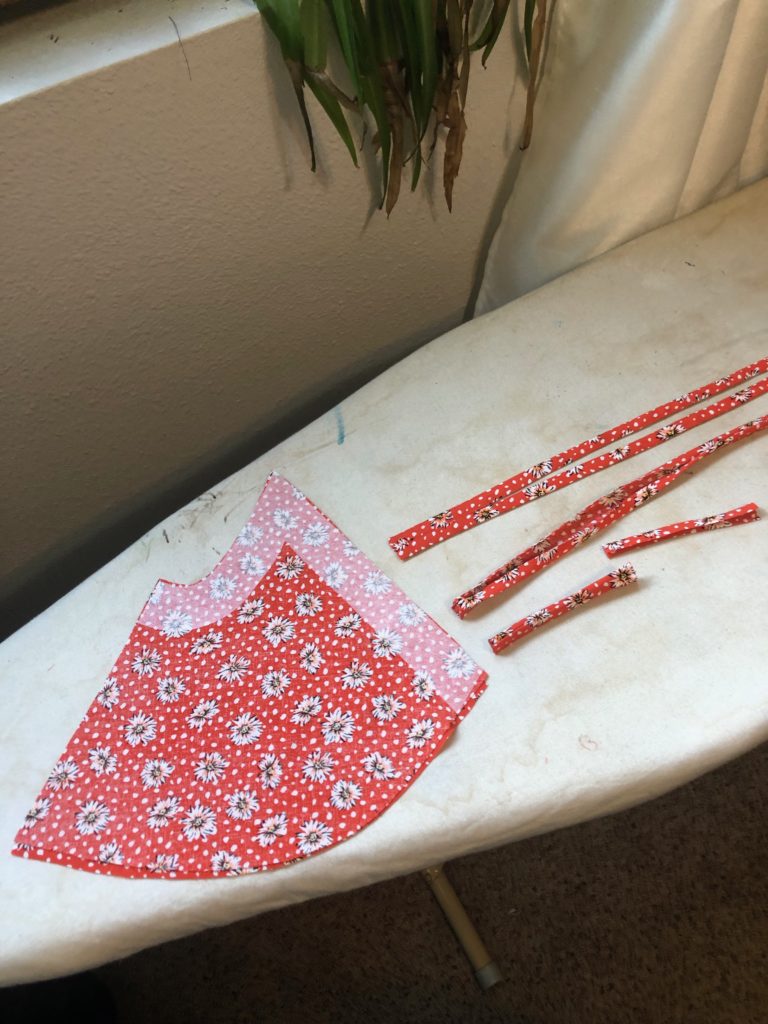
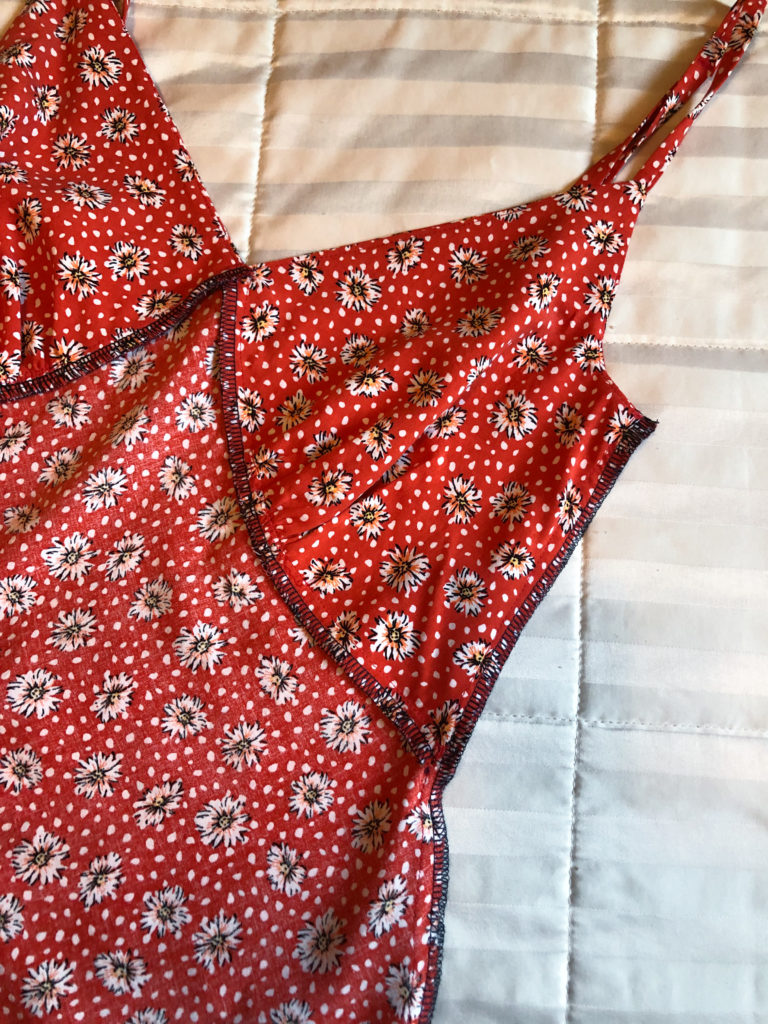
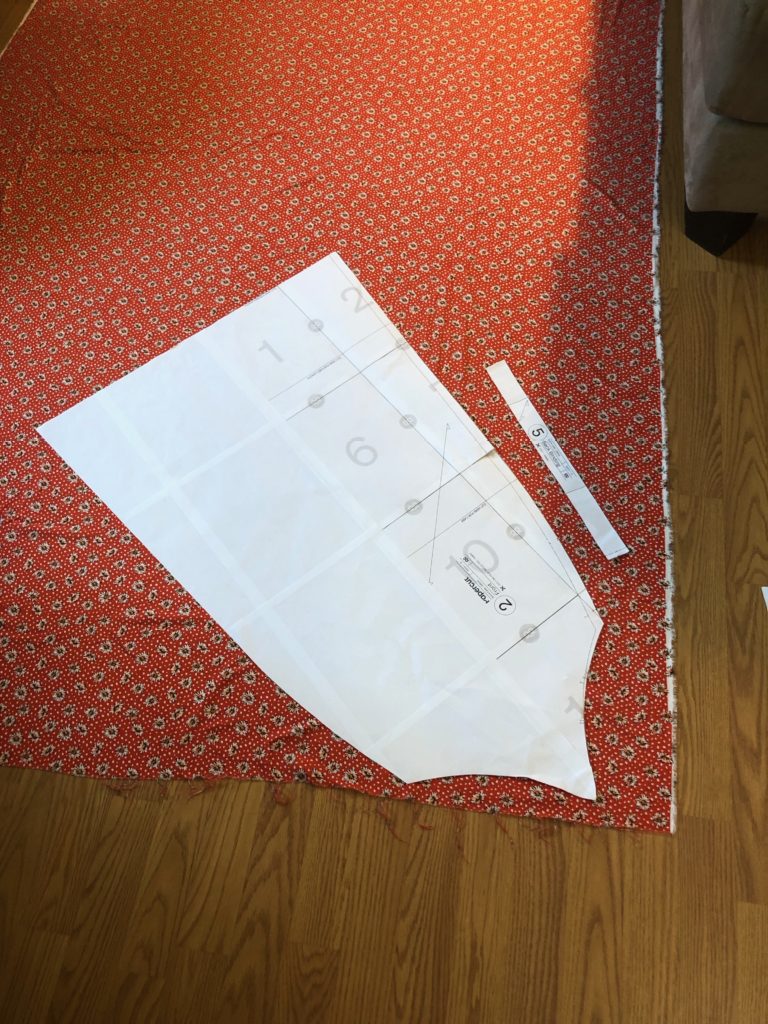
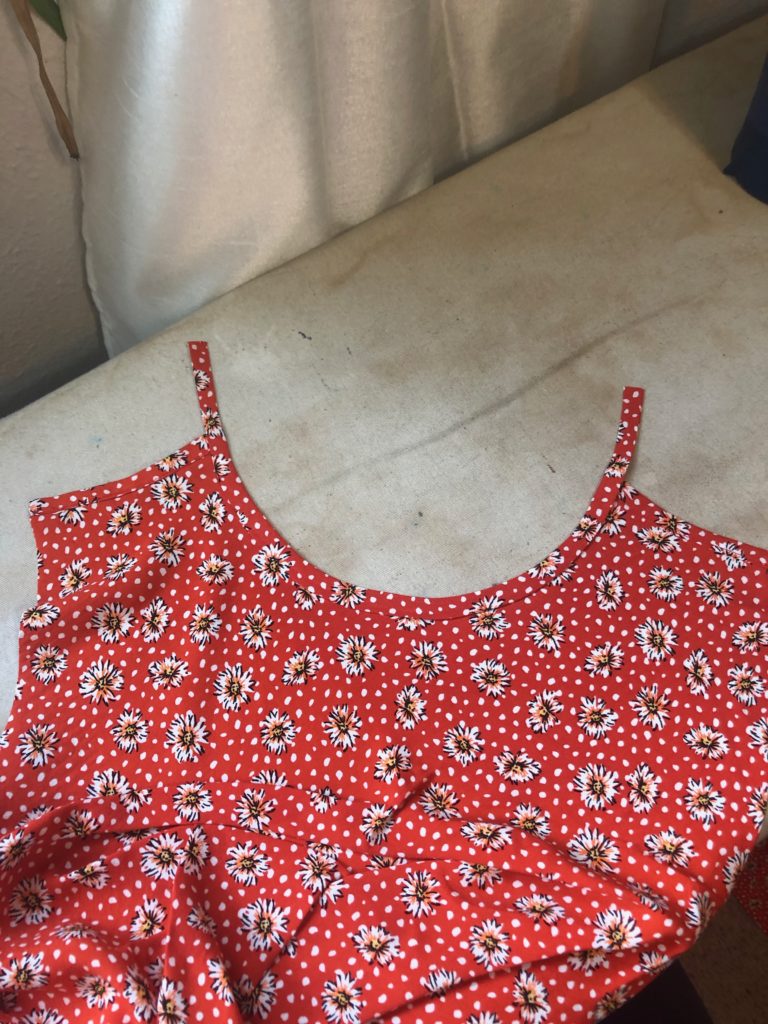
After cutting my pattern pieces, I can start the sewing process. I interface my cups and sew my strap pieces. Also, using my iron to fold the back and side bindings. I absolutely love the cup pieces of this dress. Once prepared we can sew the cups to the main front of the dress. This dress is a relatively simple sew but there’s a couple parts that make it difficult. Anything cut on the bias wants to shift. And installing the cups took some careful marking to make sure they went in accurately.
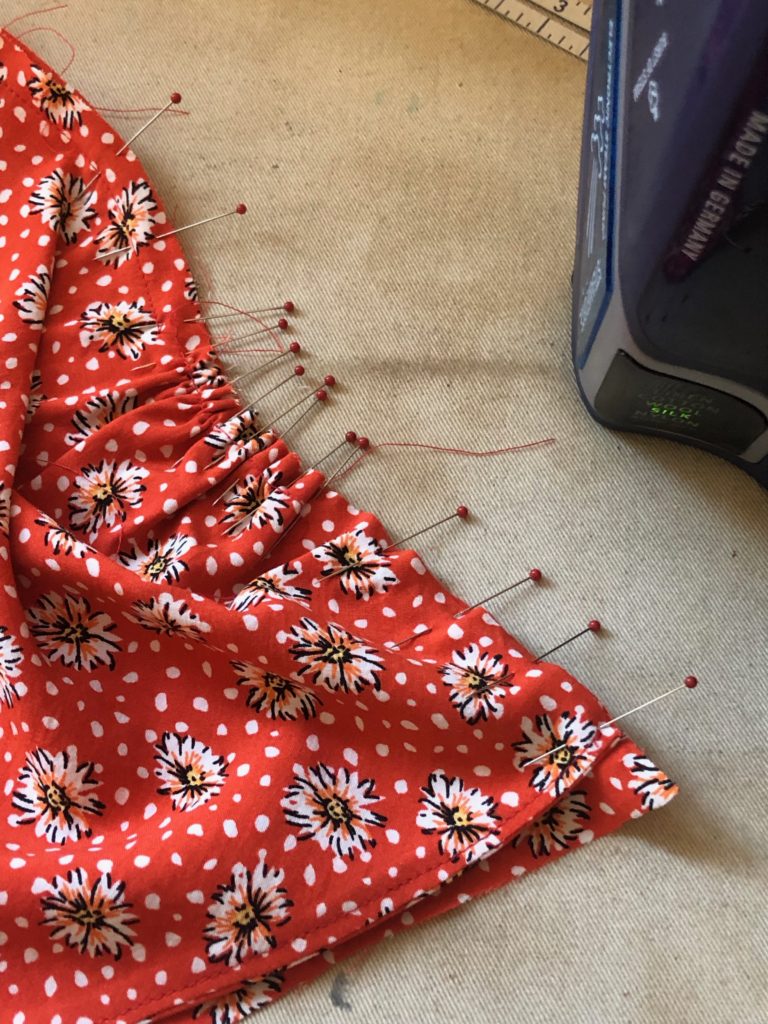
First I pin my right cup. Once pinned I use the steam from my iron to set the gather of the cup. I sew the right cup and then use my serger to clean up the exposed seam. I then repeat this process for the left side. After the cups are in, on the inside of the dress is the little triangle of fabric from the seam allowance. I flip this triangle under and to one side, then hand sew in place.

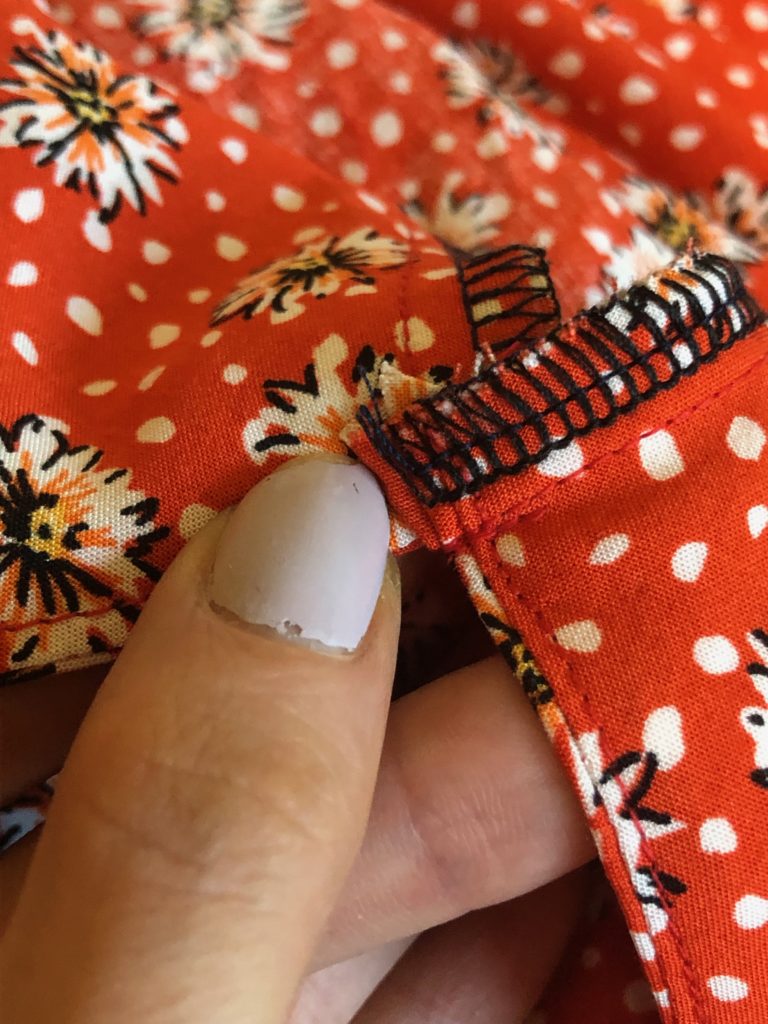
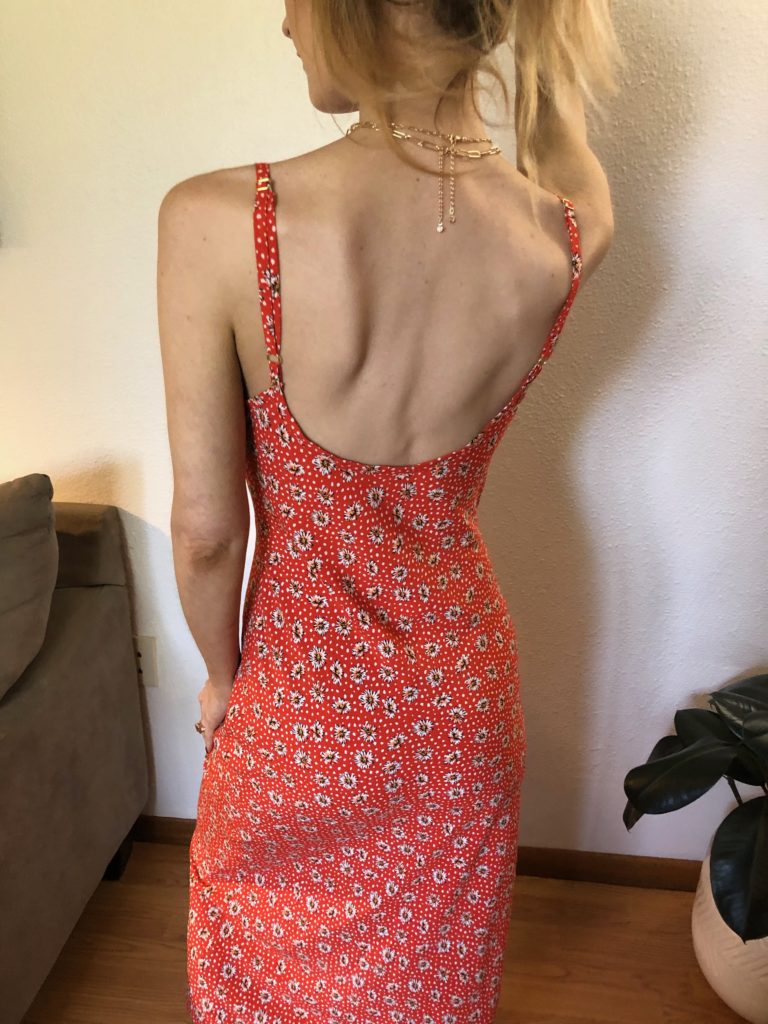
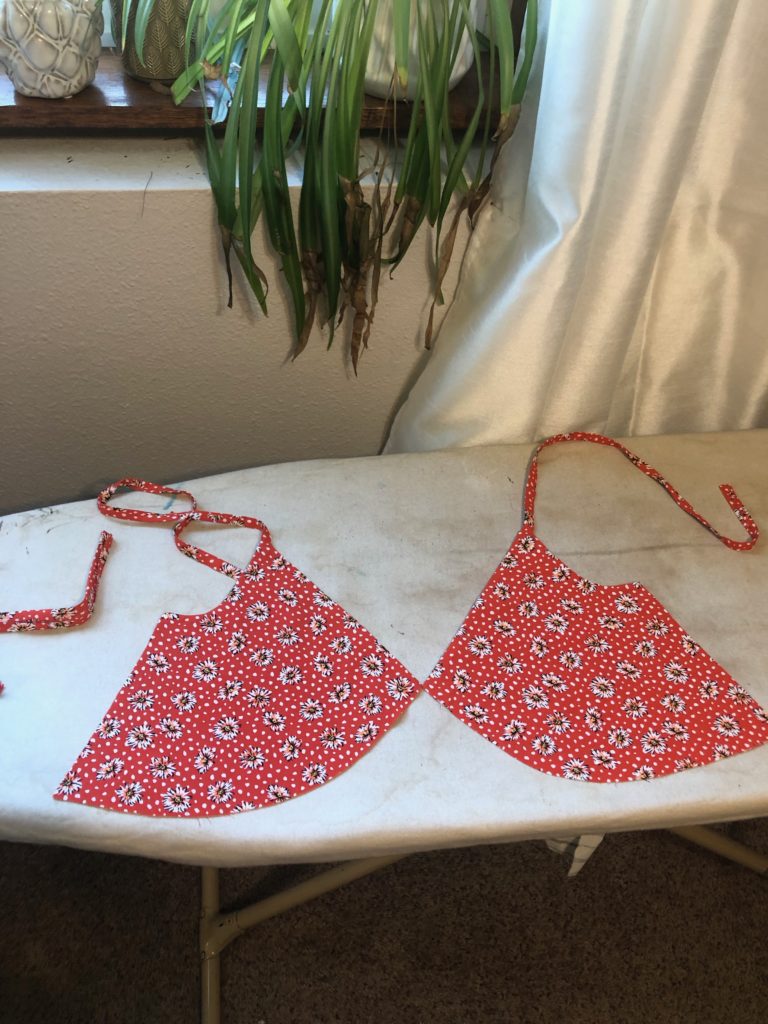
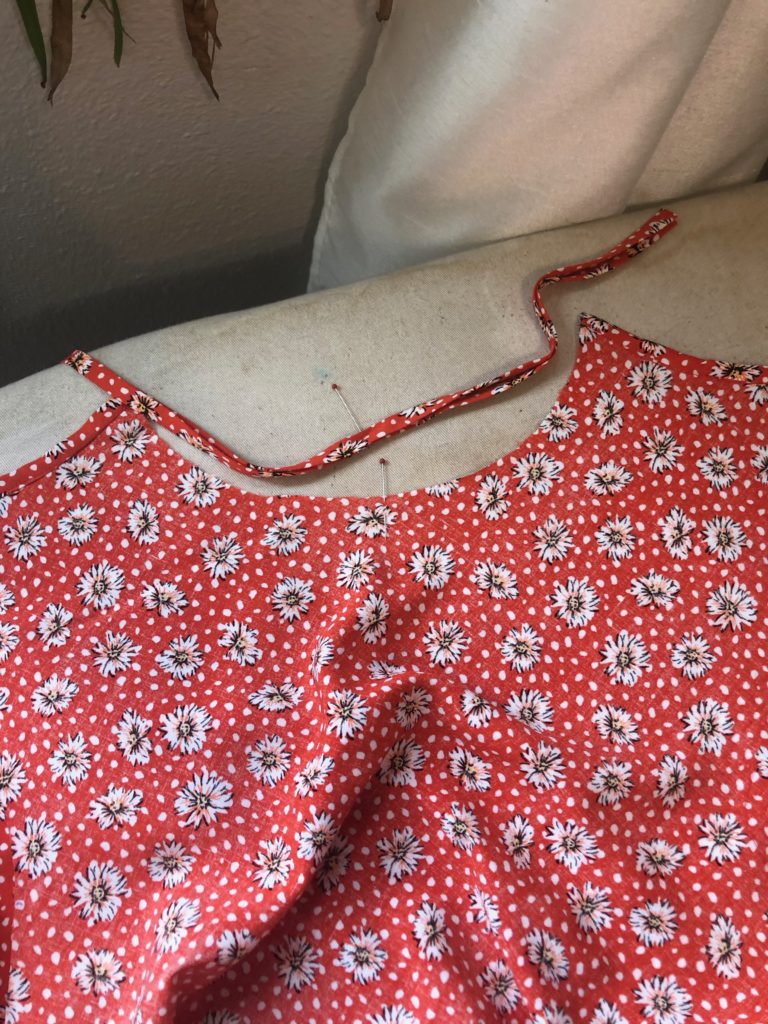
Once the front is complete we can start on the back. Since, I’ve already ironed my bindings I sew my side bindings and then back bindings as per the instructions. While this fabric is delightful to wear it is a little slippy to sew. However, I was absolutely delighted with how clean the back binding looks.
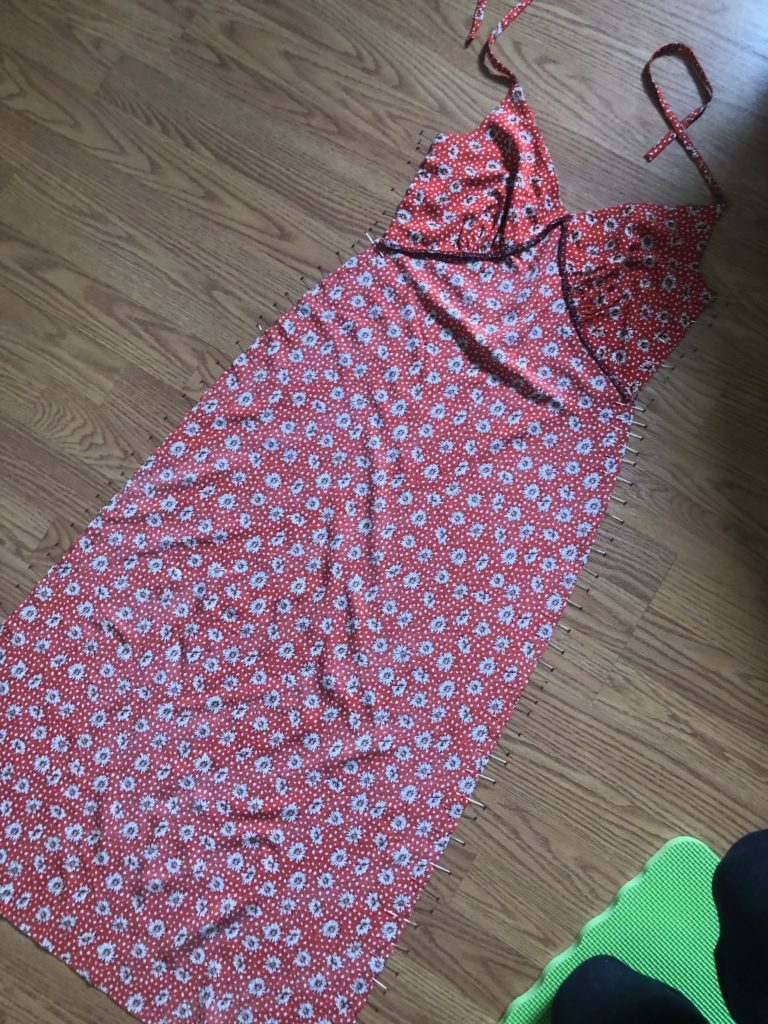
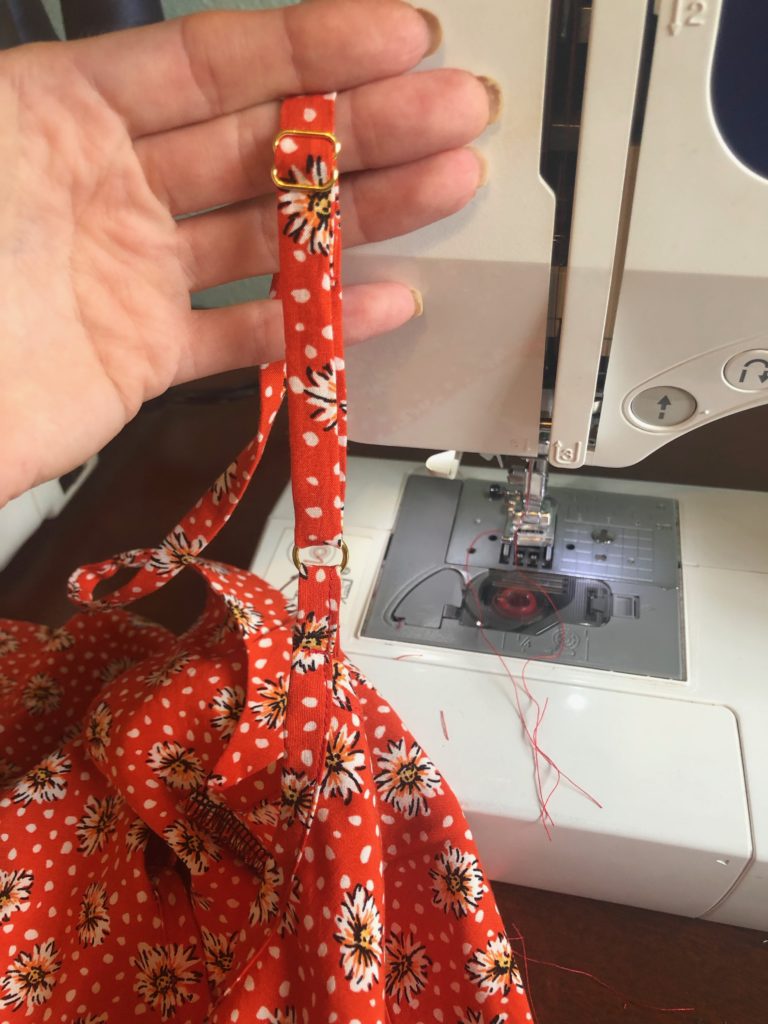
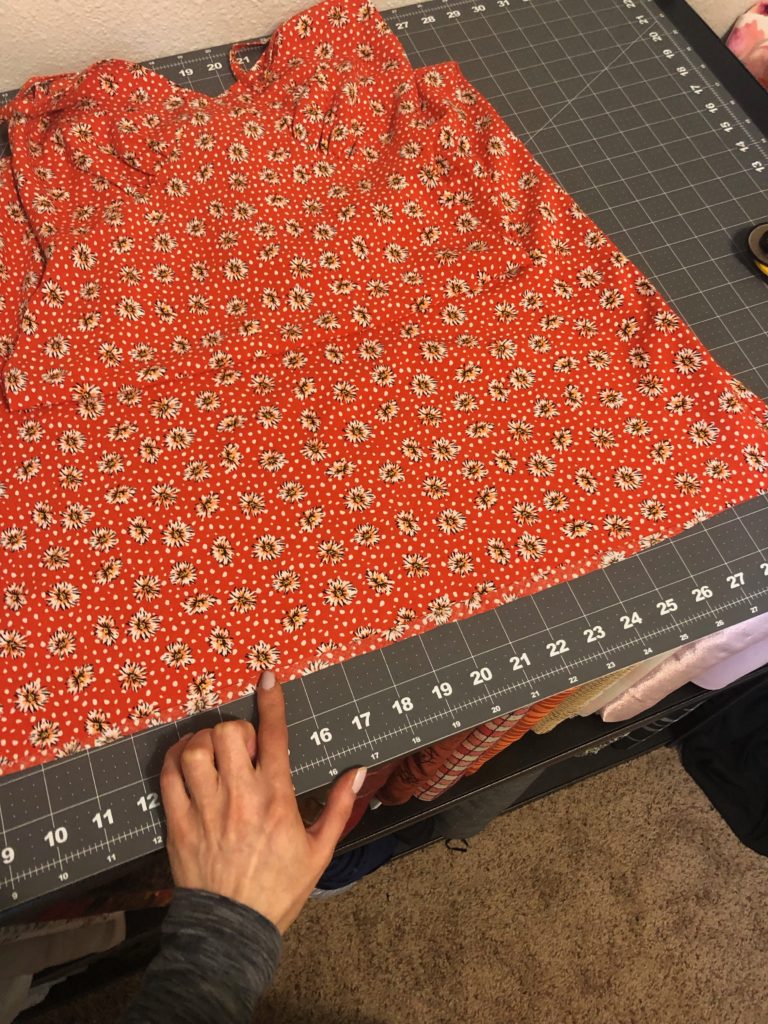
After the back binding is ready, we can sew the front and back together. I did this process carefully since bias garments shift. Then time to finish off our shoulder straps. Two minor complaints I have with the pattern. I didn’t see the pattern list what size sliders, I find those little details helpful. I use gold 3/8in rings and sliders for this project. Finally, my other thought, I am surprised the pattern doesn’t suggest letting the bias hang for 24 hours before hemming. I always do this because the fabric will shift and you can end up with an uneven hem. Anyways I let mine hang for the 24 hours. And I’m glad I did. There was some evening of the hem to do afterwards.
Overall, a really beautiful pattern. I love all bias cut garments but I really love how well this shapes to me. At some point I want to revisit this pattern and make a nightgown with lace detailing. But until then, thank you so much for reading along and take care.