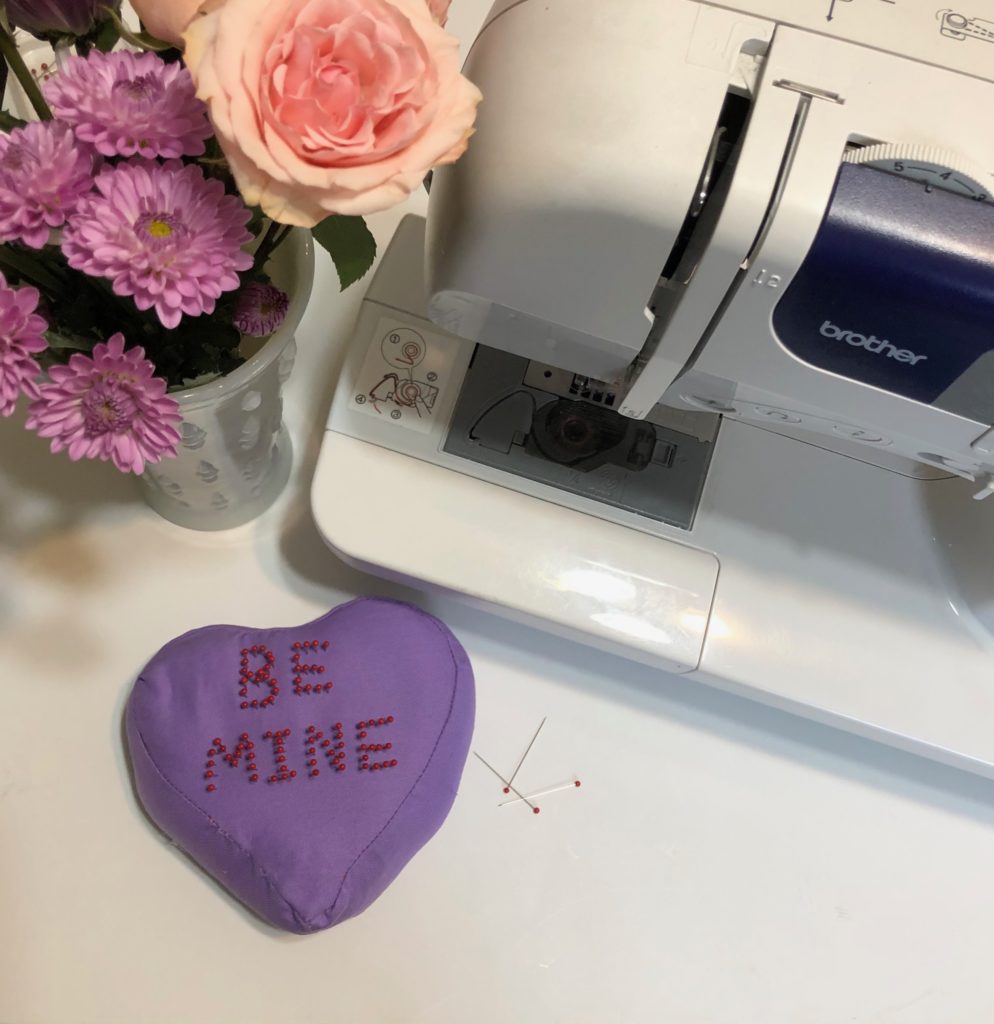
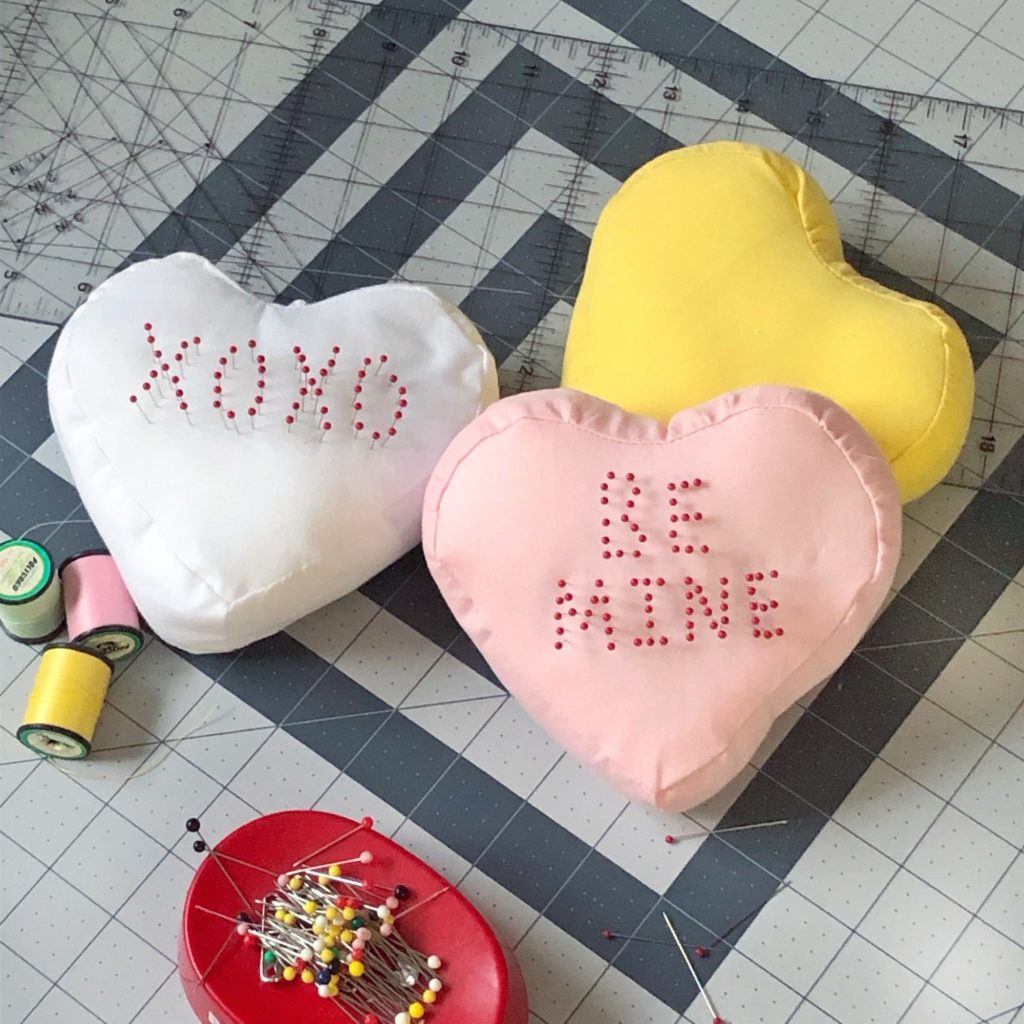
Valentines is one of my favorite holidays! Its not so much the romance aspect or anything like that I just love the colorful festive decorations annnnd of course the fun candy! Seeing all these sweet decorations up in store inspired me to create some of my favorite valentines candies into pincushions. I Just love conversation hearts. Even if you don’t celebrate valentines this could be a fun Galentines sewing project or you can always write out your anti-valentines sentiments on them! Lol this project is merely meant for fun, I enjoyed making them and I hope you do too.
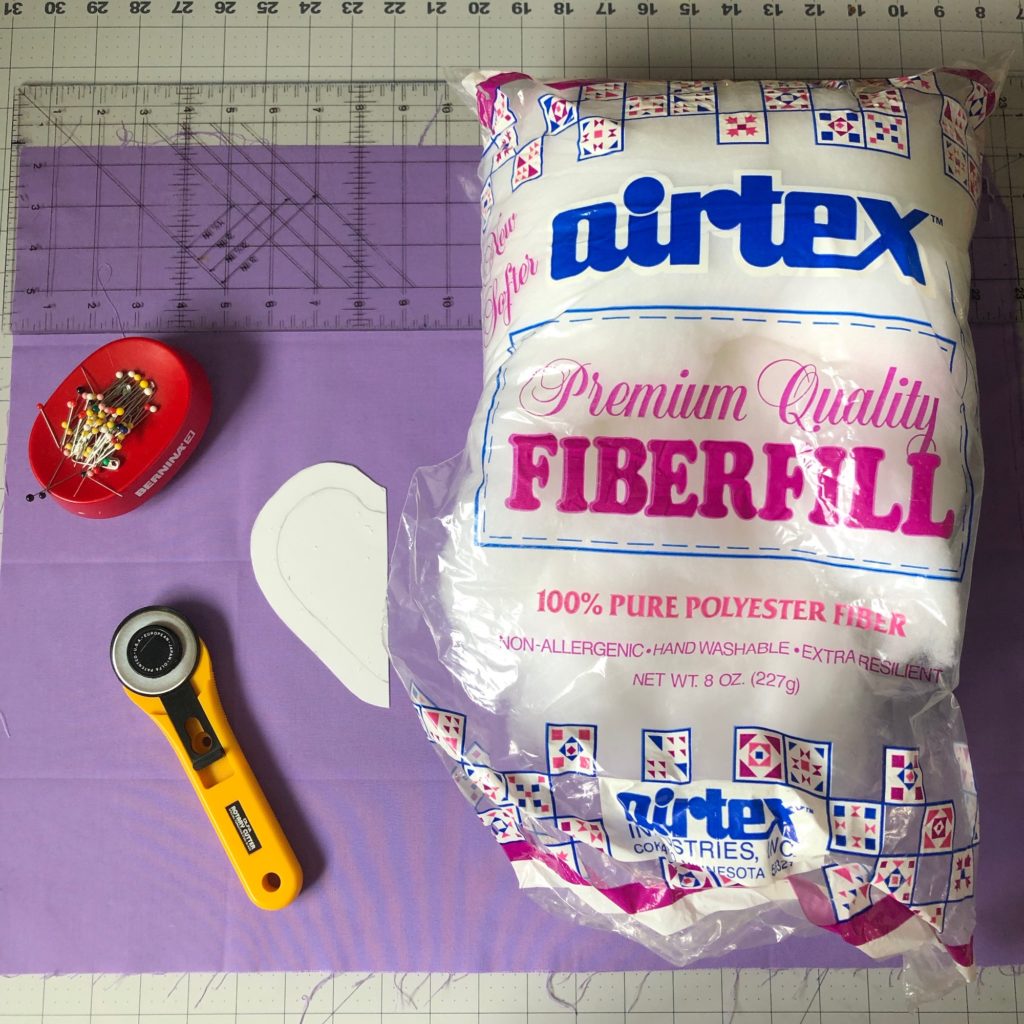
Materials needed:
- Fabric
- Matching thread
- Fiberfill
- Pins
- Cutting tools
- Heart shape
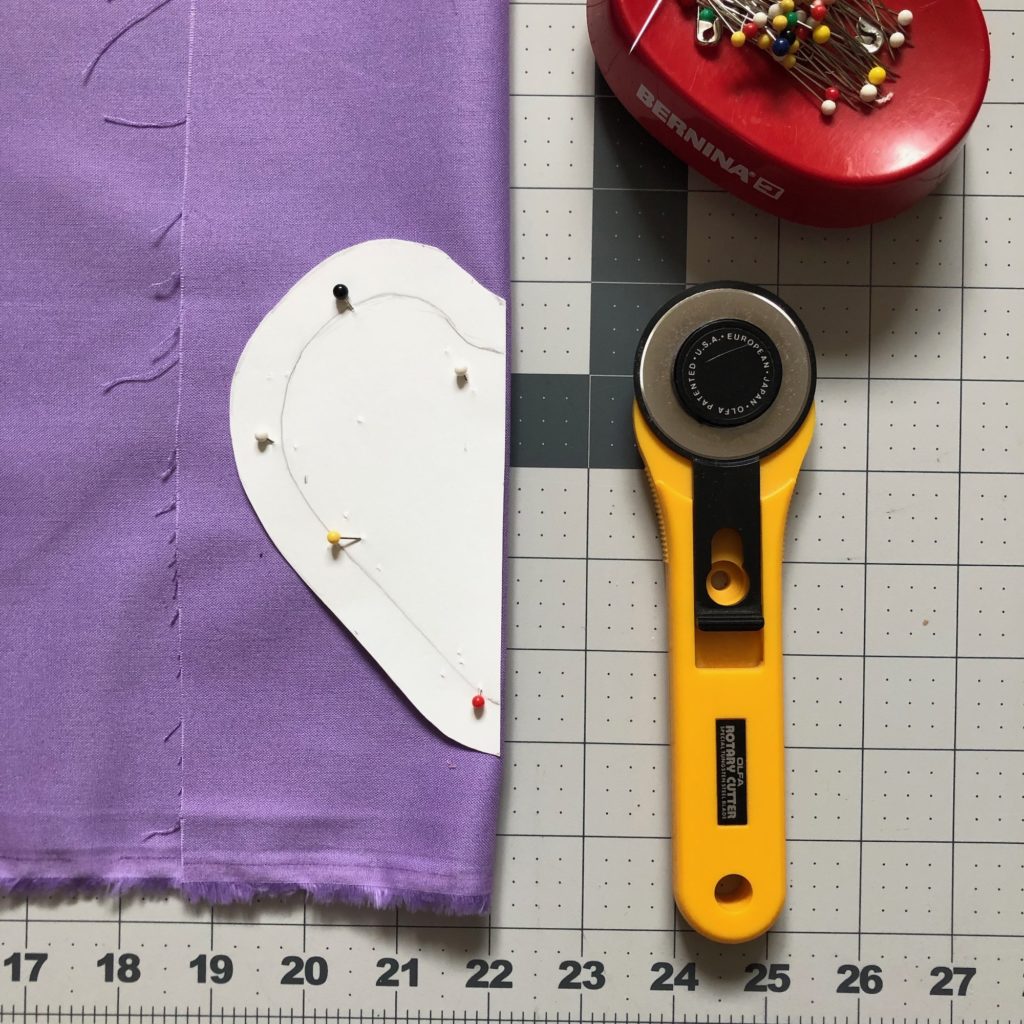
I sketched out my heart shape similar to the candy hearts with the rounded curve between the arches. You could print a candy heart shape off of google images if you don’t feel comfortable drawing one out. For reference, my hearts were 4.5in wide finished and the band was 2in wide. I did add a 1/2in seam allowance to all sides so my actual band I cut out was 2 1/2in by 21in.
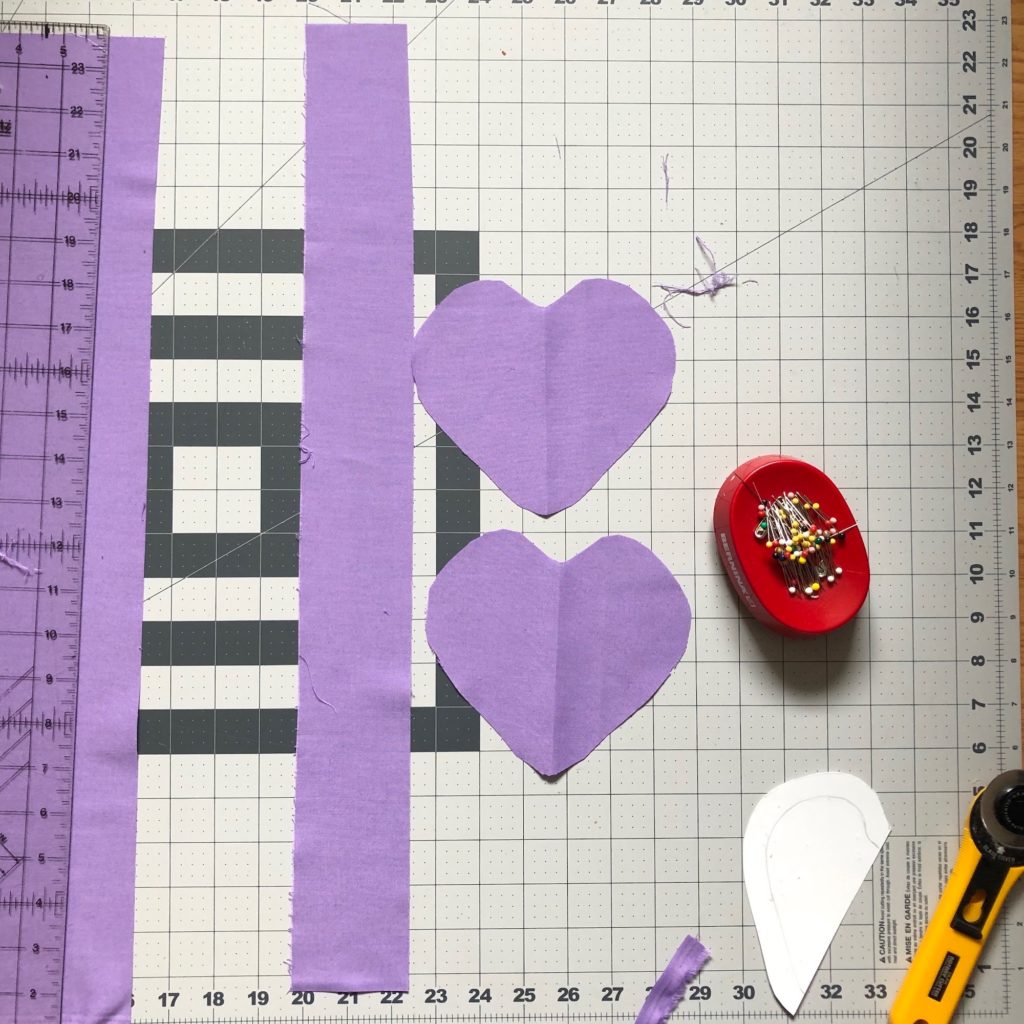
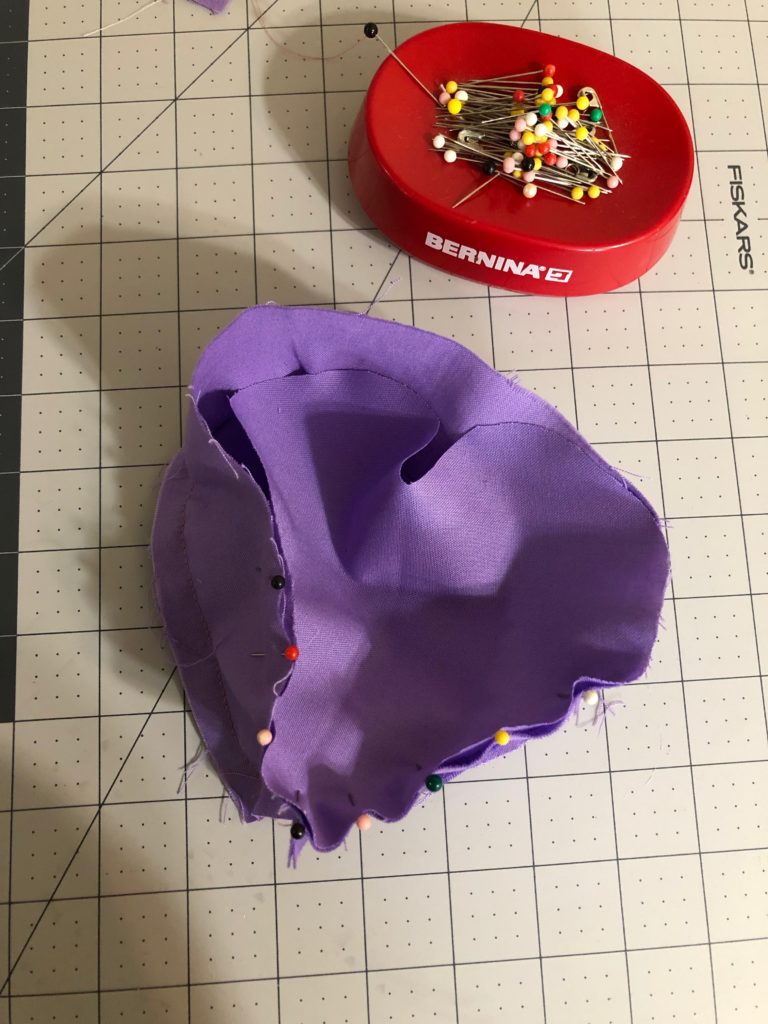
Begin by cutting out two heart shapes, one for the top one for the bottom. I cut my heart shapes on the fold since I found that to be quick and symmetrical. Also you will need to cut one band. Next we are going to start pinning the band to the heart.
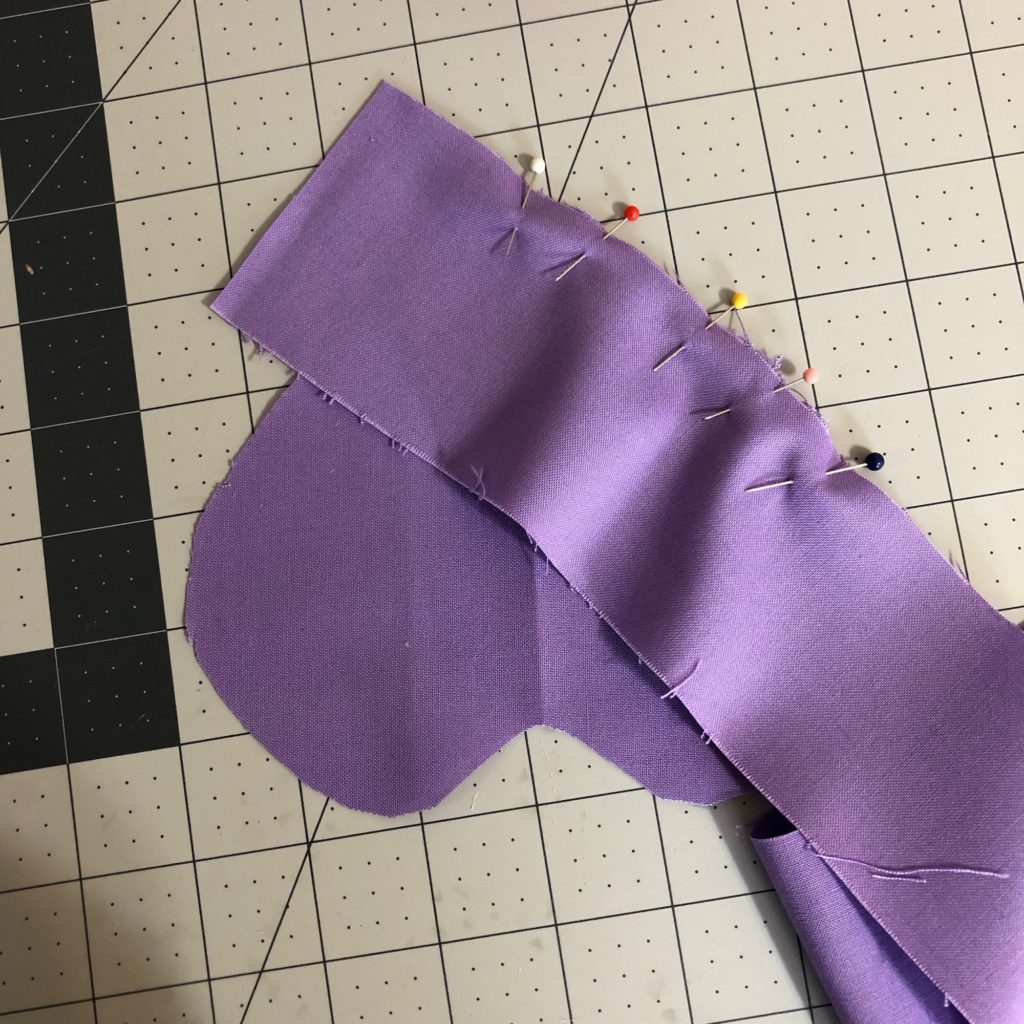
With right sides together, pin the band to the heart starting at the bottom tip of the heart. I found it easiest to have my heart shape laying flat and then pin. The straight edges are easy to pin, but be sure to take your time around the curved edges. I knew my band would have excess fabric so I found it best to have the band ends meeting at the bottom tip for an easy stitch, I will show you in a few steps. You could also measure the perimeter of the heart for an exact measurement for your band (don’t forget seam allowances!) but I found this method easy for me.
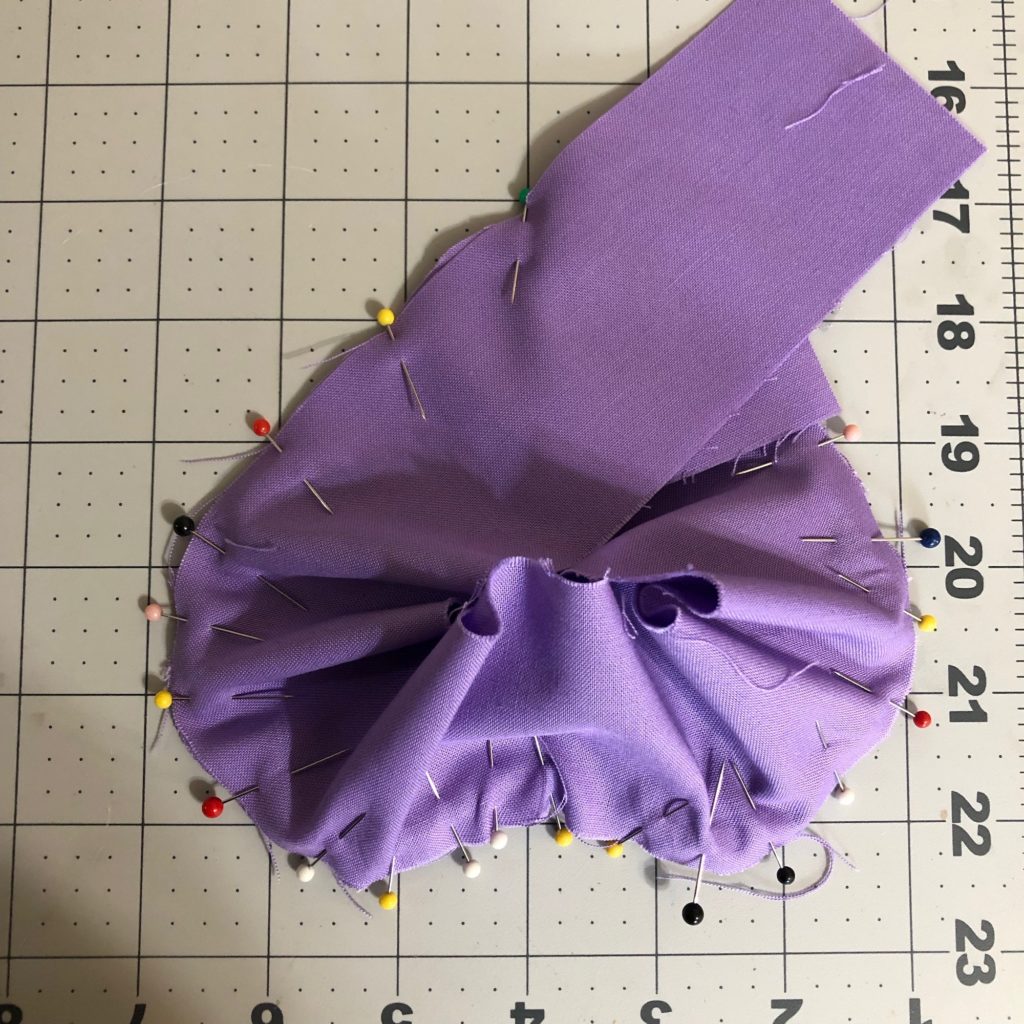
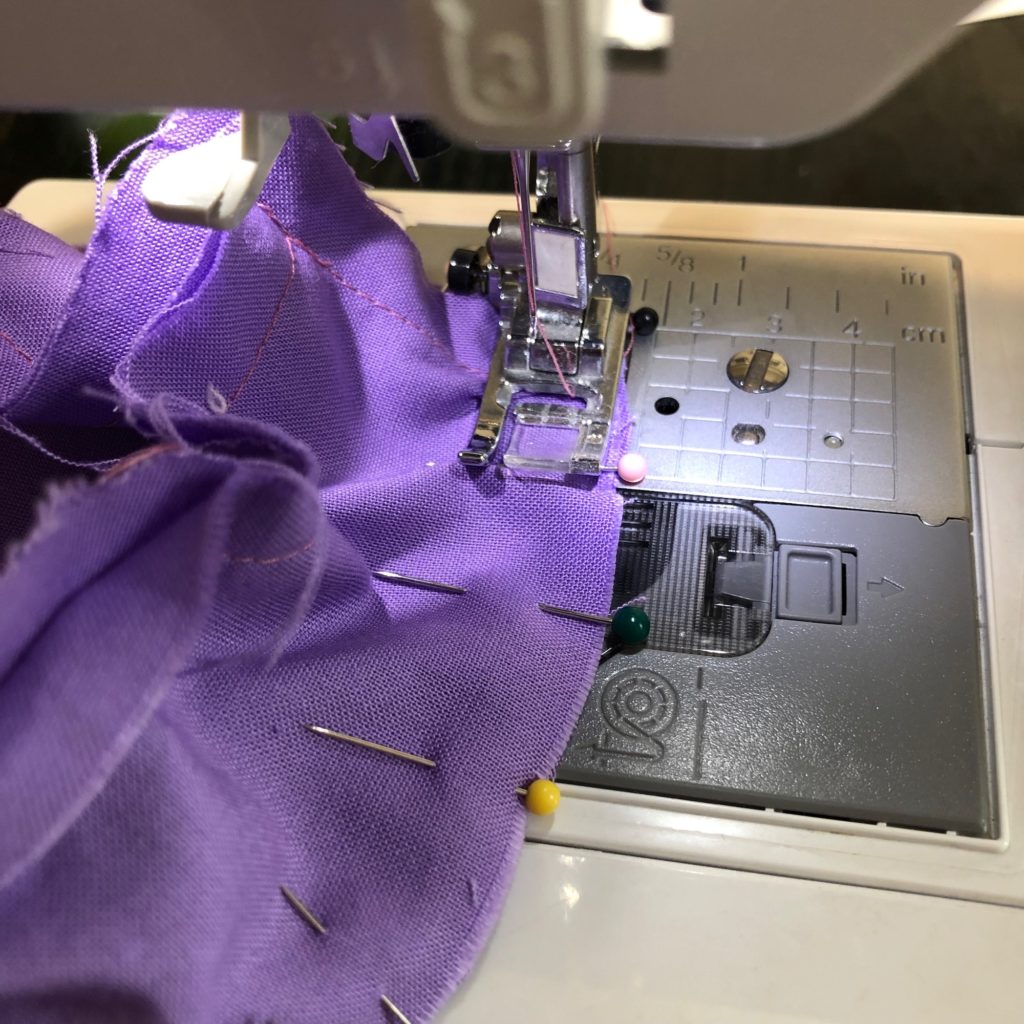
Begin sewing at the bottom of the heart. Take your time sewing around the curves of the heart. I sewed mine with the heart side down and the band side facing up. This way I was able to maneuver the band to limit the amount of bubbling (mine still did a little!) but still kept the heart flat. Sew around the perimeter till you reach the other side of the bottom of the heart.
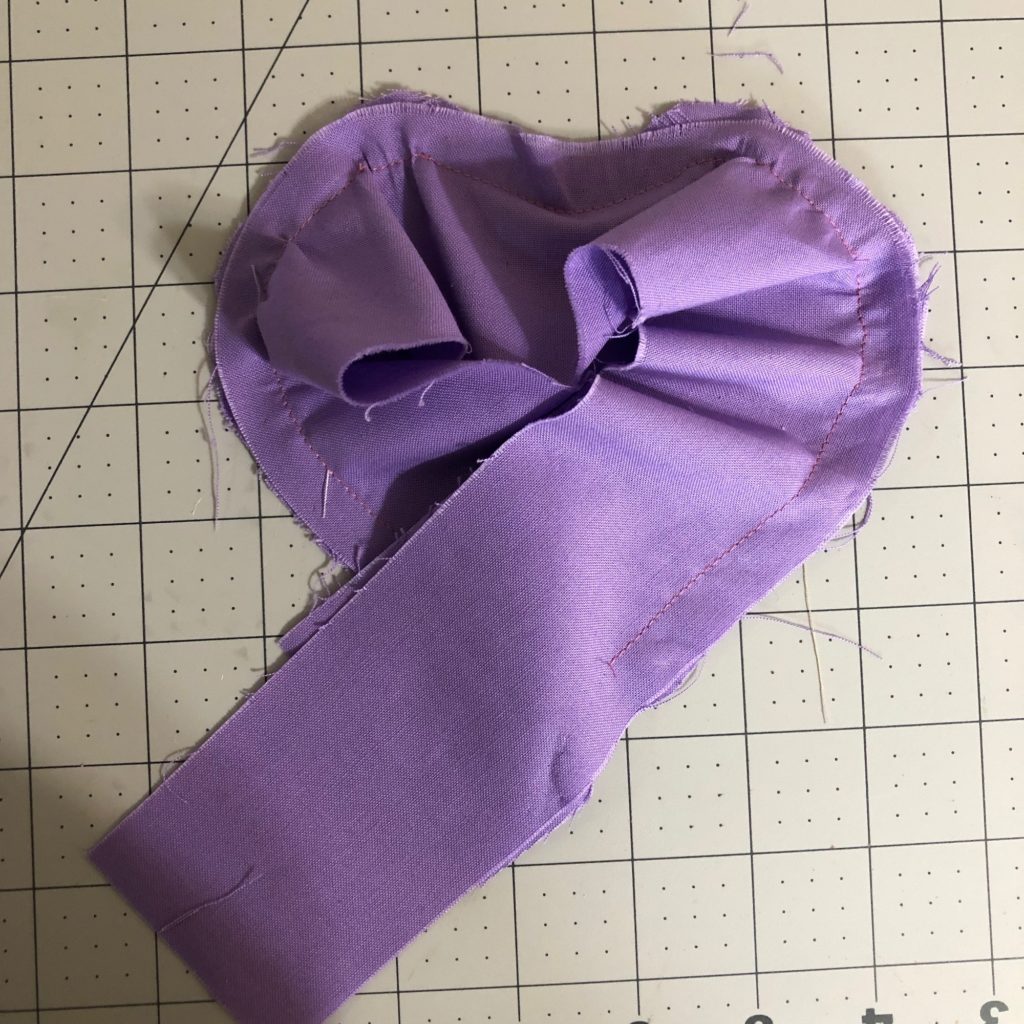
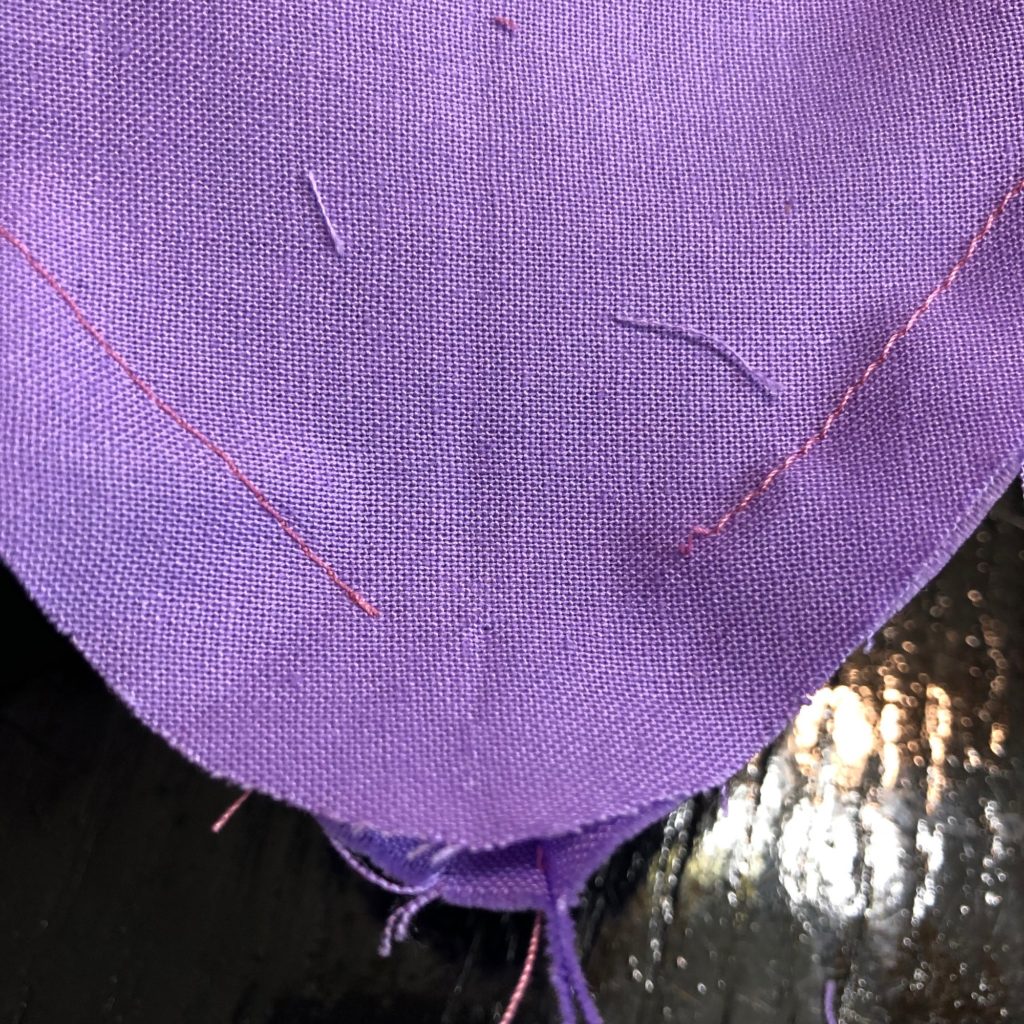
You should be left with something like this. Mine have some bubbling around the curves but that’s totally ok! This project is for fun not perfection 🙂
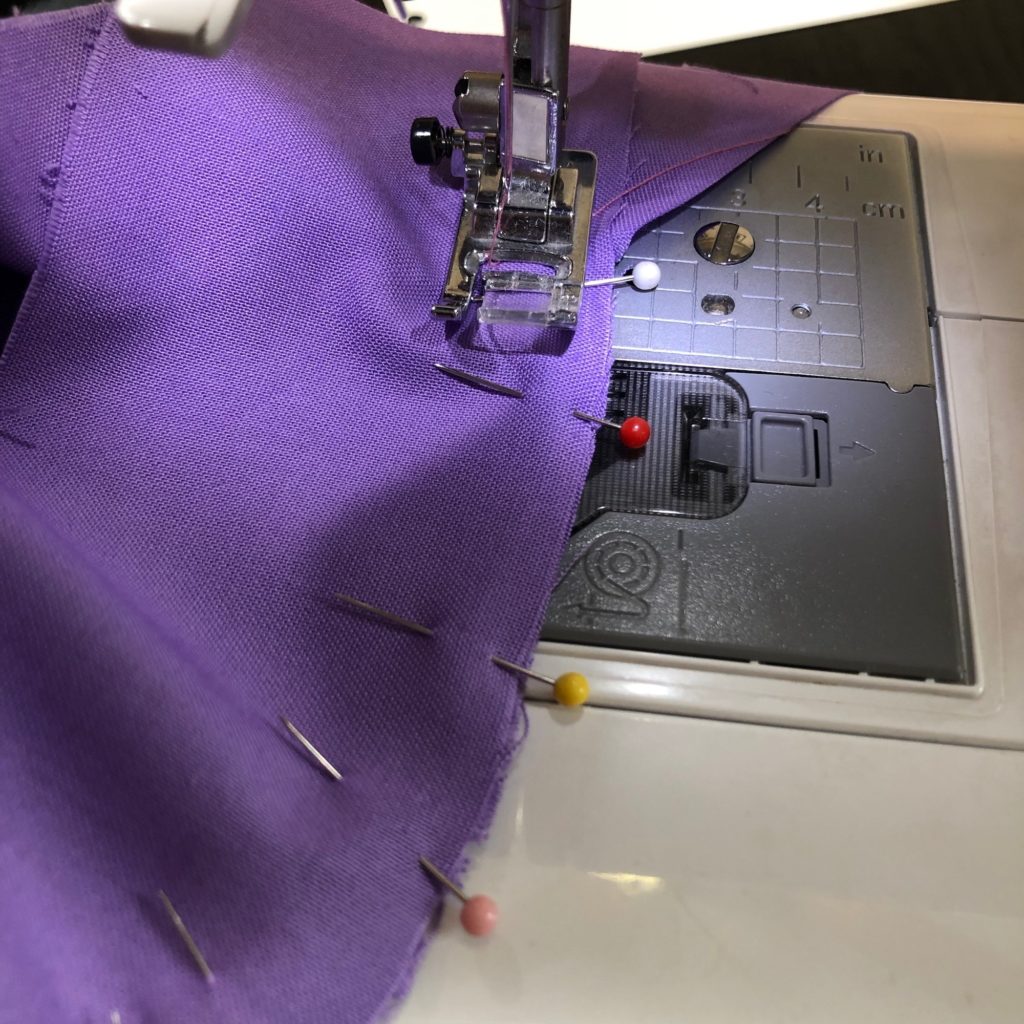
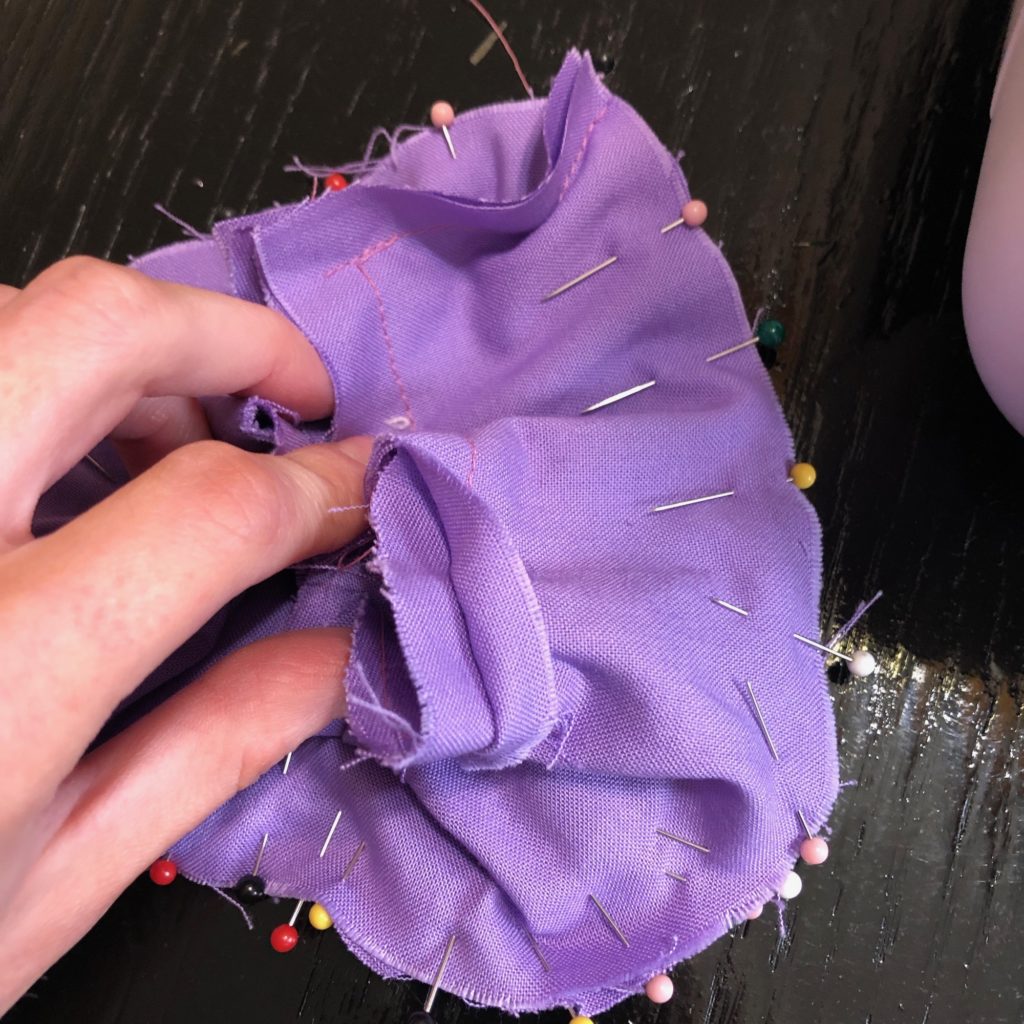
Now to take care of those pesky band ends!

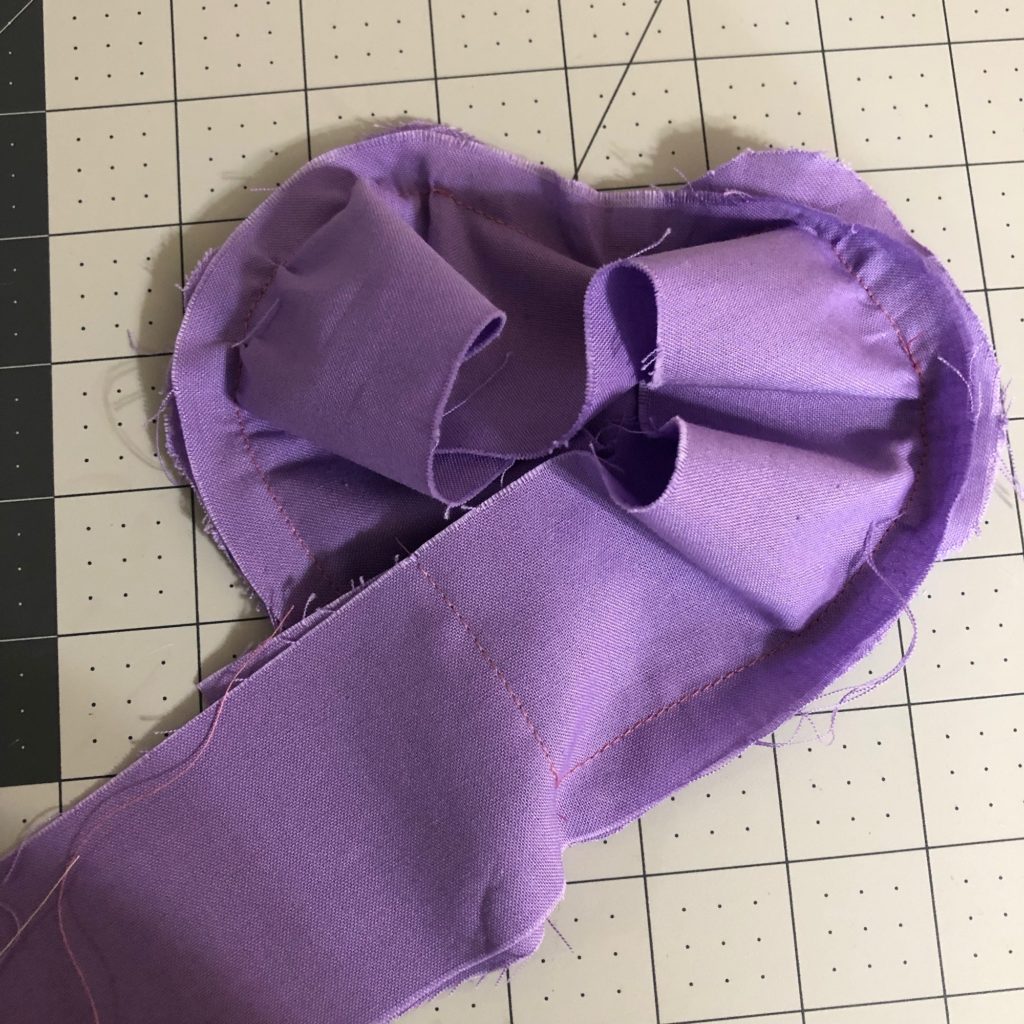
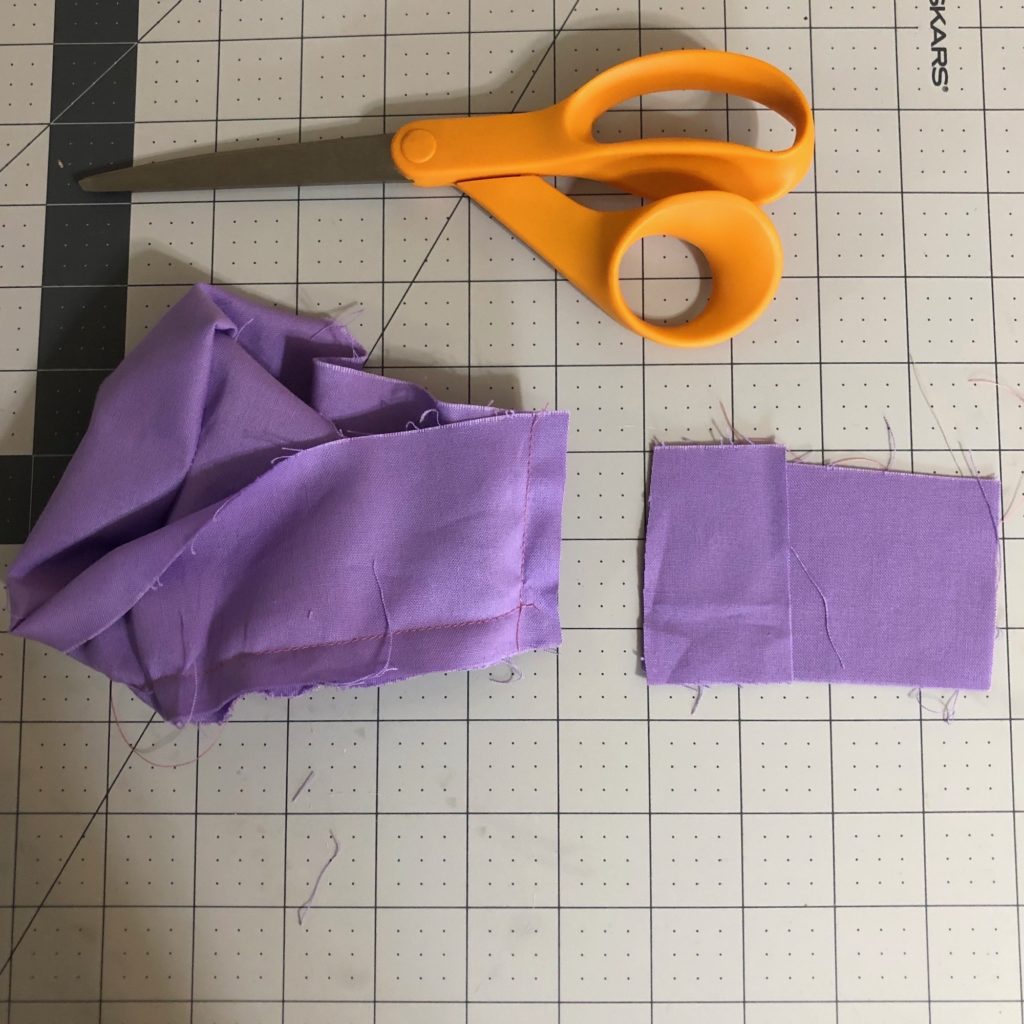
With the end of the bands right sides together make a stitch down from last stitch made around the heart. With that stitch finished we can cut off the excess fabric from the ends but first I like to flip my heart shape to make sure everything is lined up.
Once that is cut we are half way there! Now with right sides together we can begin pinning the second heart shape.
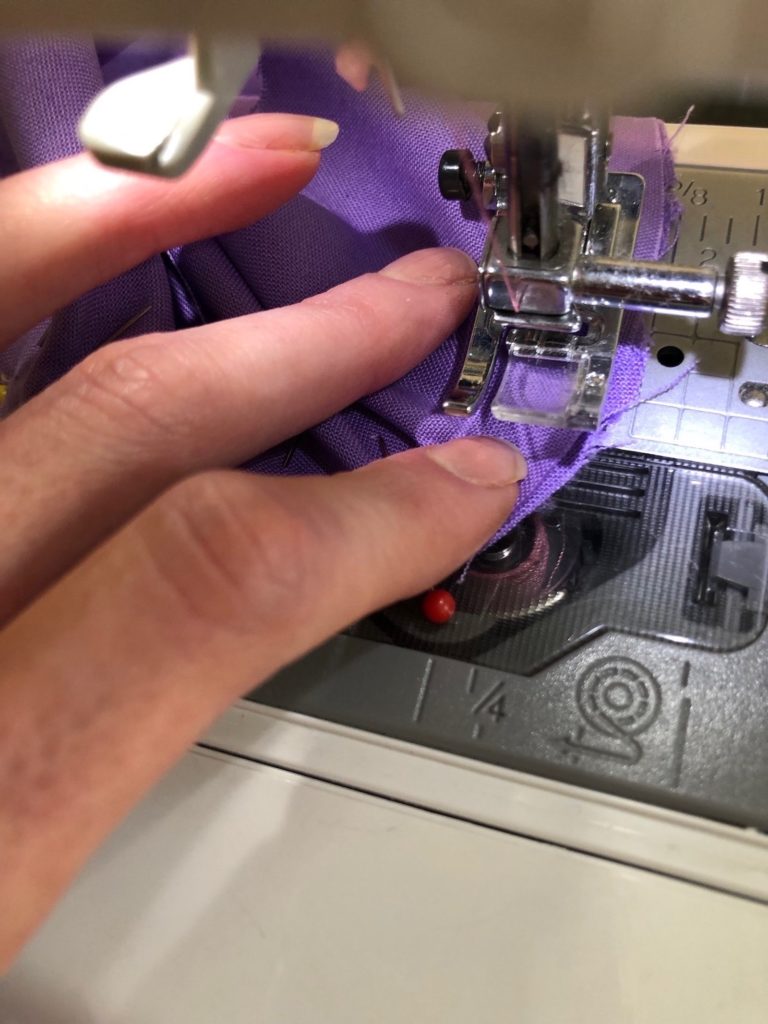
Pin the right sides of the band with the right sides of the unsewn heart. I like to start at the bottom tip and work my way around. Be sure to leave an opening so you can flip your heart out! You’ll see for the purple one I left the opening at the bottom tip of the heart, but I found it easier to leave one of the straight edges of the heart open to flip. The tip of the heart was harder to hand stitch compared to the straight edge. Now we can begin sewing all around the heart minus the opening to flip through. Be sure to again go slow around the curves again.
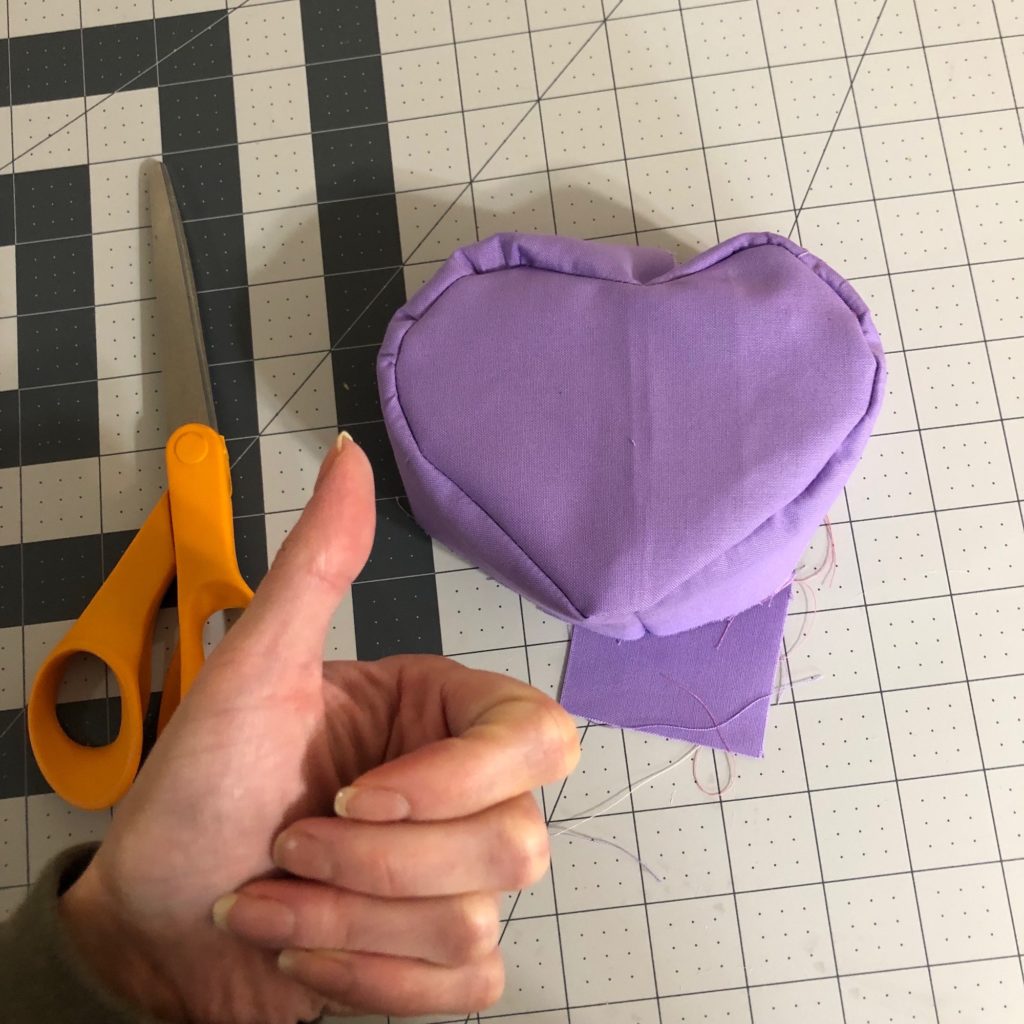
Almost done! Now that we are finished sewing around the heart we can almost flip it over, but there is one more important step. Clip your curves!
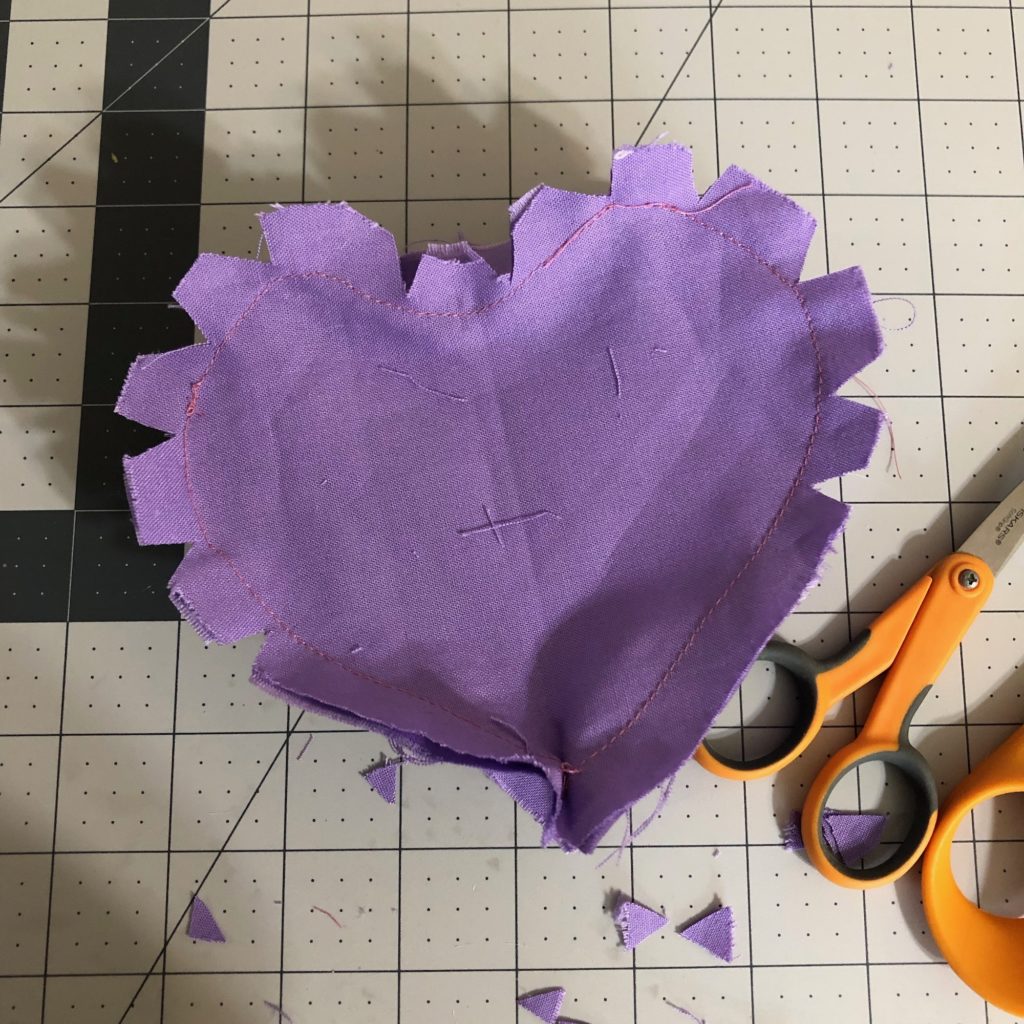
Be sure to clip your curves on both sides of your heart. This gives the fabric some relief and gives you good looking curves! After that step is complete we can flip our little hearts and stuff them.
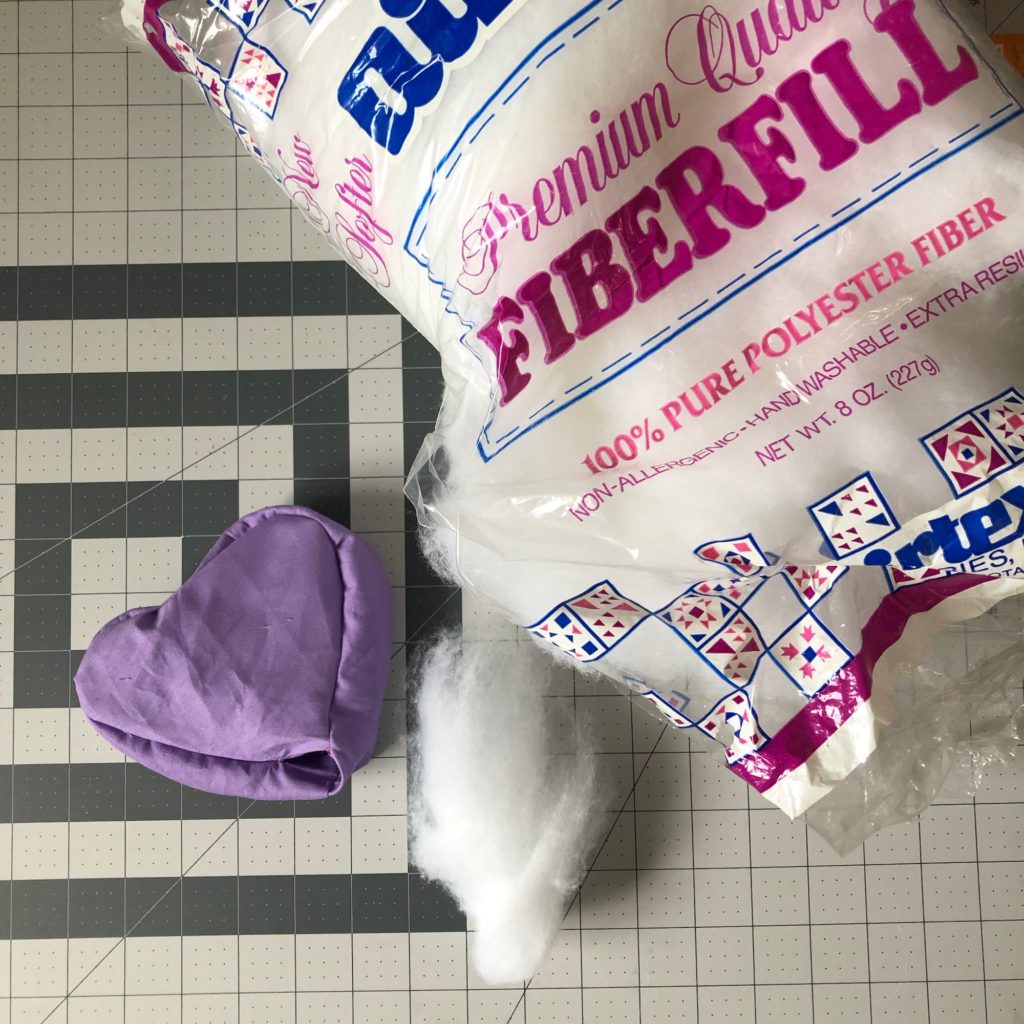
Alright just stuffing those little hearts and we are almost done here! Be sure to really stuff those little shapes full. Once the heart is filled up we just have to hand stitch the little opening closed. You’ll see I used pink thread to do my hand stitch, but matching thread would look so much better! I was using a contrasting color to help illustrate things during this tutorial and to be completely honest I ran out of lavender thread.
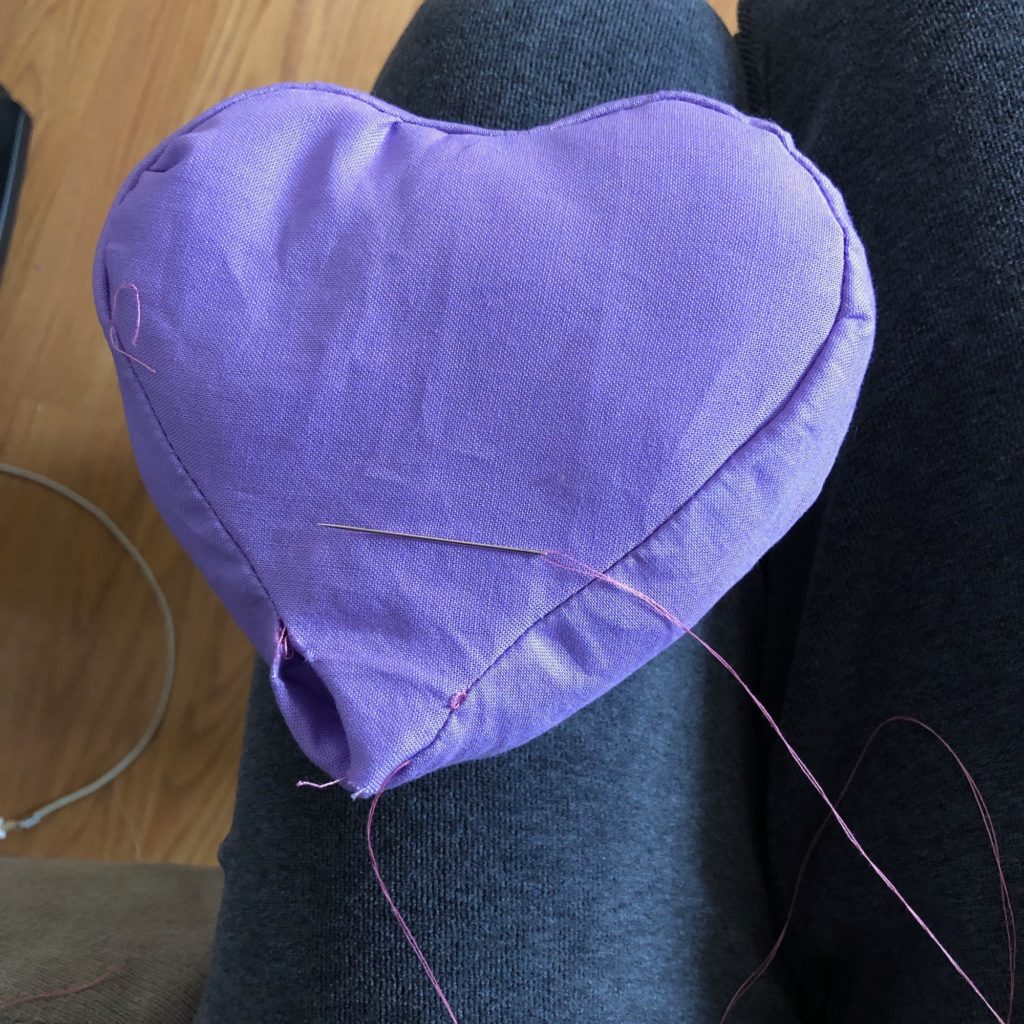
Just finishing up the hand stitch and now we can decorate! I got a pack of 200 red pins from hobby lobby. I like these red pins they have glass heads and they are 1 3/8in long. Most of my other pins were around the 1in range with plastic tips so it will be nice to have more options. Thank you for reading and I hope to see the pincushions you make!