Today I wanted to give you guys a little tour of my sewing space. I am very grateful to have the space I do. And trust me I understand those that are low on space. There was a time where I did all my sewing on my dining room table and ironing in the hallway. Although, the label of the space doesn’t matter near as much as how you feel in it. Happy spaces are creative spaces.
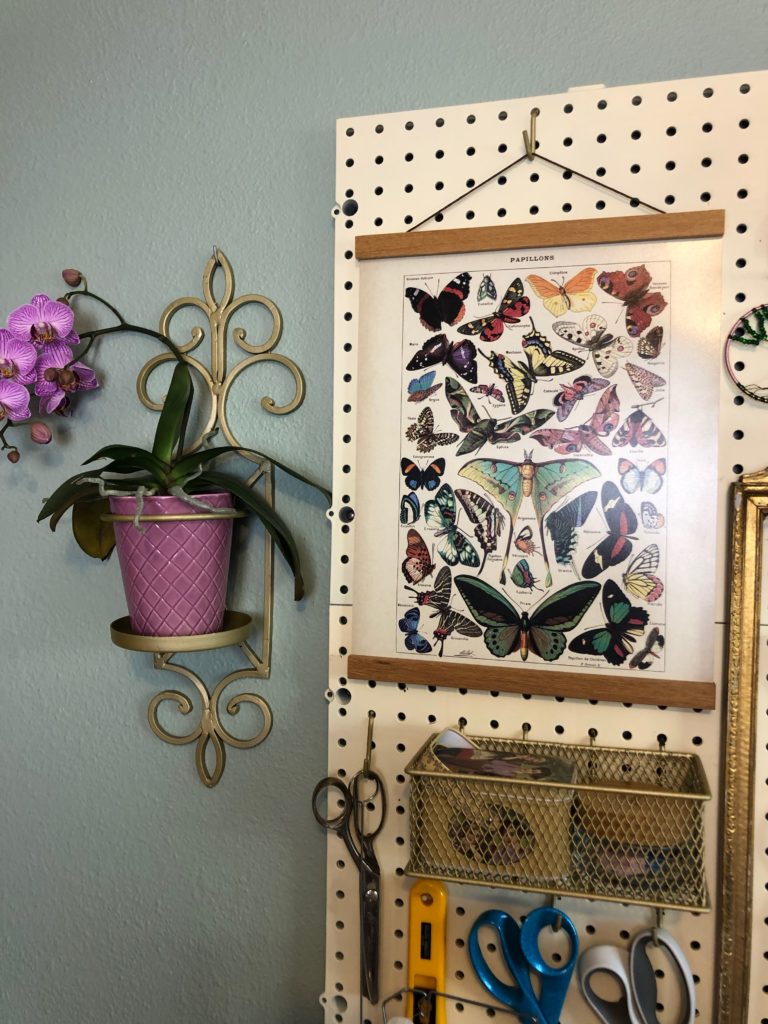
I am most content when I am out in nature. Probably why my favorite color is green. With that, I wanted to create a space that felt like a garden. Somewhere my creativity could grow. I tried to stick more or less to a similar color palette to keep everything cohesive. I love how some people are inspired by bright colors. However, I wanted mine mostly muted in shades of sage green, ivory, vintage gold and natural wood tones. My wall color took several samples but I fell in love with the color Quietude. Even the name is fitting.
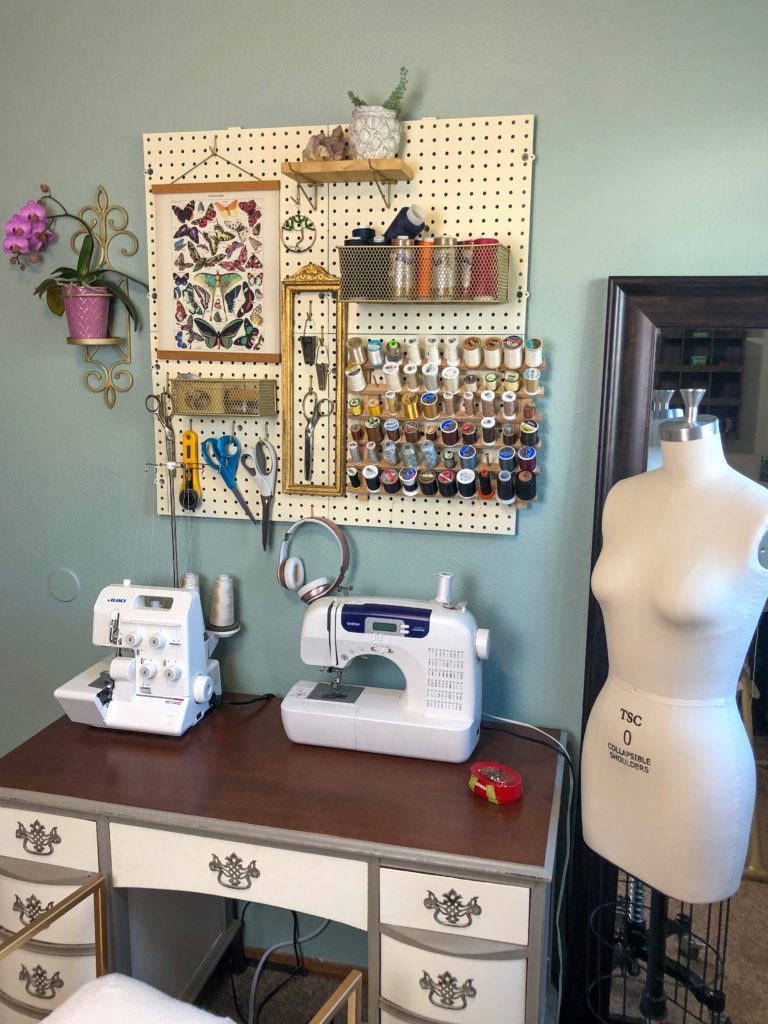
Pegboard Organization
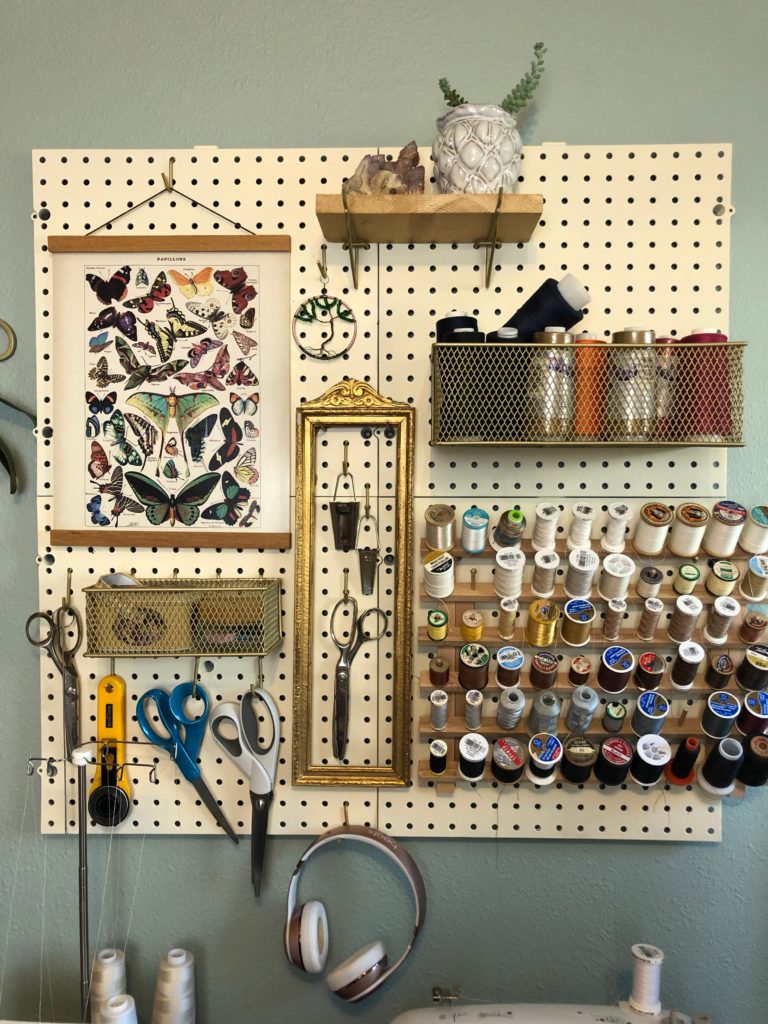
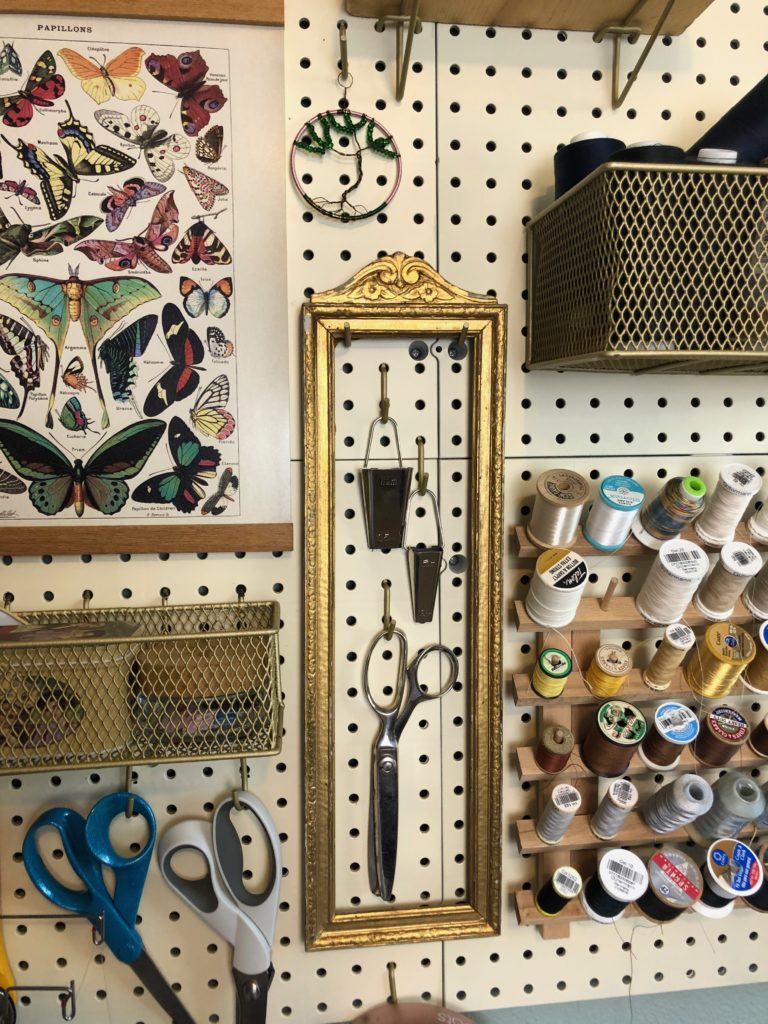
Ok guess who didn’t want a pegboard at first? And guess who loves their pegboard now? It me. But really, I was hesitant to get one because I was concerned it would be an eyesore. Organized but junky looking. I demand my organization be as aesthetically pleasing as it is functional. Anyways, I have too many tools and tidbits to organize, so I finally got one. And with the little bit of decor on there, I’m happy with it.
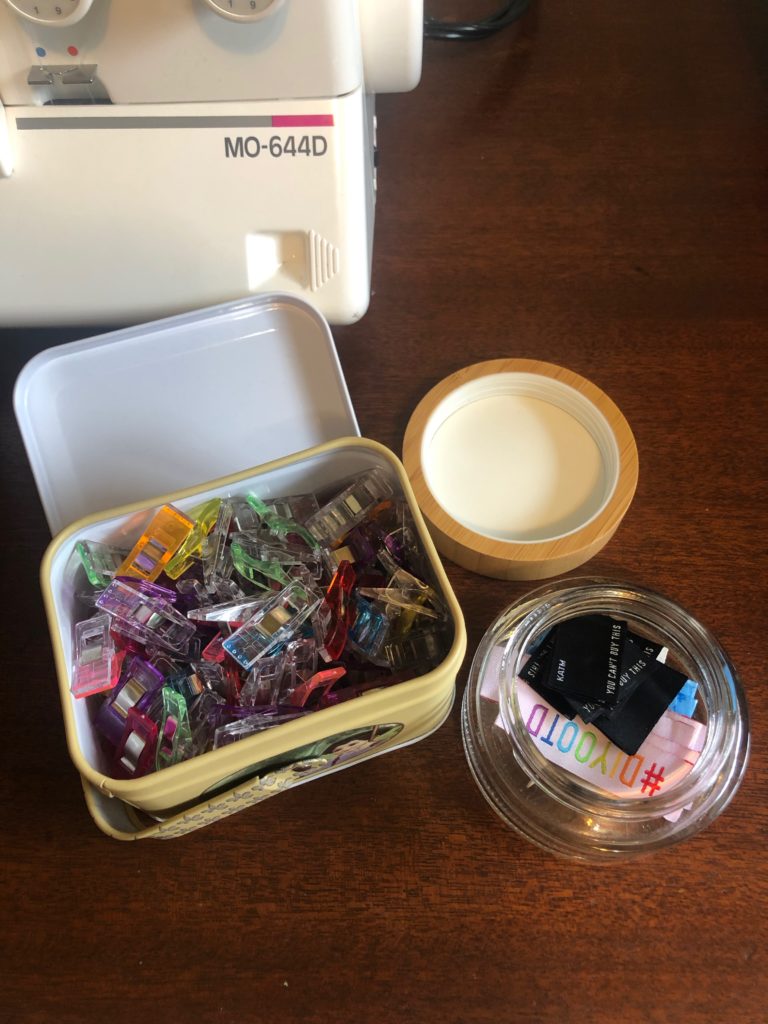
I spray painted the pegboard ivory and all the hardware antique gold. The large gold bin works well to store my serger threads. In the smaller gold bin I have a tin for clips and a jar for clothing labels. Having all the hooks to hold my scissors and keep them nearby is very handy. I am also super happy to have a spot to hang my headphones.

Whats in my desk
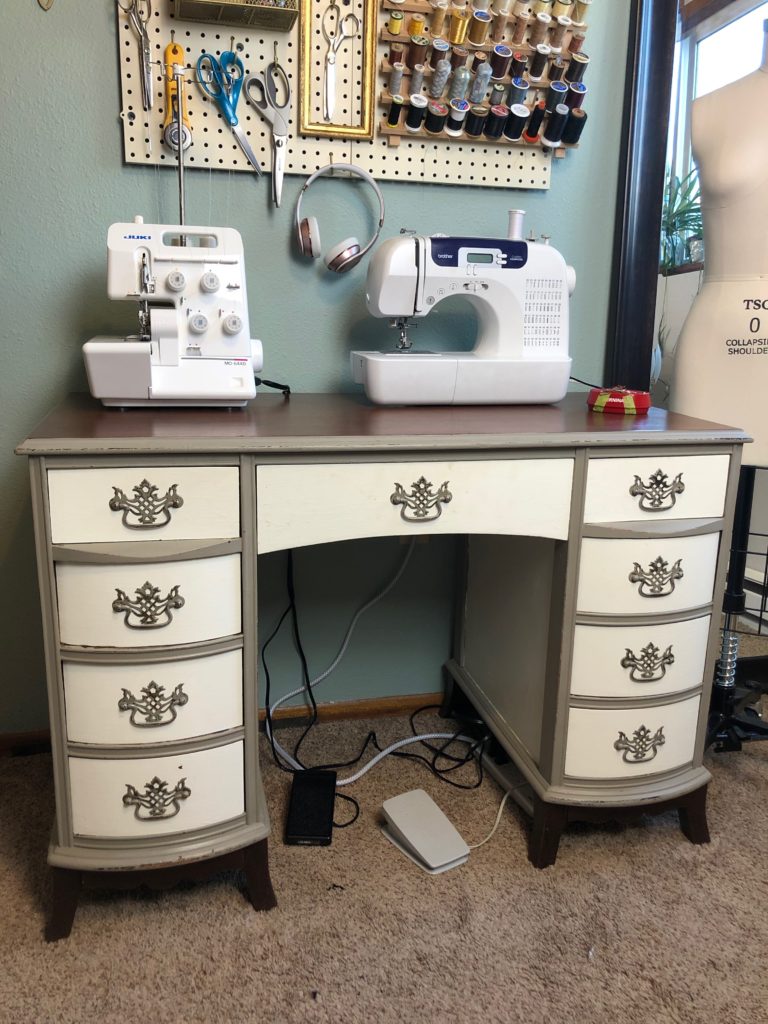
This little desk is vintage and while it is small, it fits the space quite nicely. I do wish it had a bit more top space for both the sewing machine and serger. However, its many large drawers really help with organizing the rest of my tools and notions. Also real quick, I watched Coolirpa’s sewing studio transformation and she mentions a quiz through Clutter Bug that helps determine your organizing style. Now, I can’t remember my results exactly, but the main thing I took away is that I need clear storage solutions. So, I must be lacking object permanence because if I don’t see it, it must not exist. But jokes aside having clear storage bins helps me keep track of what I already own.
Drawer organization
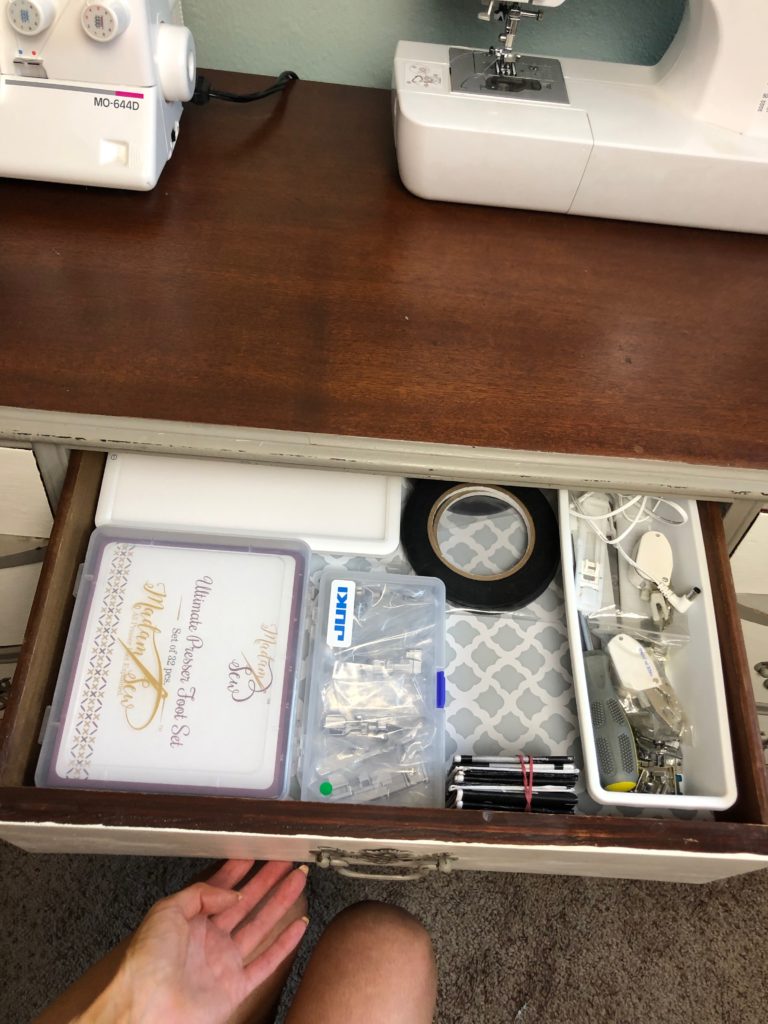
Starting with the middle drawer. This isn’t the easiest drawer to pull out if I’m seated working at the desk so I have things in here I don’t reach for as often. I have all the foot attachments for my Brother CS-6000i and the foot attachments for my Juki M0-644D. As well as, draping tape and one of those daylight mimicking lights. Seriously, so nice for the sometimes dreary PNW.
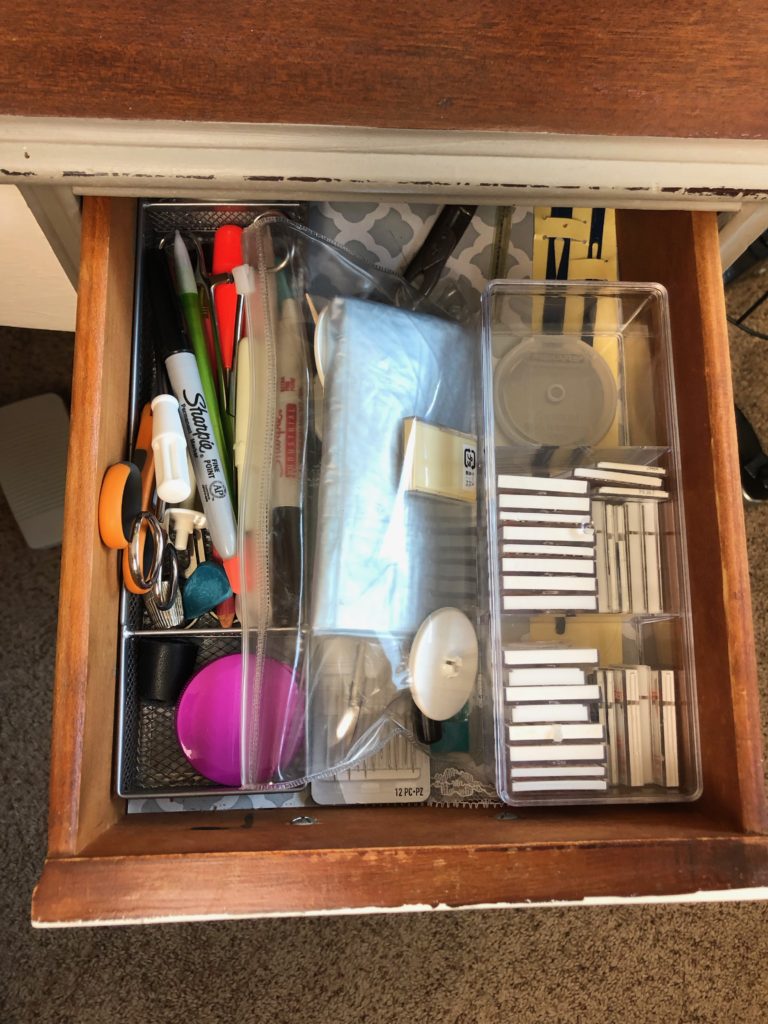
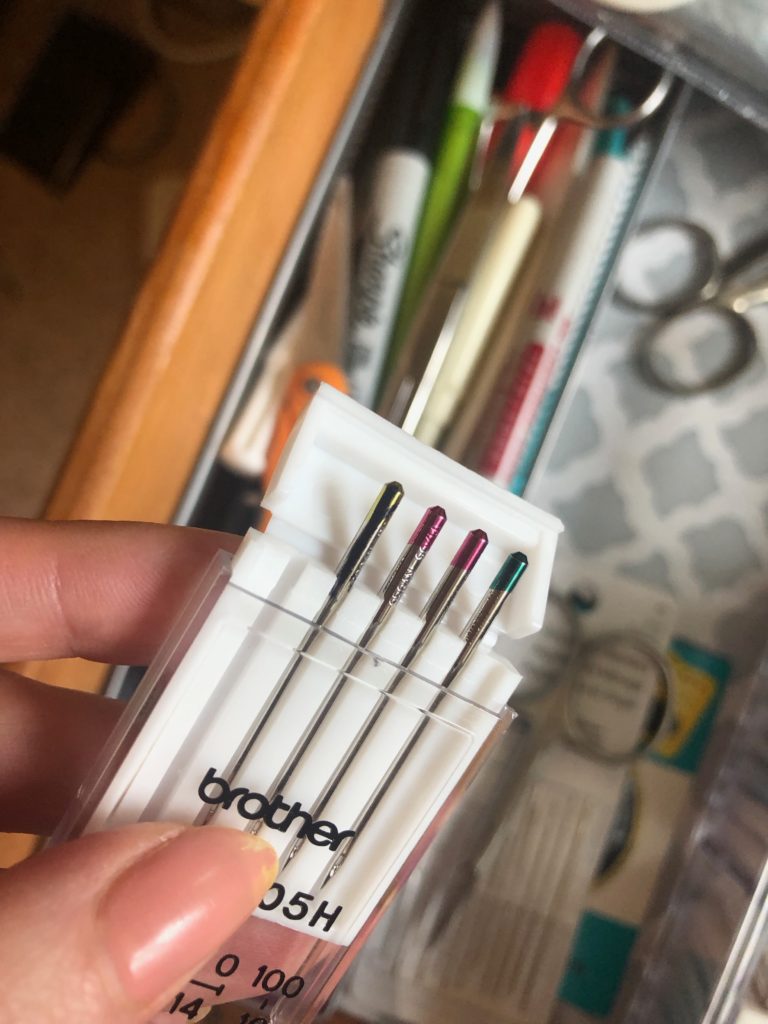
My right hand drawer has my most used and important tools. Since I’m right handed this works for me. Also, organize your tools like you would knives in your drawers. Keep the pointy end facing away from you. The very right hand side of this drawer has a clear bin with a lid to store all my needles. I keep a sharpie in my drawer to mark once a needle is dull or spent and then put it back in the pack. This way the sharps won’t pierce your trash if you throw out a single and you can keep them to throw away together.
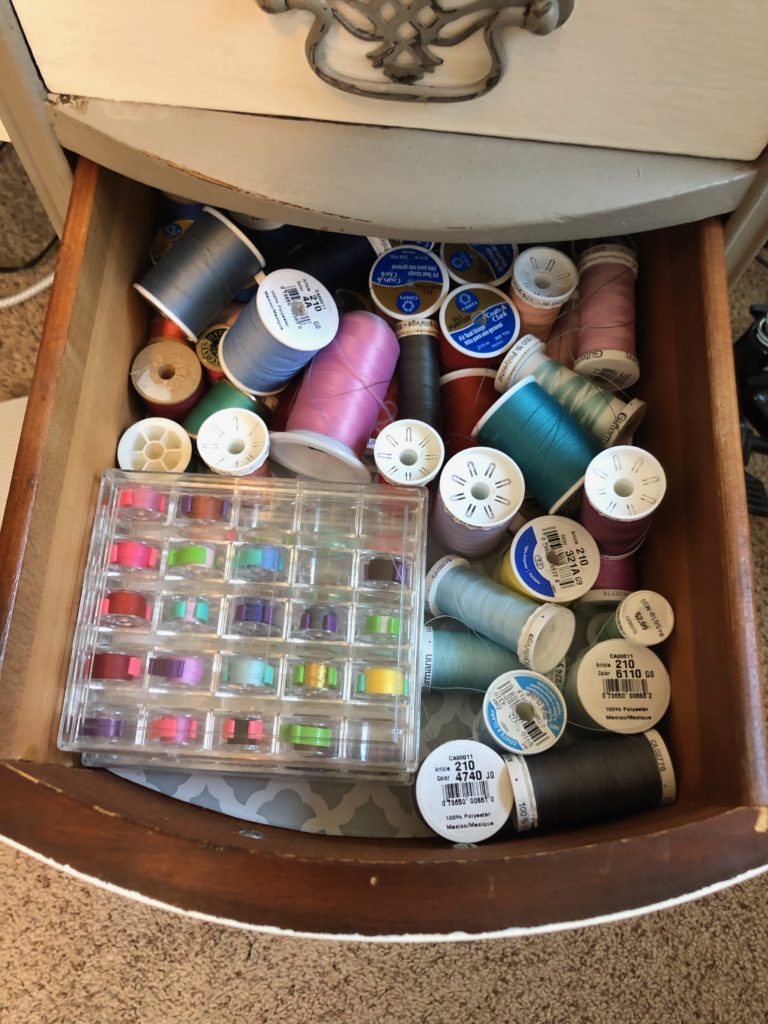
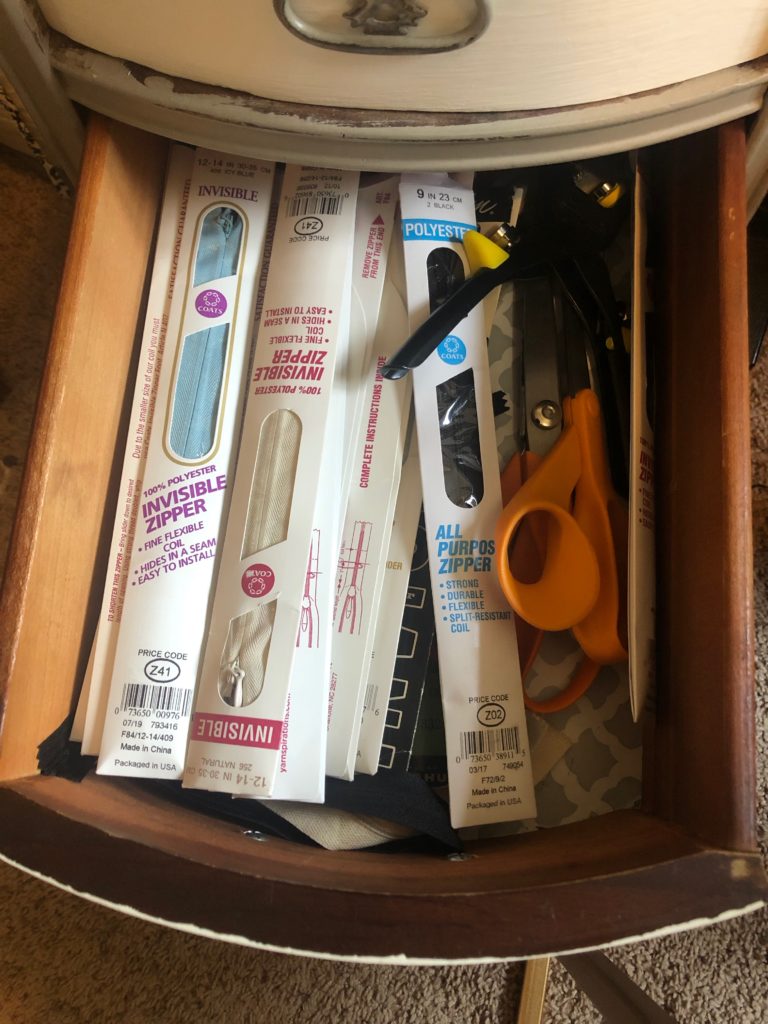
Since I am sticking to a color scheme I have only my neutral threads on a thread rack on my pegboard. But I do have a collection of colorful threads in my drawer of shame. Its just so messy but it is what it is. The final right side drawers hold my bias tapes and trims. On my left side drawer I do keep some invisible zippers and regular zippers on hand. The remaining left hand drawers contain lingerie supplies and tackle boxes.
Organizing bins & bits
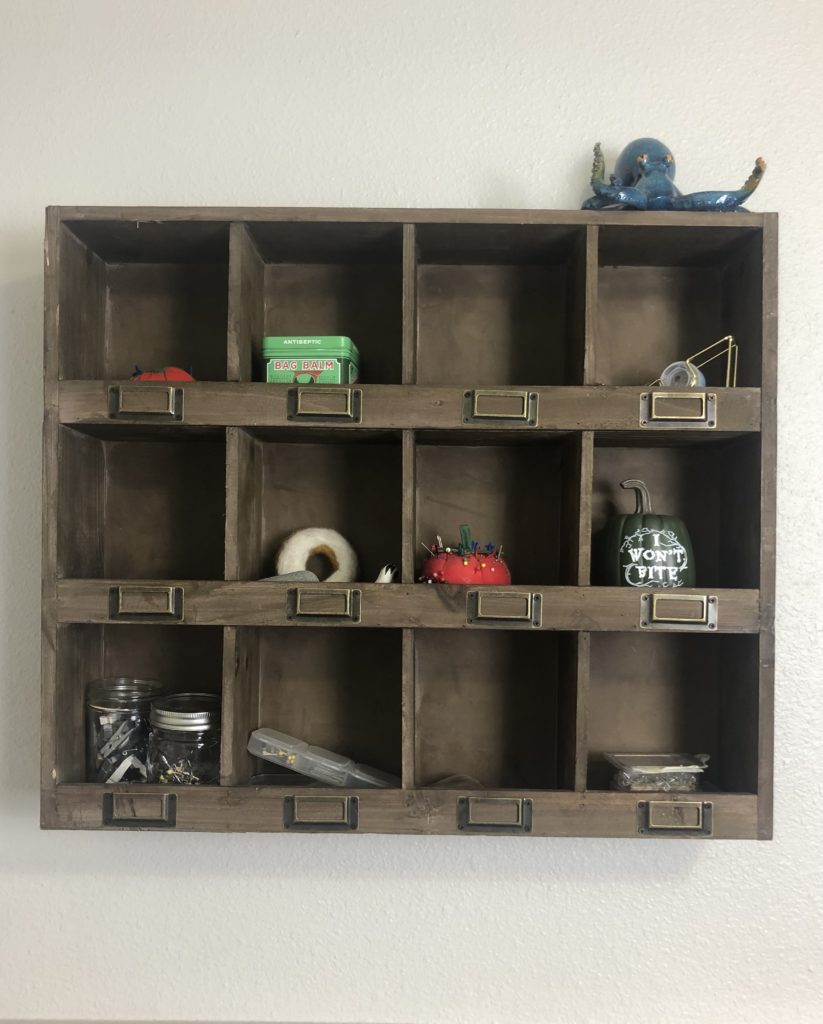
Since, I don’t have as much horizontal space I am utilizing as much vertical space as I can. This wall hanging cubby is from Hobby Lobby. I tried looking on craigslist for several months, hoping to find something similar and vintage before buying from a big store. Anyways, it works to hold my tins and jars filled with pins and other notions.
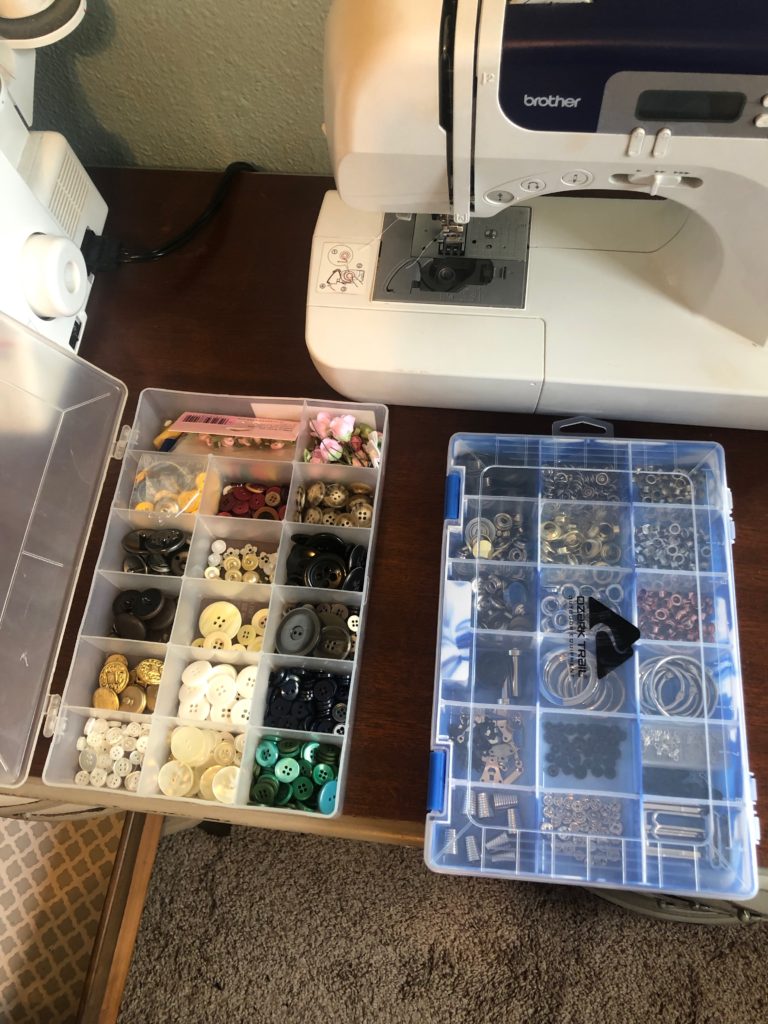
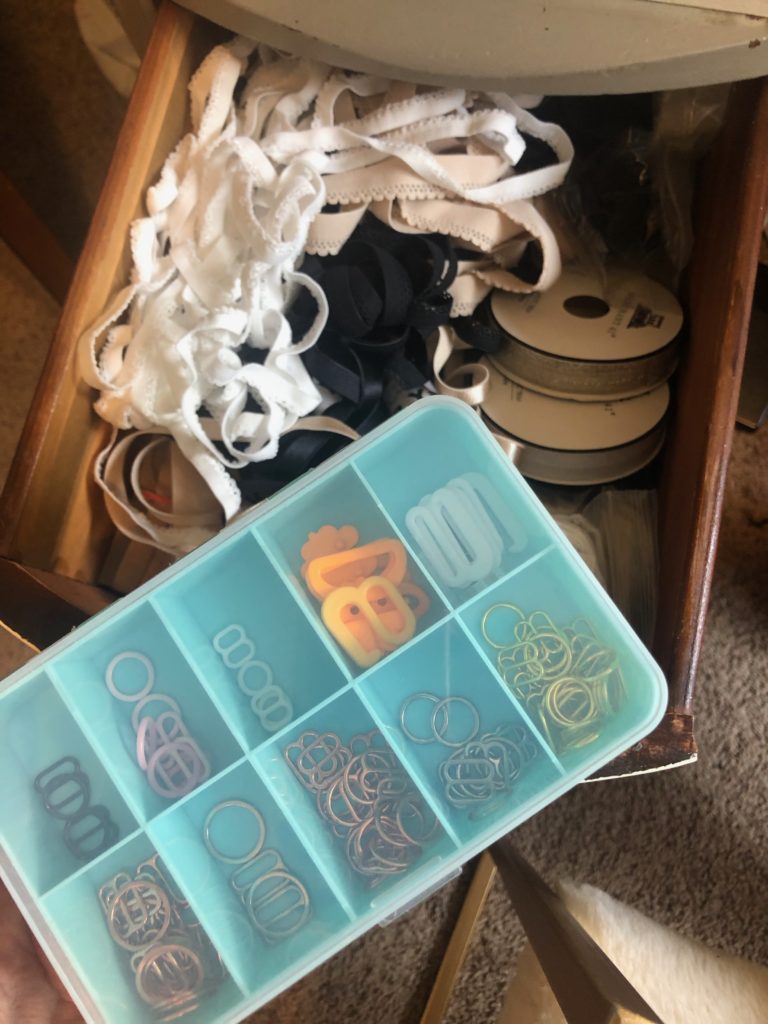
These are some of my favorite things. It’s so satisfying having the tackle boxes to color organize my button collection and other pieces. A lot of my buttons have been thrifted or are from my Mom’s old collection. Thanks Mom! And of course having the tackle boxes organizing the things like grommets by color and size is efficient.
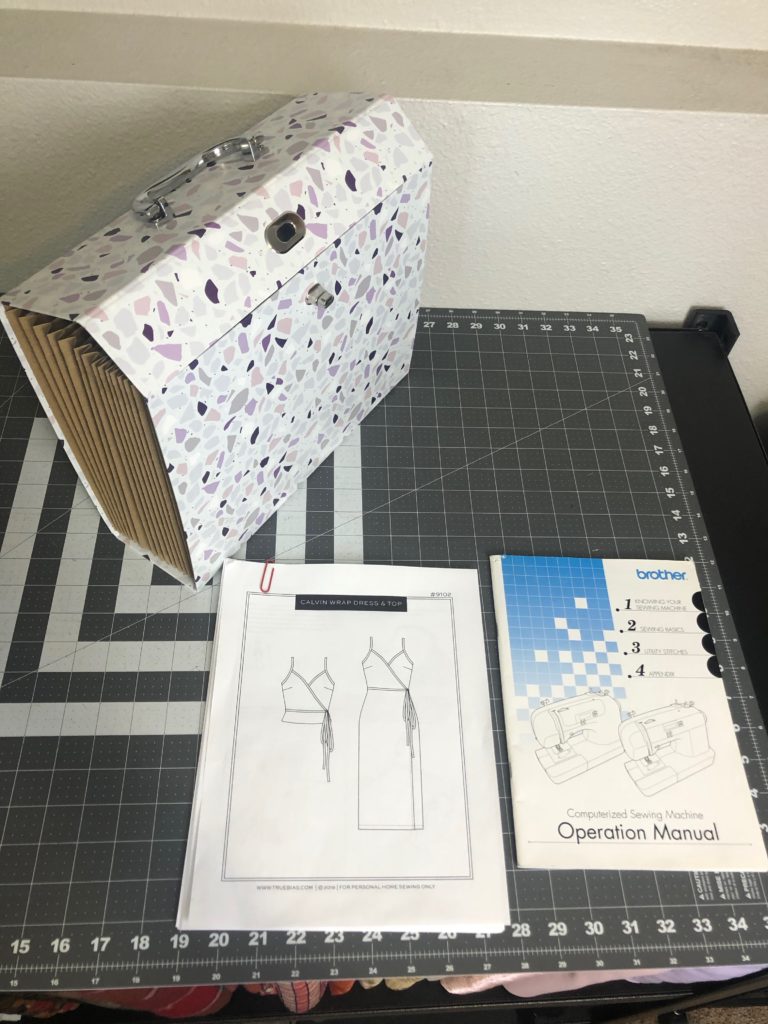
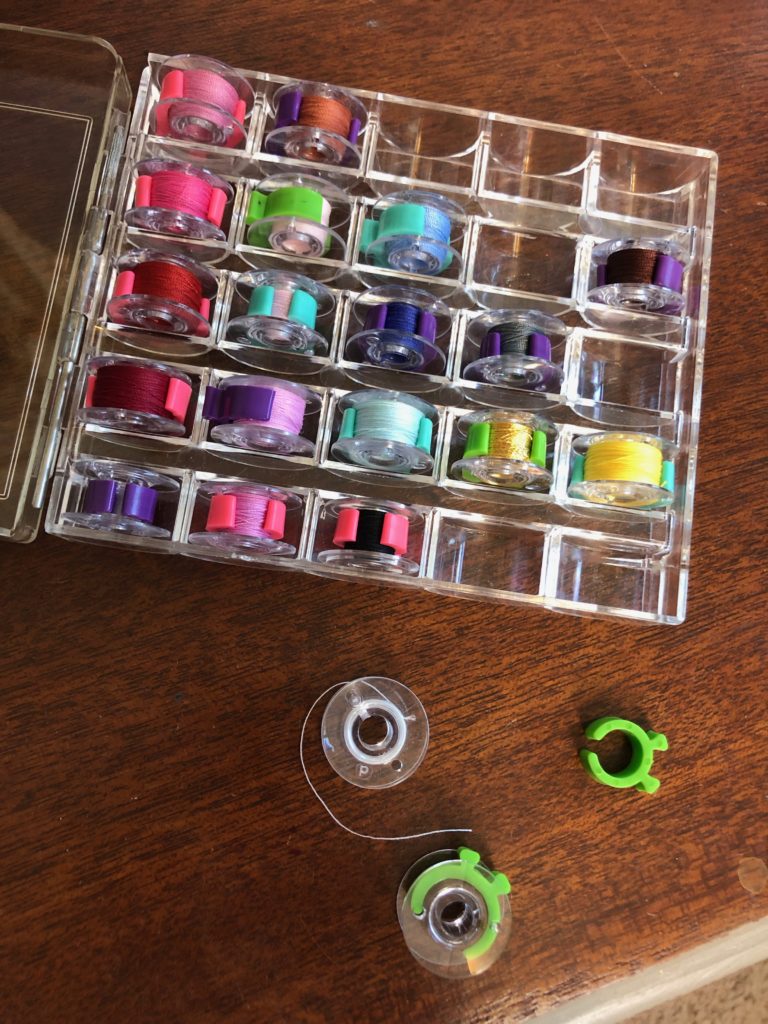
For my pdf instructions and user manuals, I really love these accordion style file boxes. I found mine at Tj Maxx, they’re also great for storing smaller pattern pieces like bikinis and hats. Finally, these bobbin clips have been amazing. They’re these silicone type clamps that secure the tail of the thread around the bobbin. Its perfect so then my bobbins aren’t unravelling and pulling when I’m just trying to get one color.
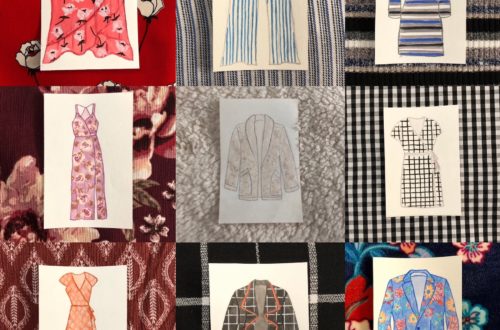
Pattern Storage

After watching Mimi G’s home sewing room tour I decided to organize my patterns in the same manner hers are. Her tour is really worth a watch, there is a lot of great sewing organization tips. For the patterns, I have the sleeve of the pattern inside sleeves in a binder. The pattern sleeve that has the image of the pattern is organized by company and pattern number. Finally the contents of the pattern, the actual pattern and sewing instructions are in 6x9in manilla files. The files get labeled with the pattern number and organized numerically. I store my manilla files in a clear bin at the top of my closet.
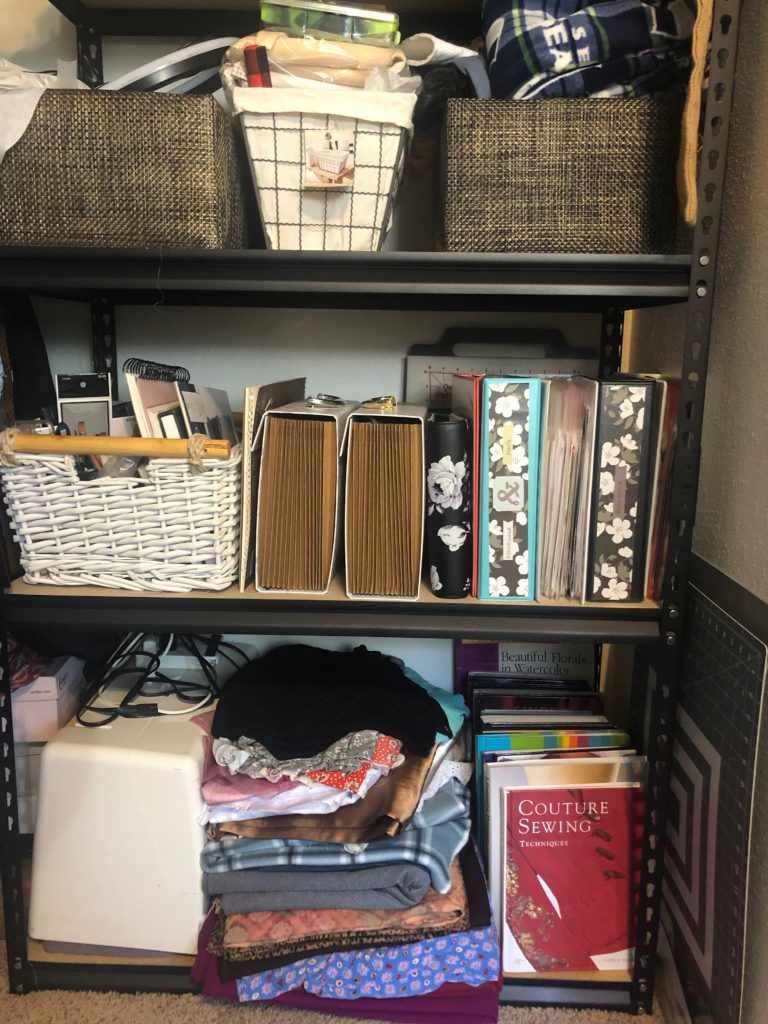
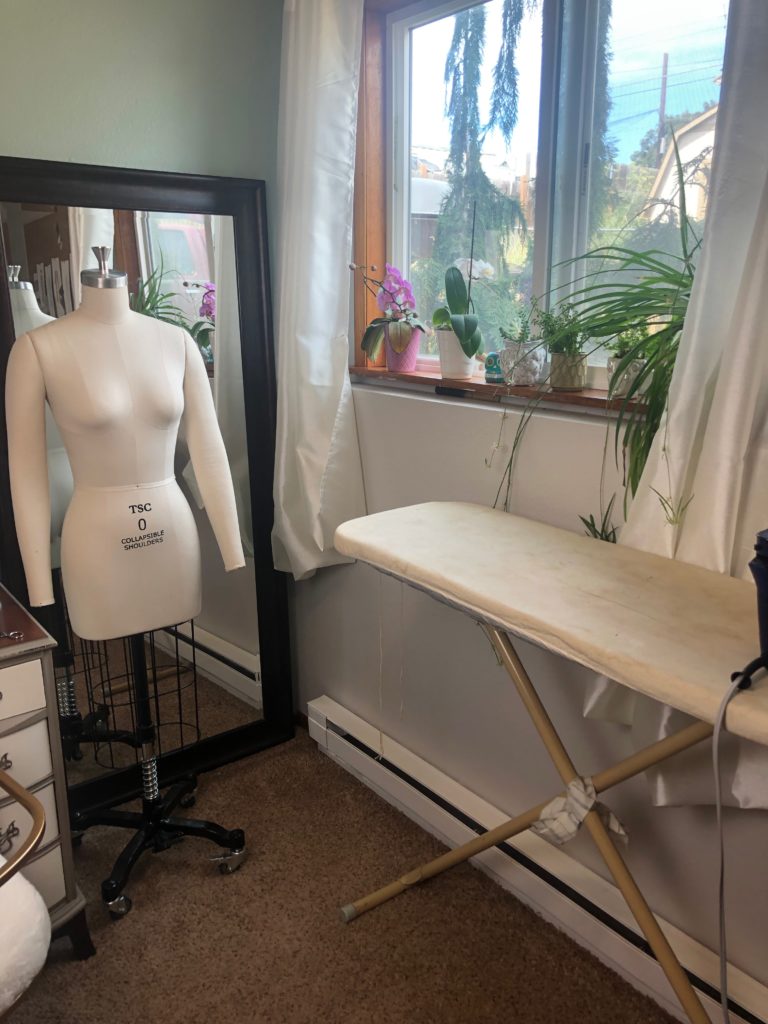
Fabric storage & Cutting table
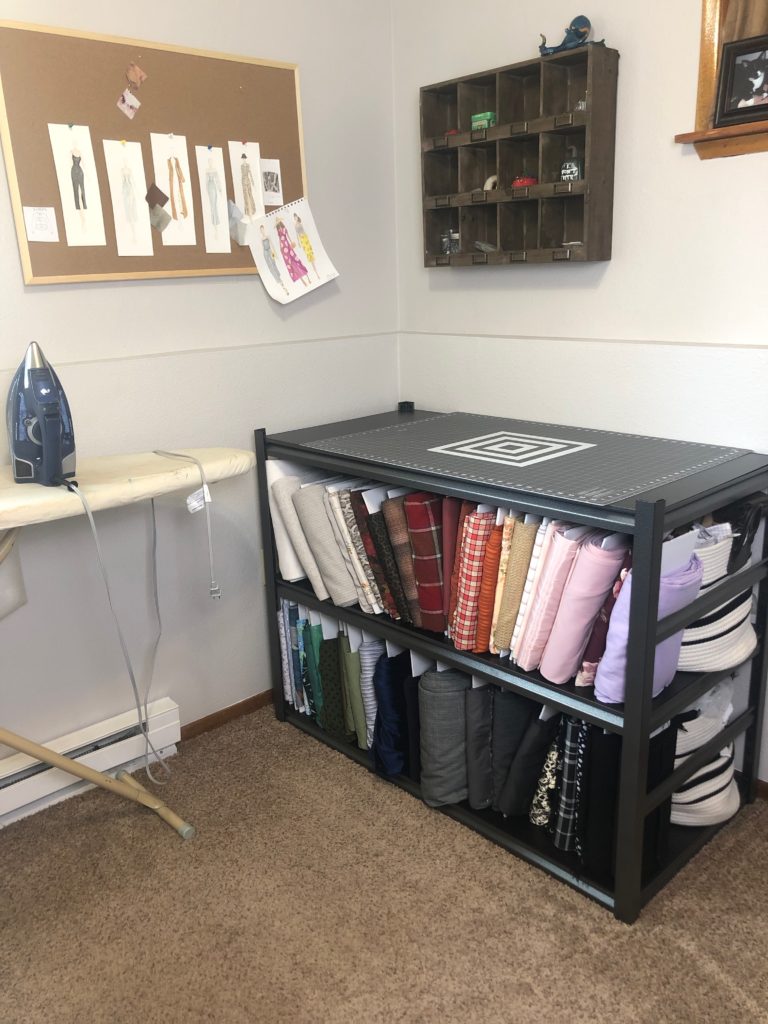
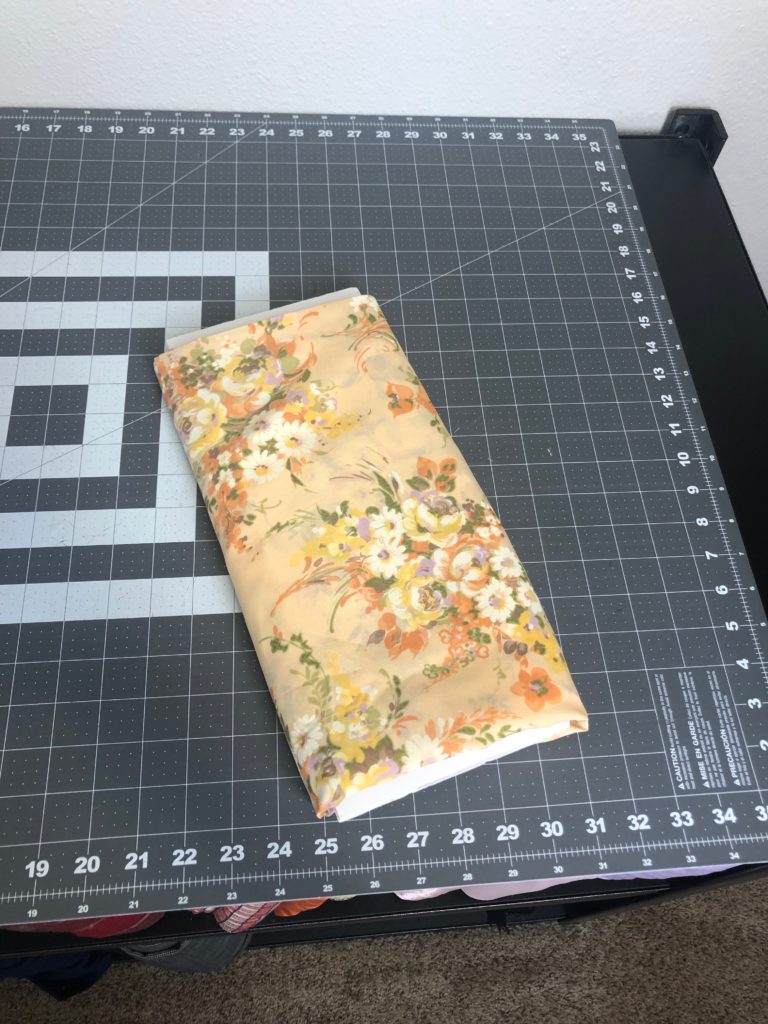
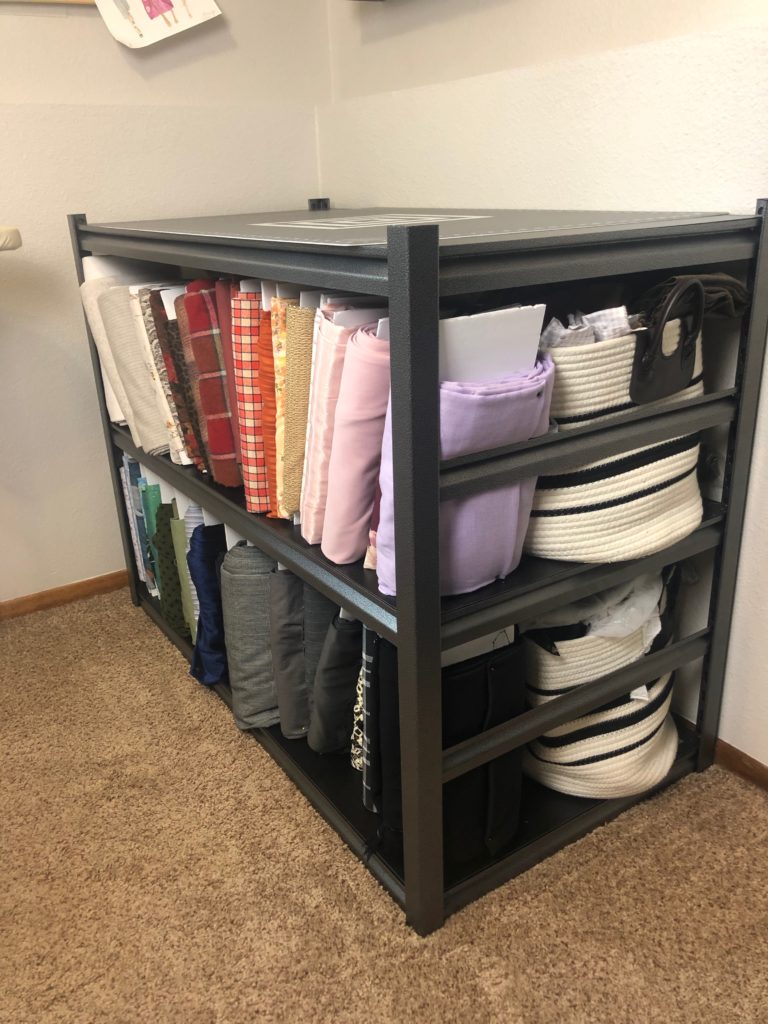
One thing I’ve heard over again is making your space “shoppable”. Like how when you go in a fabric store all the materials are displayed nicely. They’re easy to see and pull out. I was especially inspired after watching The Crafterpreneur Fabric Organization. Ayisha has her fabrics rolled onto foam boards, that she cut down to size. So after seeing that, I picked up some foam boards from the dollar store and cut them to fit my work bench.

The work bench I picked up from Costco. To make it more of a functional cutting table there is a cutting board sitting on top. There is another cutting board I was thinking of trimming down to fit the top of the bench and then Velcro them both down. However, it’s been working fine so far. And its much better than cutting out everything on the floor. But I do end up going back to the floor to cut out large pieces.
Sewing Books
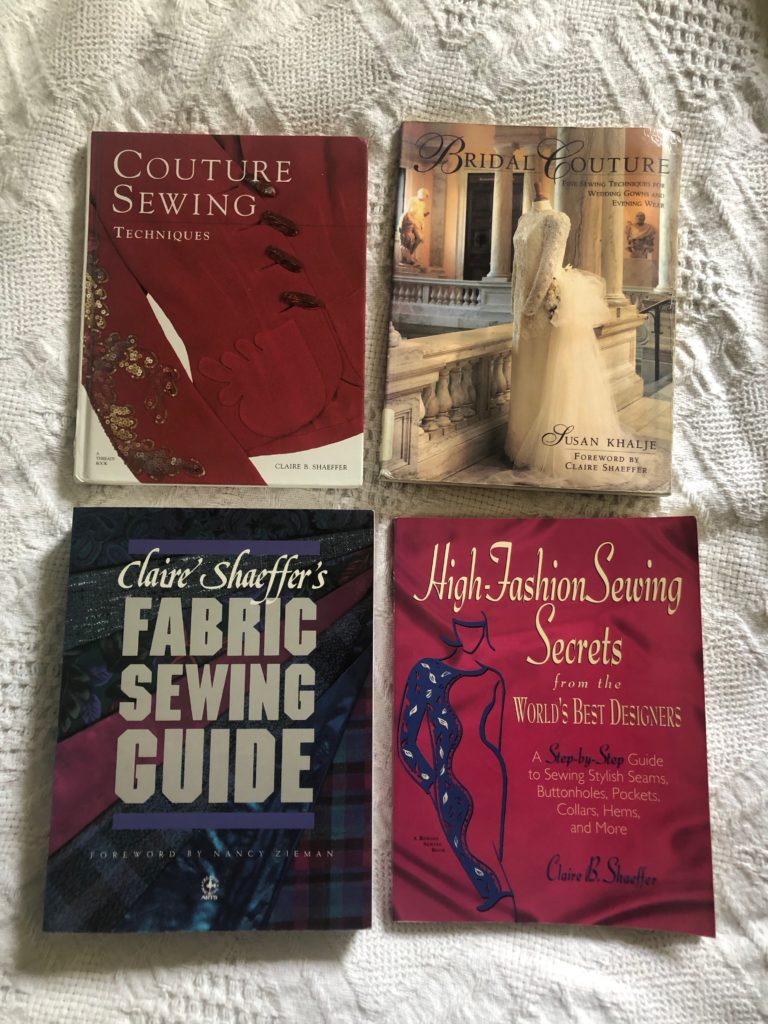
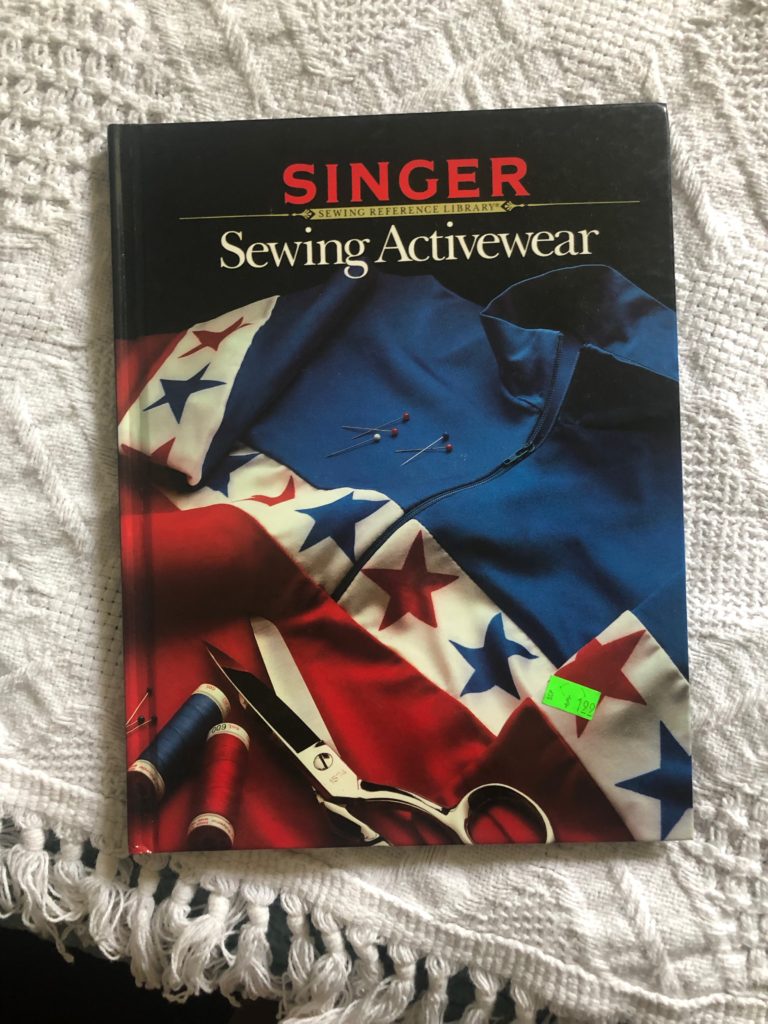
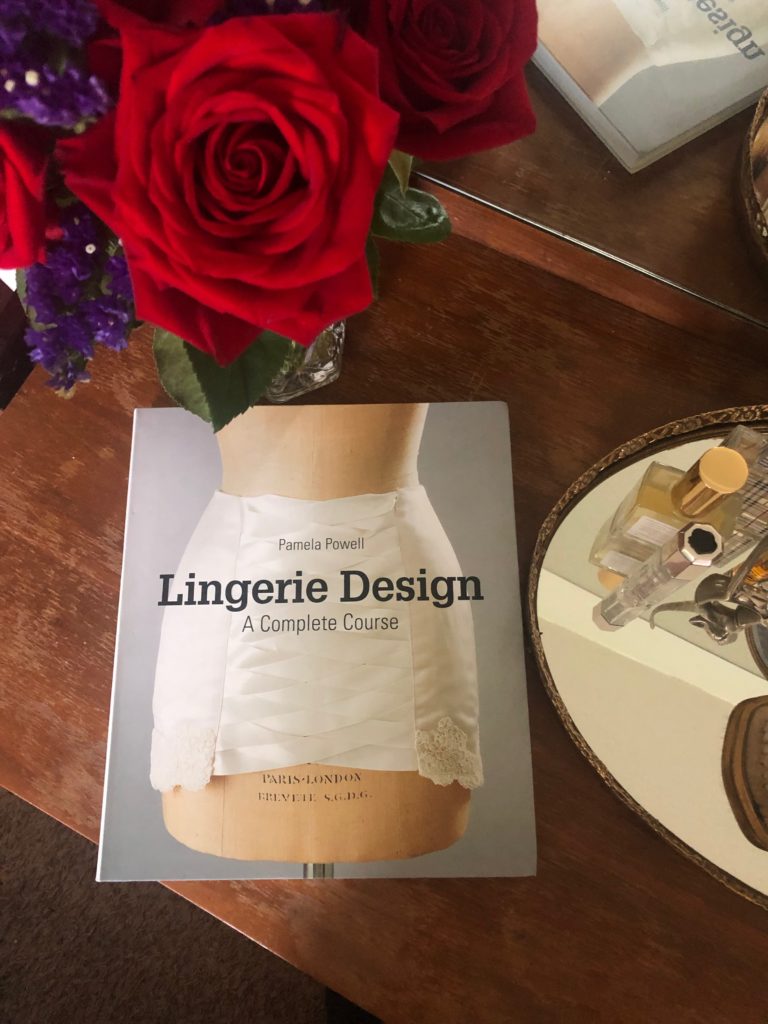
And finally, some of my sewing books. While I do love the internet because you can find literally anything you’re looking for. Books are incredible because they will show you things you didn’t realize you were looking for. One specific author, Claire B. Shaeffer has been recommended to me over and over again. And with good reason. Her books are truly educational for sewists of all skill levels. For my beginner sewing friends, these Singer books can be nice. I’ve found several at thrift stores. And again if you’re just starting and find it for cheap then they can be helpful. Finally, my most recent sewing book is the Lingerie Design. This is an advanced book and I haven’t actually gotten the chance to make something with it. But a great one that was recommended for advanced lingerie sewing.
On a last random note, if you’ve ever heard chef’s talk about having a triangle work space in their kitchen I feel like something similar is good for sewing. Its definitely more efficient having clear work spaces you can easily go from sewing to ironing to cutting. ,Thank you so much for reading along! I do hope this was helpful. It took me a long time to get my space fully organized. And truly it’s forever a work in progress.