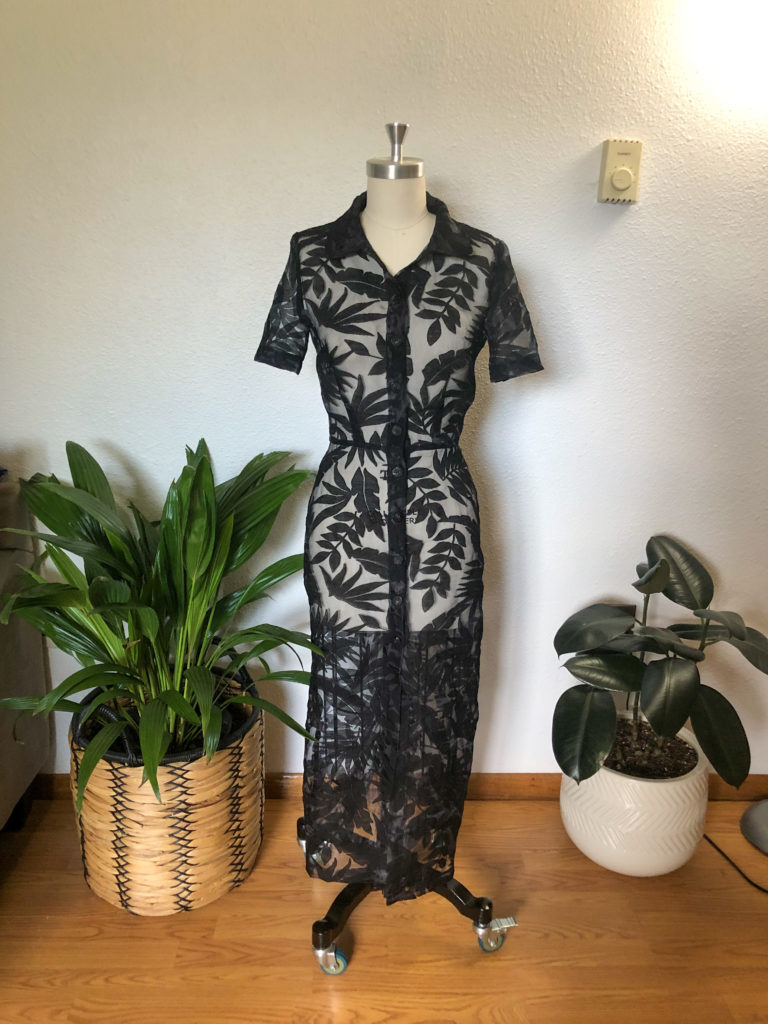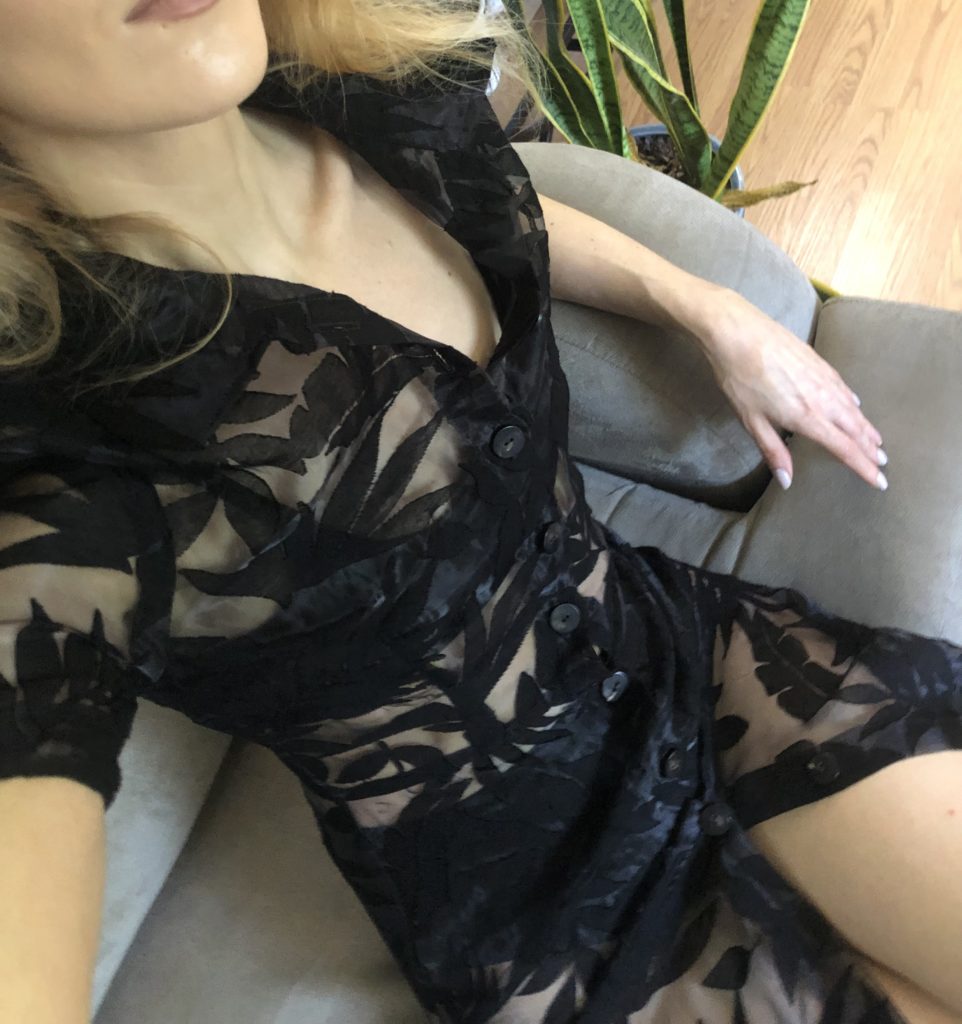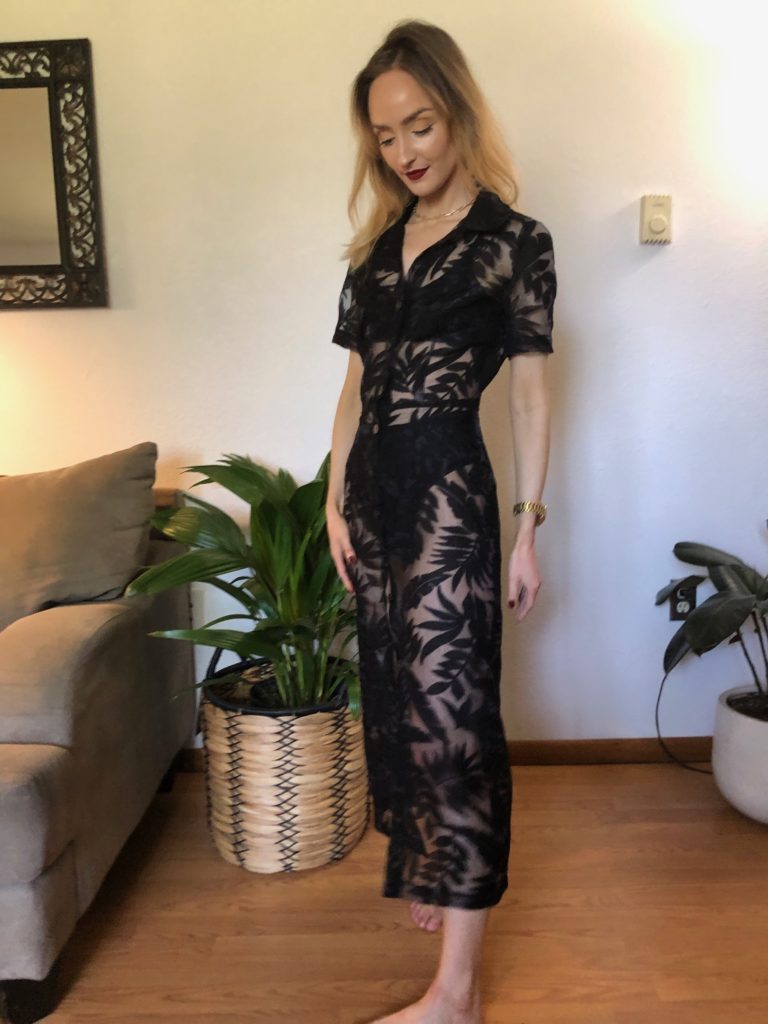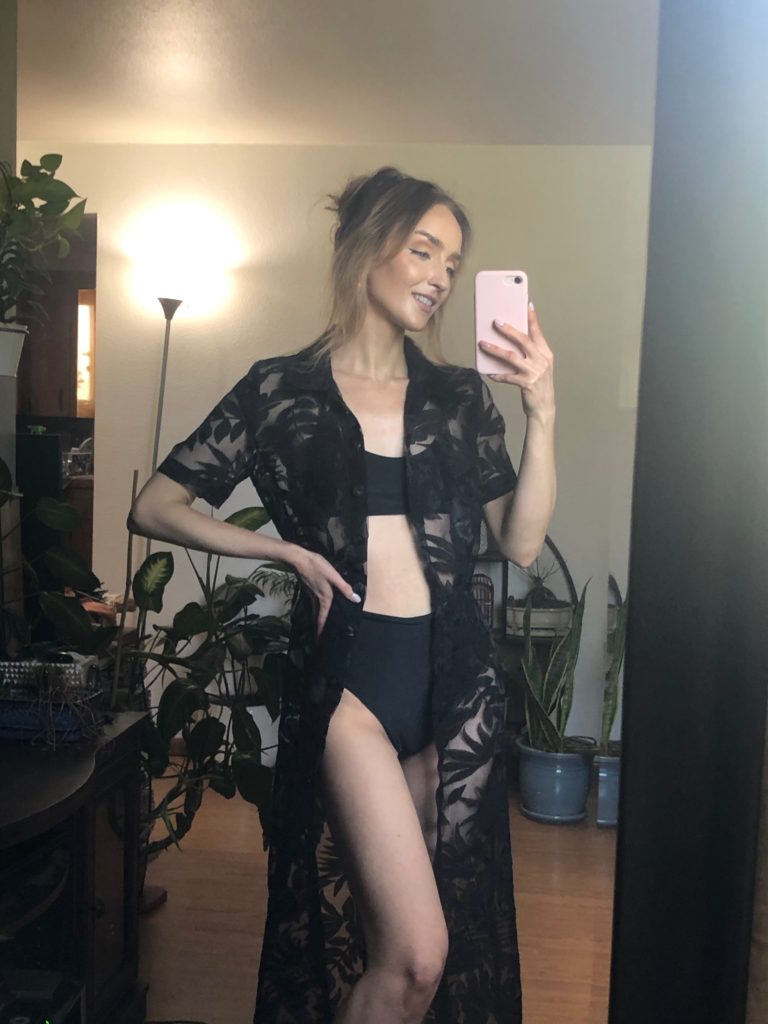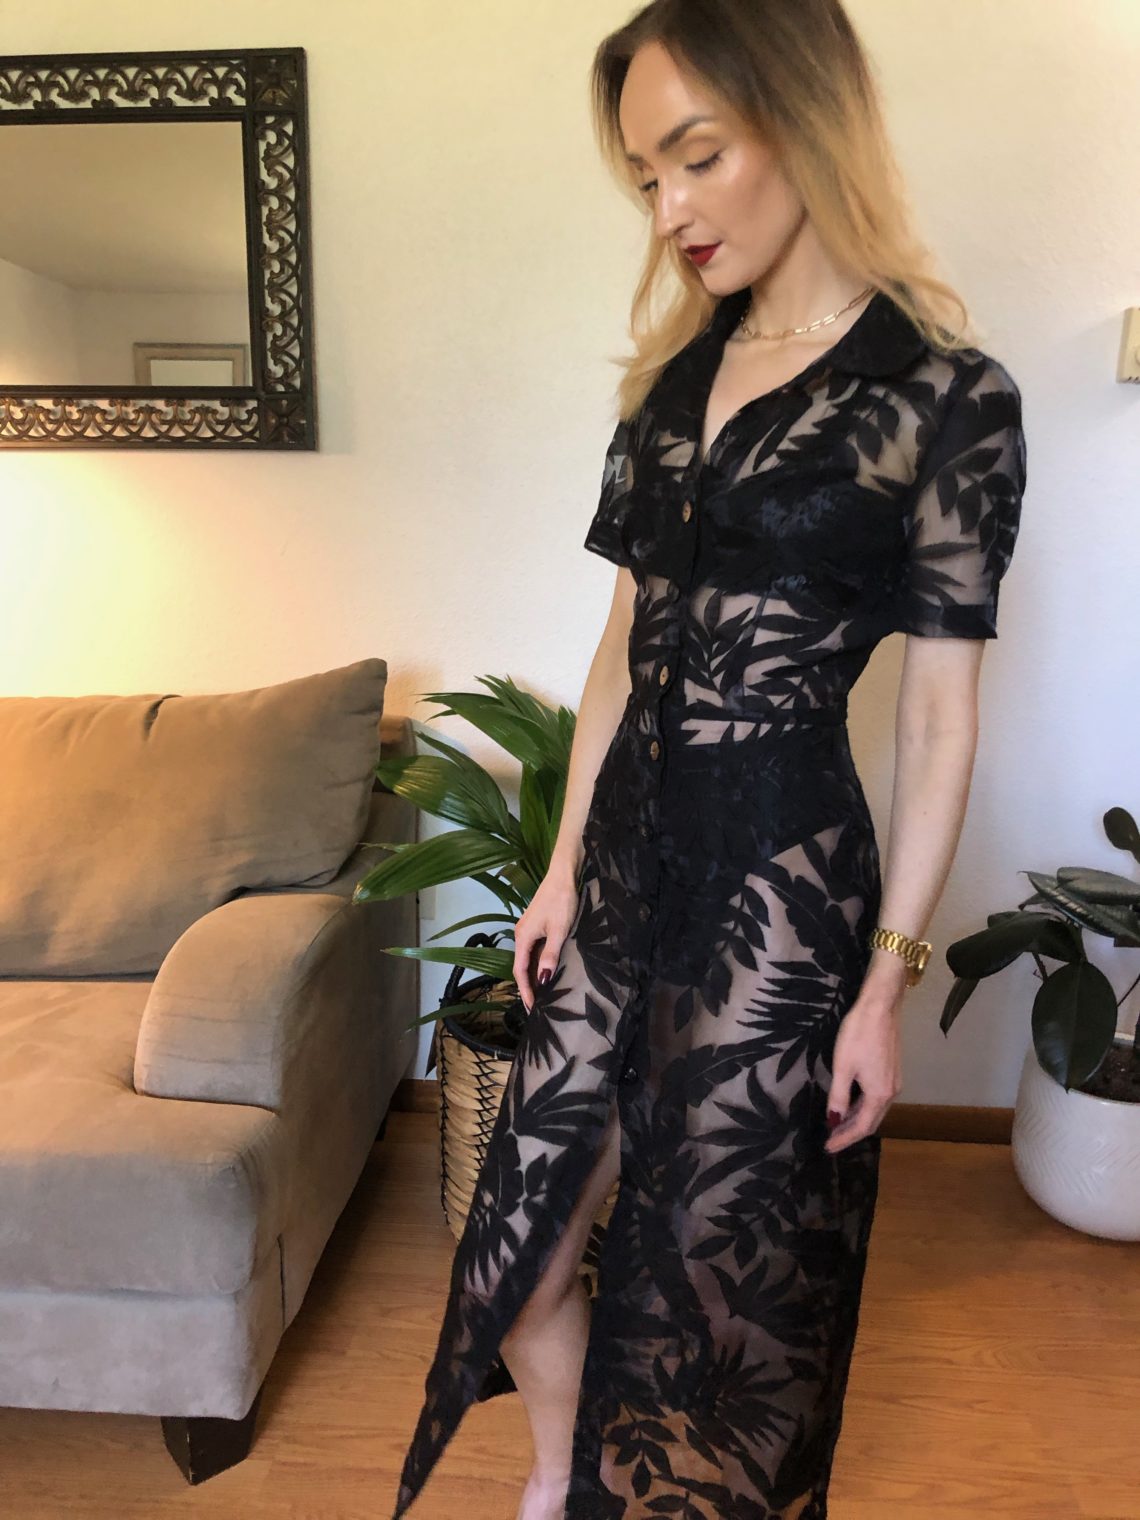
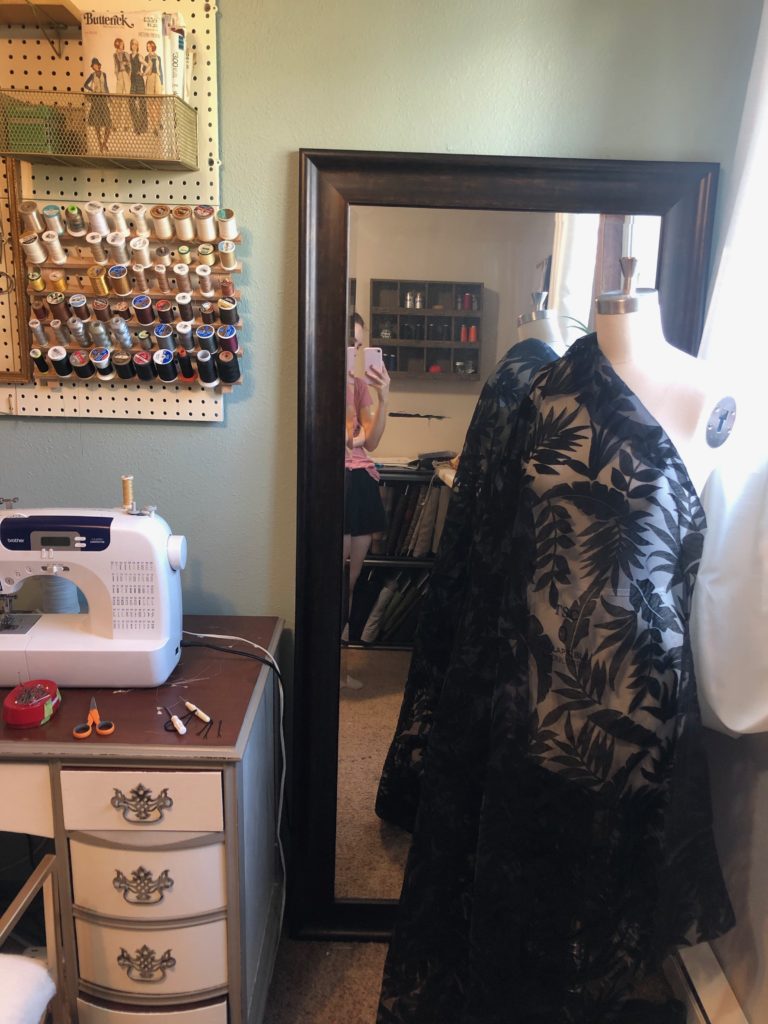
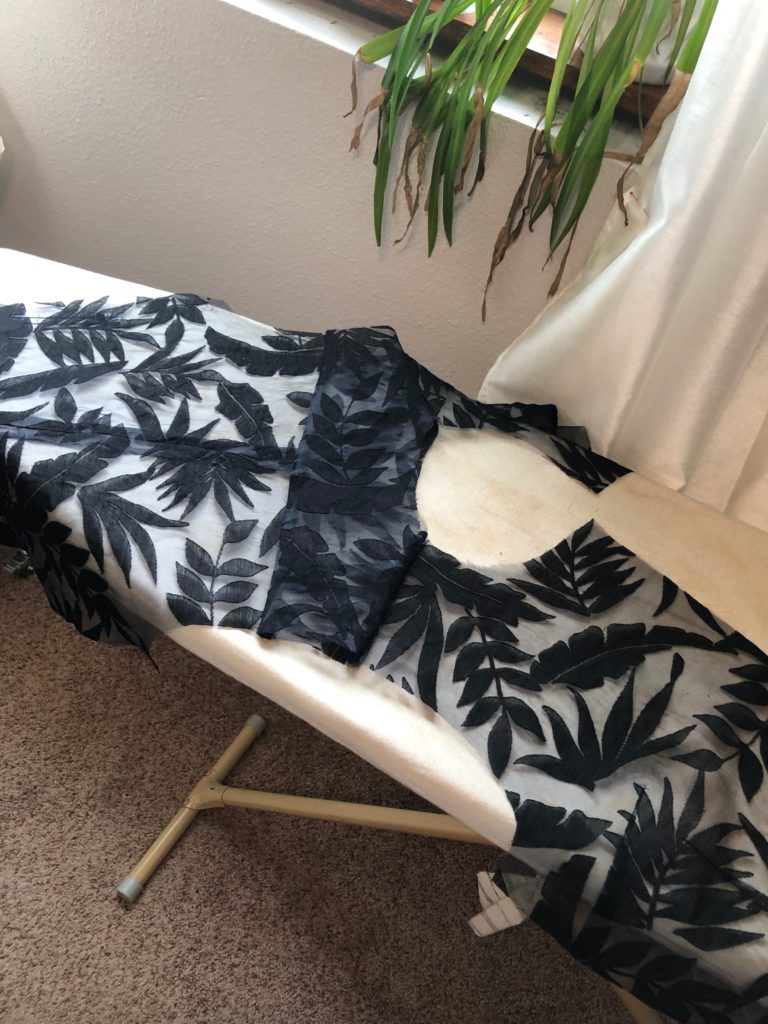
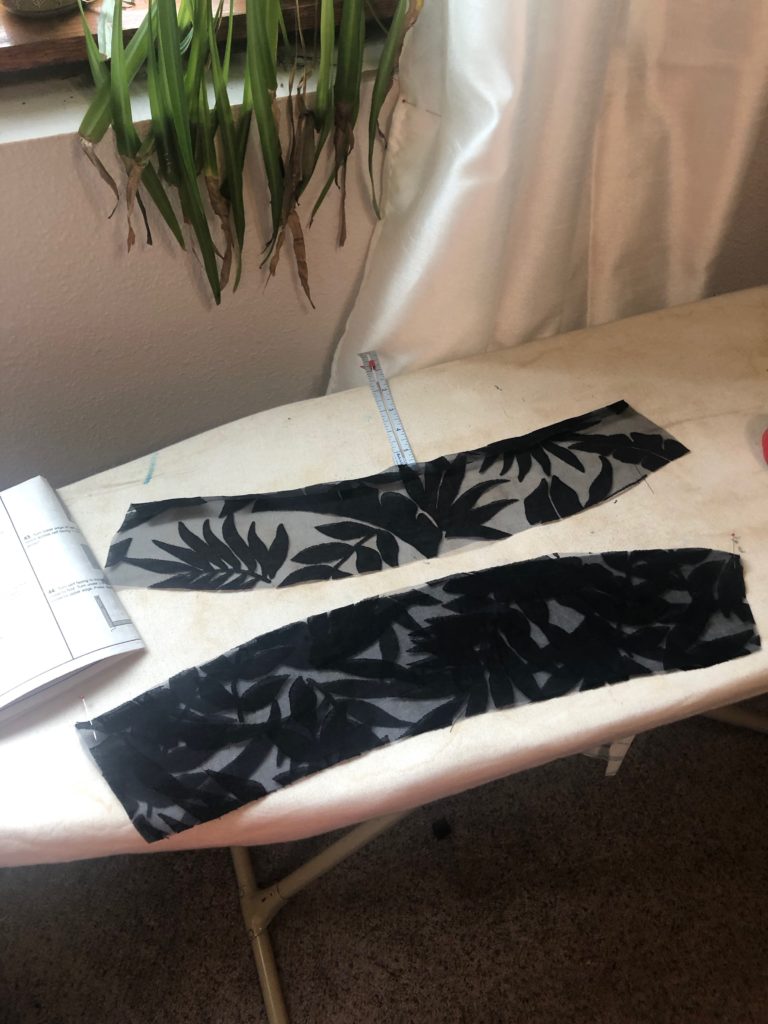
I found this gorgeous burnout type organza from Joann Casa Collection. Like shadows from a palm tree, this black leaf detailing gives me vacay vibes. This piece was on clearance and doesn’t look to be in stock anymore. Firstly it was difficult to decide what to make. This fabric would be beautiful so many ways. However, I got the last two yards so that limited me. Ultimately, I went for M8139. For that on the beach at 6 and dinner by 7 look.
Pattern
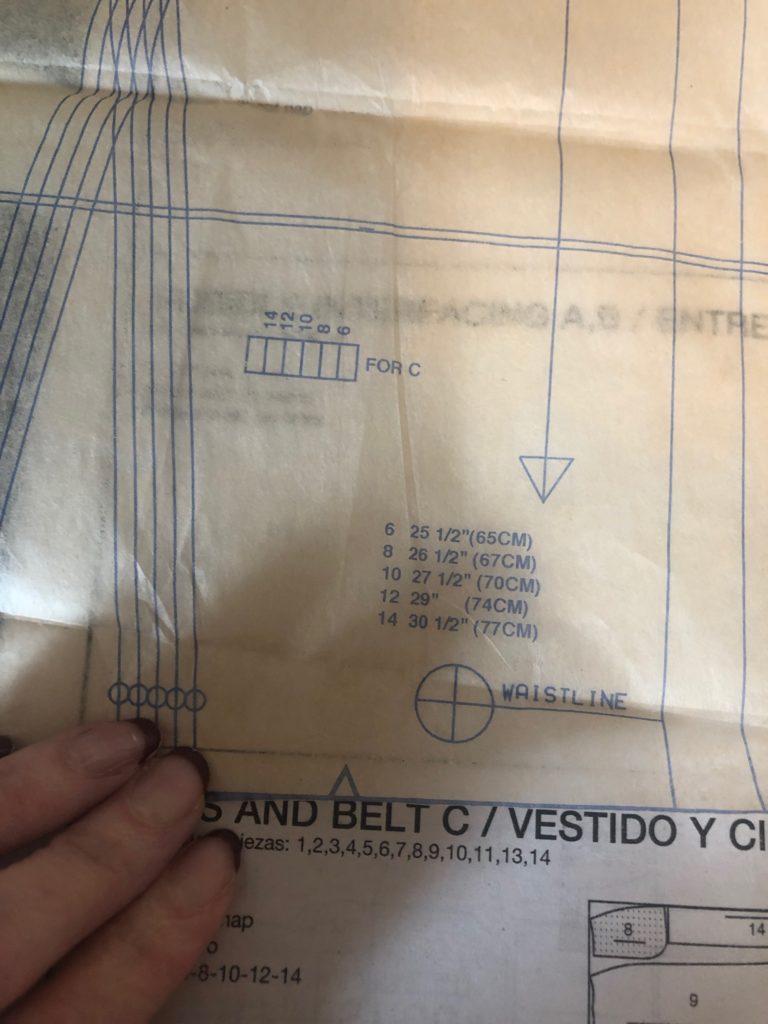
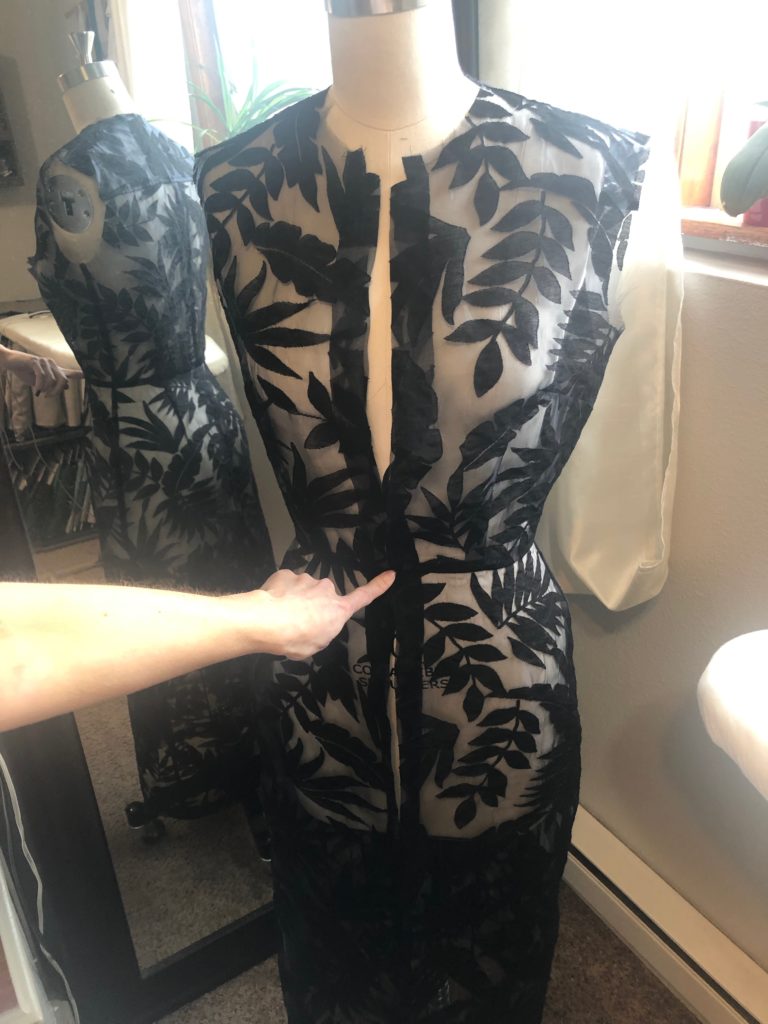
Starting off with the pattern, I cut out a size 6. Usually, I base my fittings from the finished garment measurements and have no problem. This time the pattern left a little to be desired. The finished measurement for the 6 is a 25.5in waist. However, this does not account for the button placket overlap. You then lose a little over 1in from the measurement. My dress fits a little snug because of this. Moving forward from the less than clear measurements, I do like the fit of the dress.
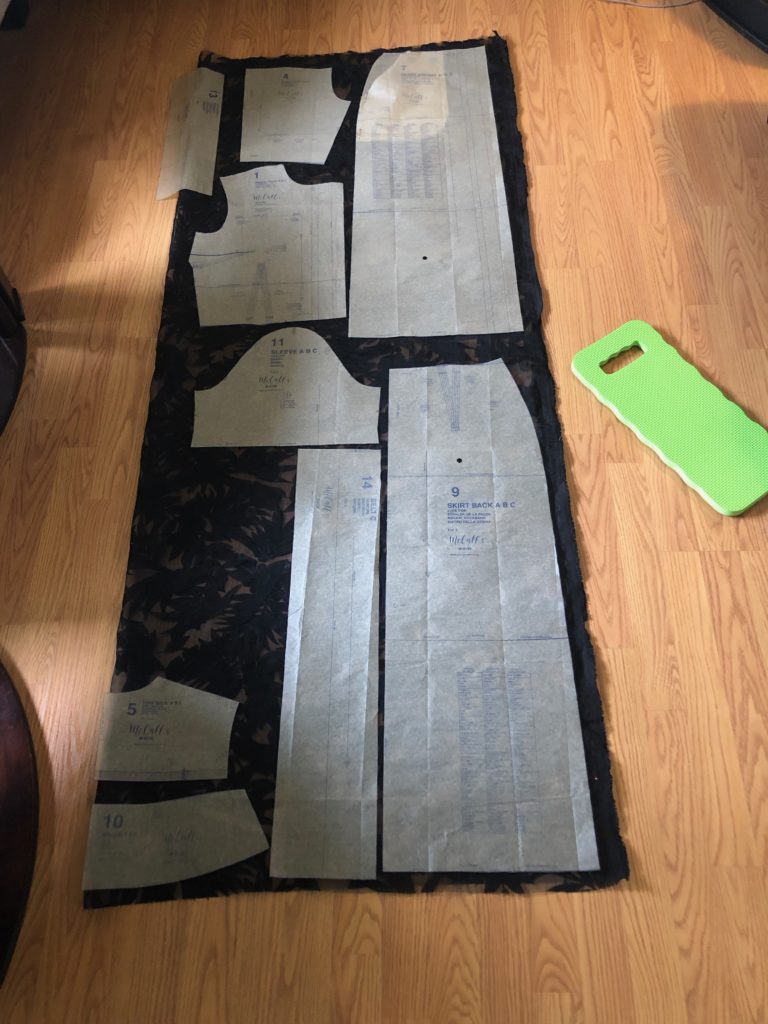
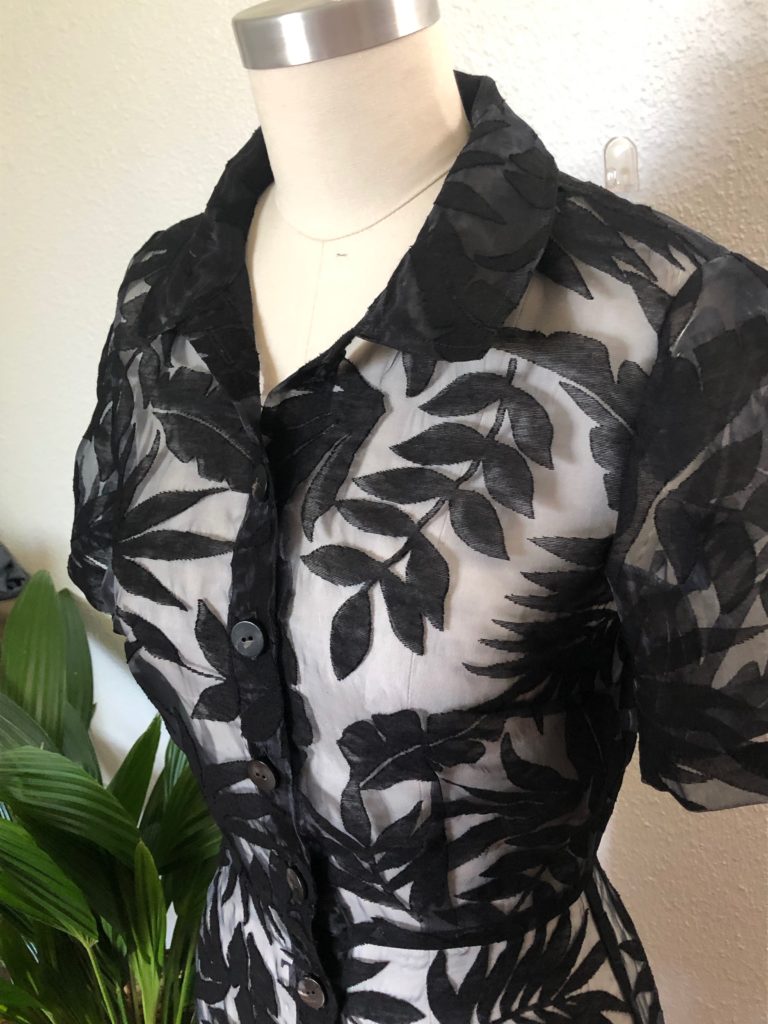
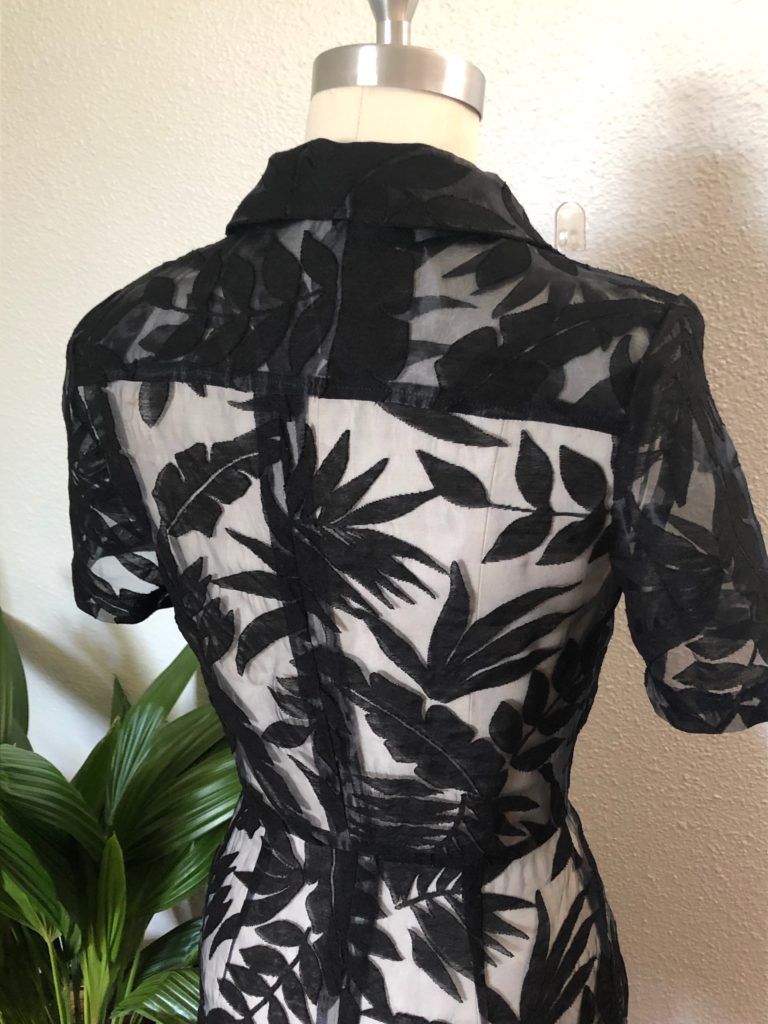
For the construction, I used view ‘C’ with a short sleeve. Starting with cutting out pattern pieces as per the instructions. I cut the pieces for the belt loops and waist, however did not end up using those pieces. Also, I left out all the pattern’s pockets from my design. Since I am working with a sheer fabric I used an additional layer of fabric to act as interfacing in the collar. Another modification I made came with the back yoke. Instead of one back yoke I cut two. This is so I can do the burrito method to attach the back yoke to the shoulders seamlessly.
Sewing
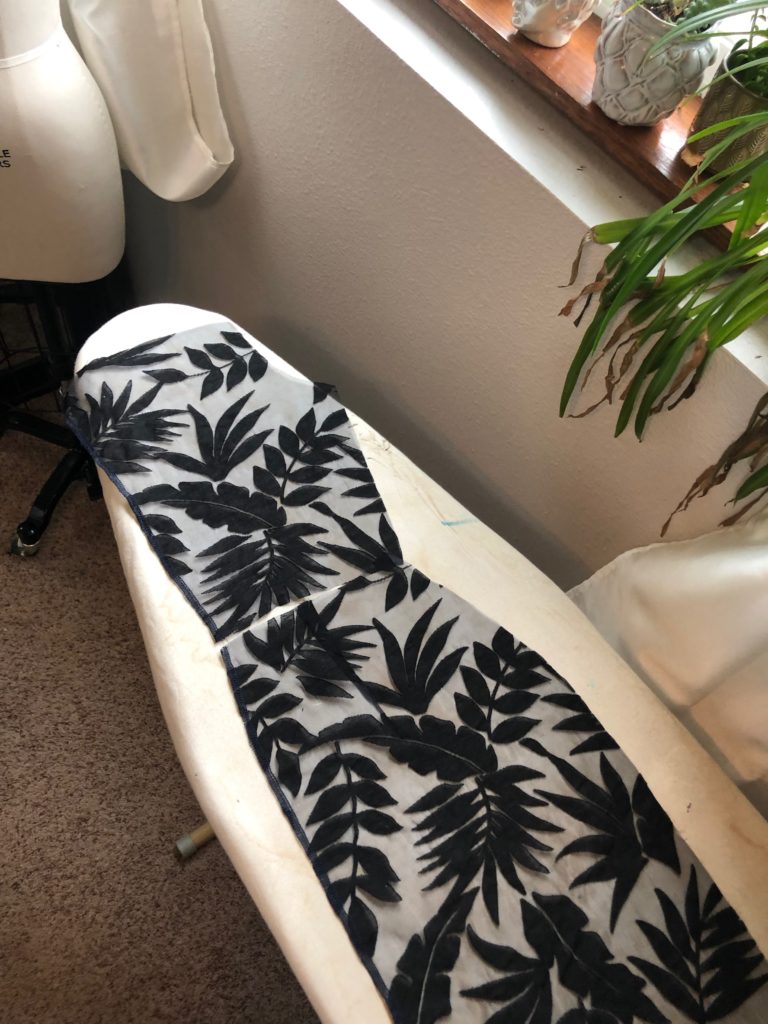
After my pieces are cut, I use my serger on the back bodice and back skirt edges. These seams are pressed open so this will to keep them from fraying. Following along the directions in the pattern I assembled the top and the skirt. With the minor adjustment of the burrito method for the yoke. I’m not covering the burrito method in detail here, but this post does a wonderful job.
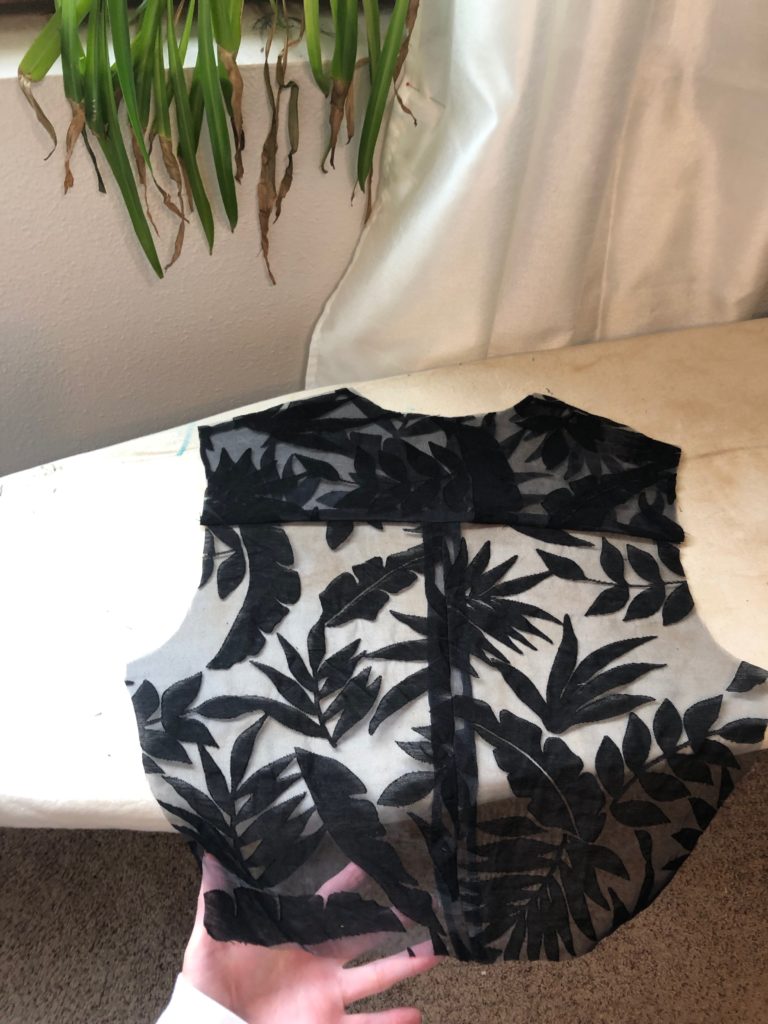
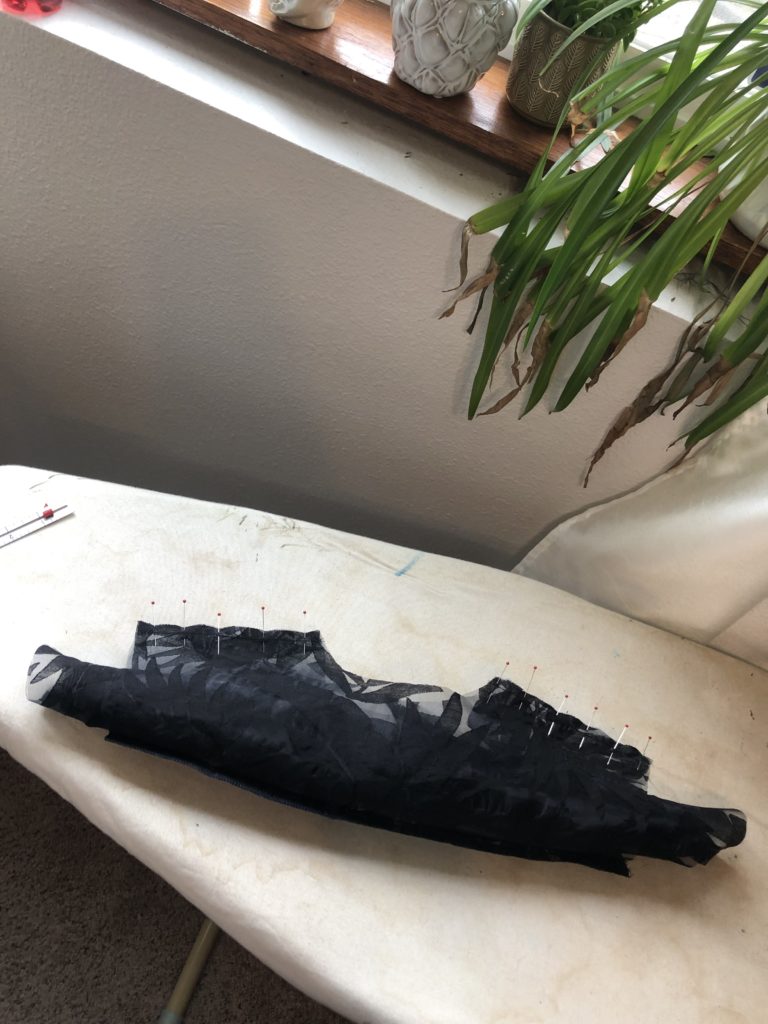
Once the bodice and skirt are ready we can sew those together. With any exposed seam I use my serger. After pressing my waist seam I can work on my button placket. This is the point in the project I realize the sizing is a bit off. But luckily it works fine enough. I press my button placket as the pattern suggests and move forward by hemming the bottom of the skirt. For the collar, I use a basting stitch to secure two of the fabric pieces together as interfacing. I then begin sewing the collar right sides together. Then clipping and pressing. After that is complete I sew the collar to the dress.
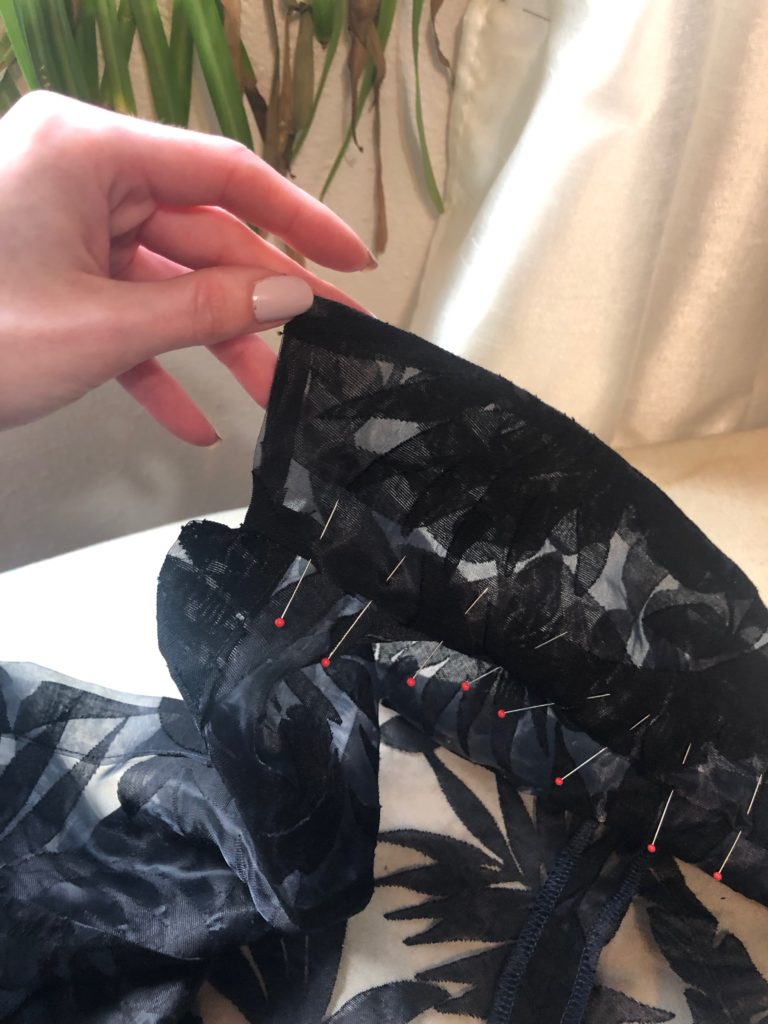
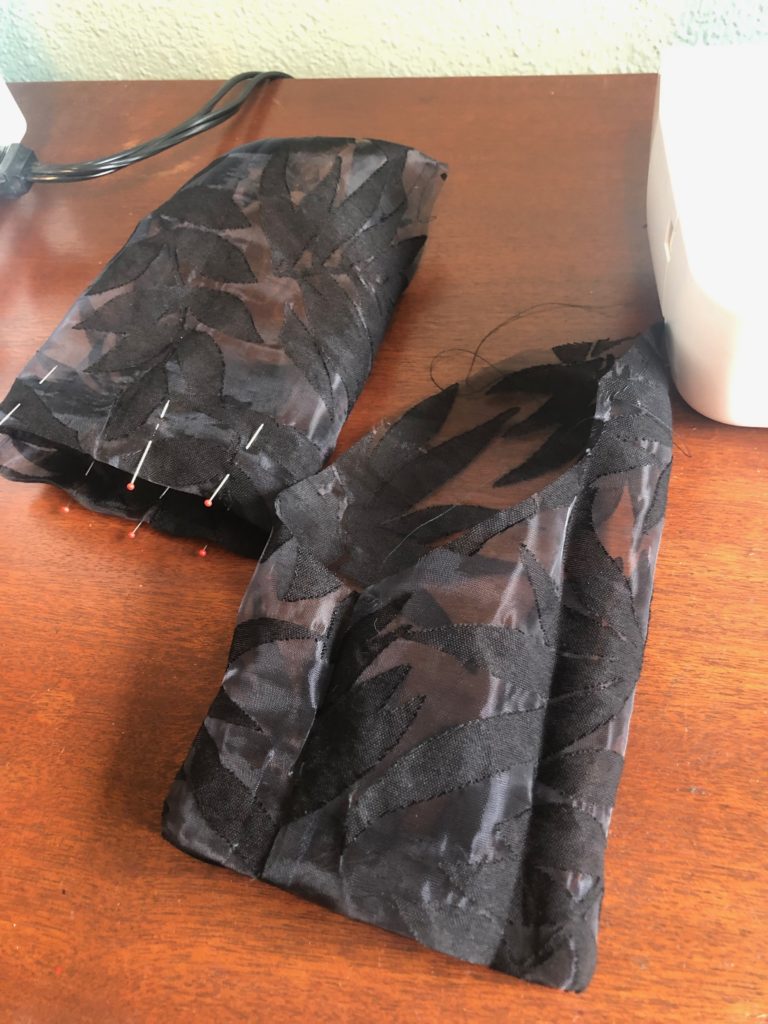
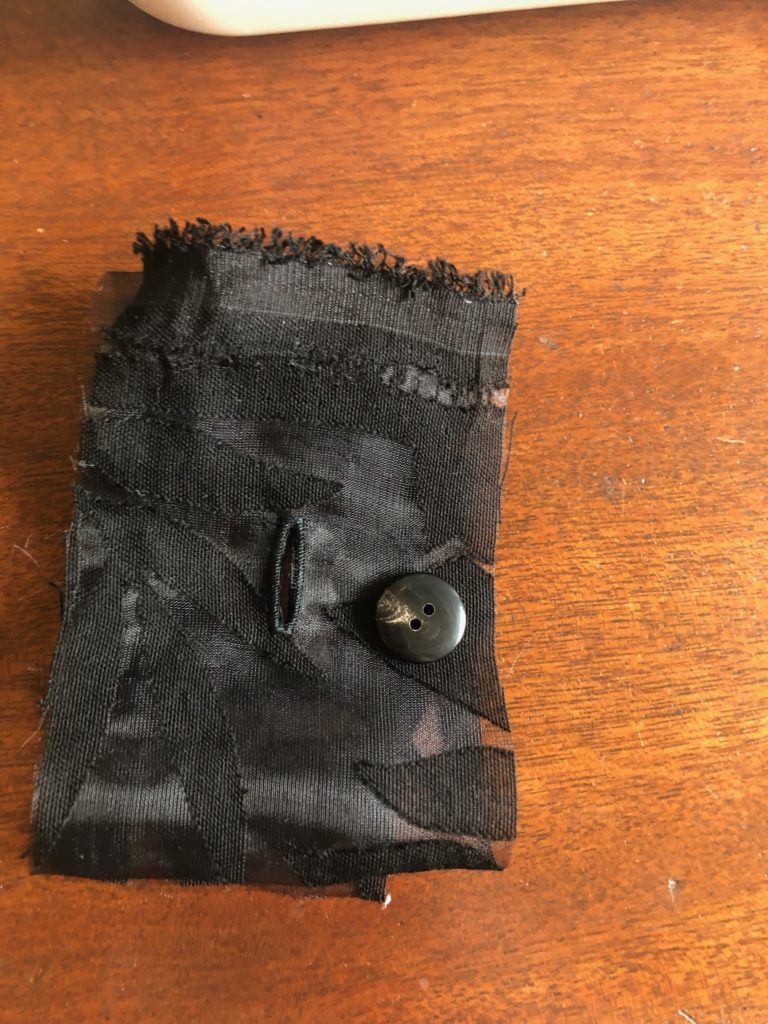
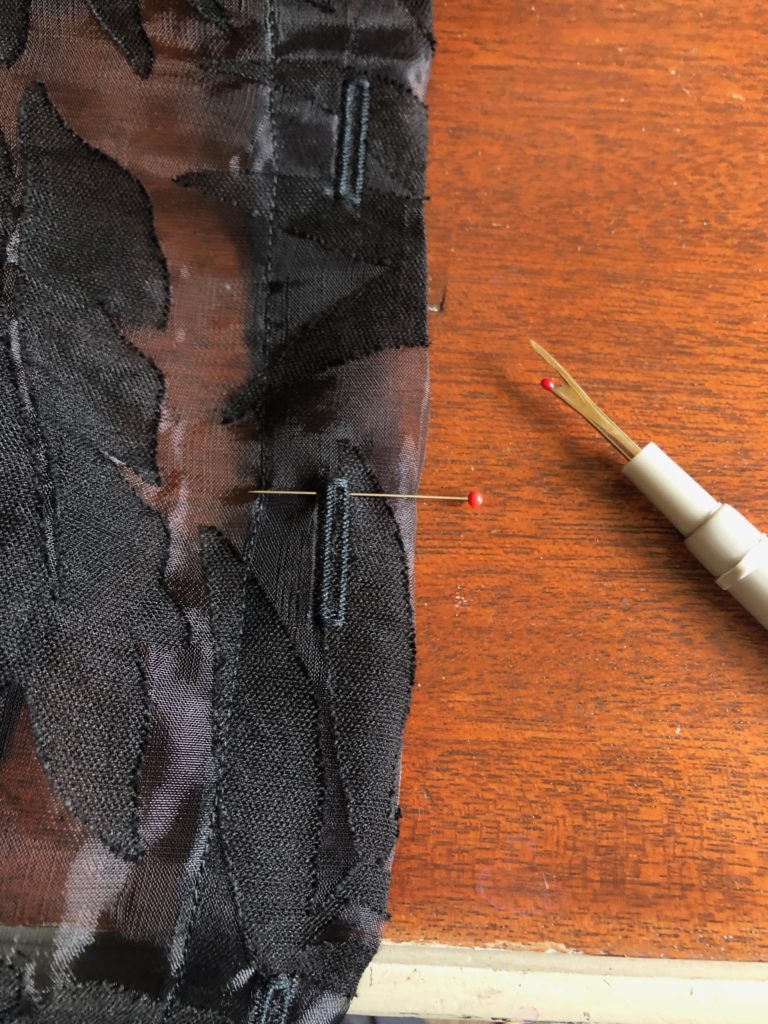
After the collar is sewn to the main part of the dress I can start on the sleeves. The sleeves are a simple process of sewing and using my serger on the seam. Hemming the sleeve and then gathering the top edge to fit into the arm hole. Once the sleeves are set in I only have the buttonholes and buttons. As with all fabrics I do a practice buttonhole test. Once I am happy with that I use the pattern to mark my buttonholes and then sew those. Since I open my buttonholes with a seam ripper I always put a pin at the top to keep it from ripping through.
Fin
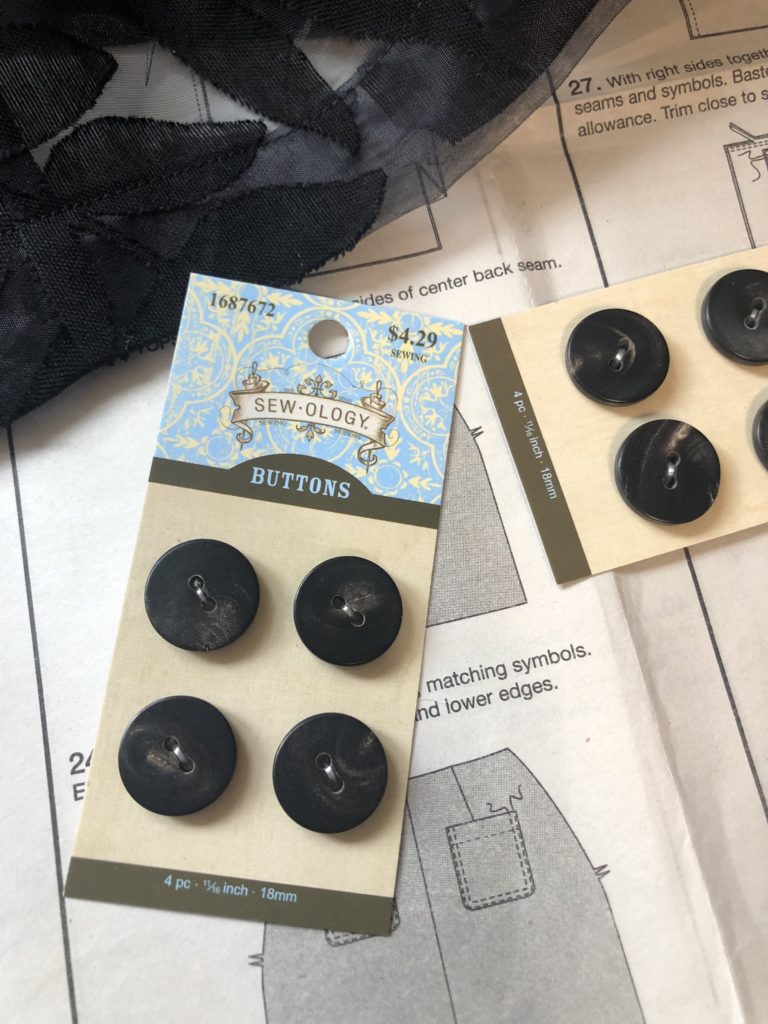
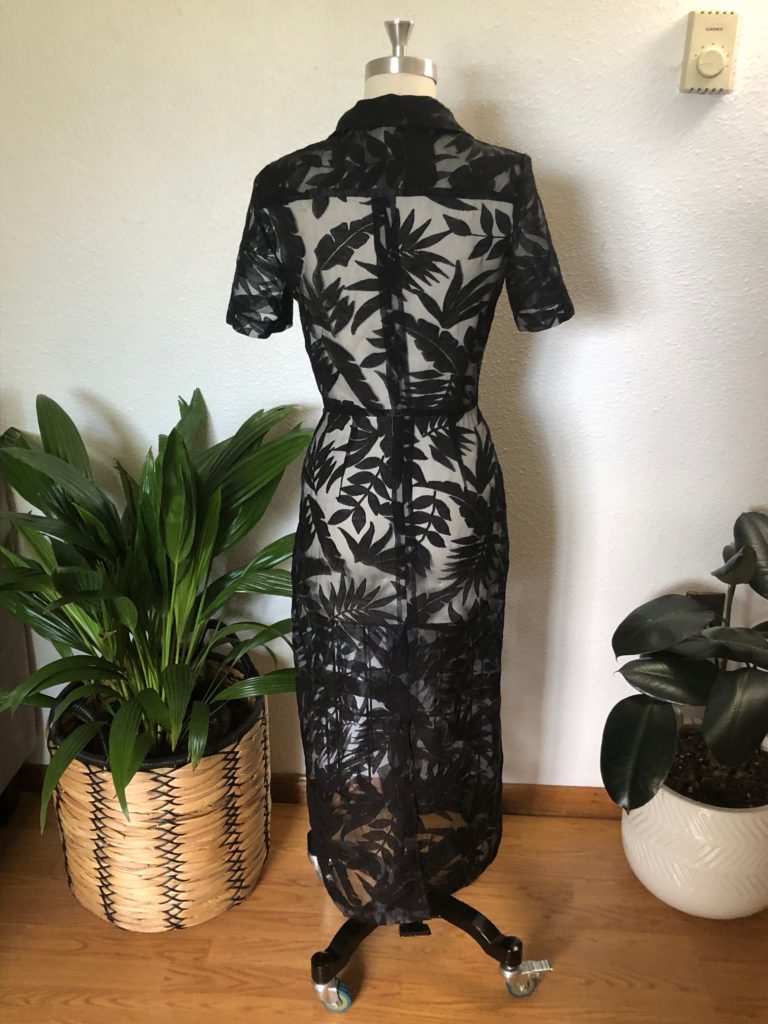
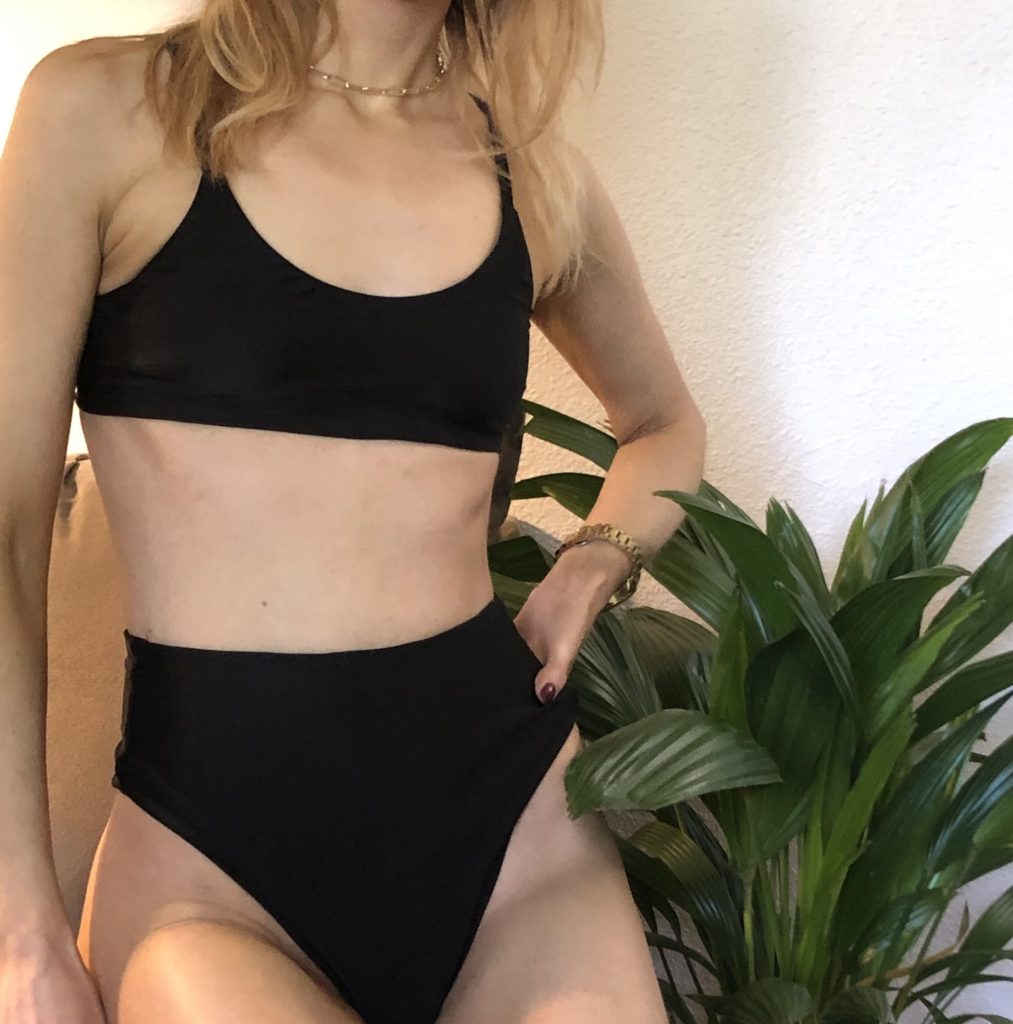
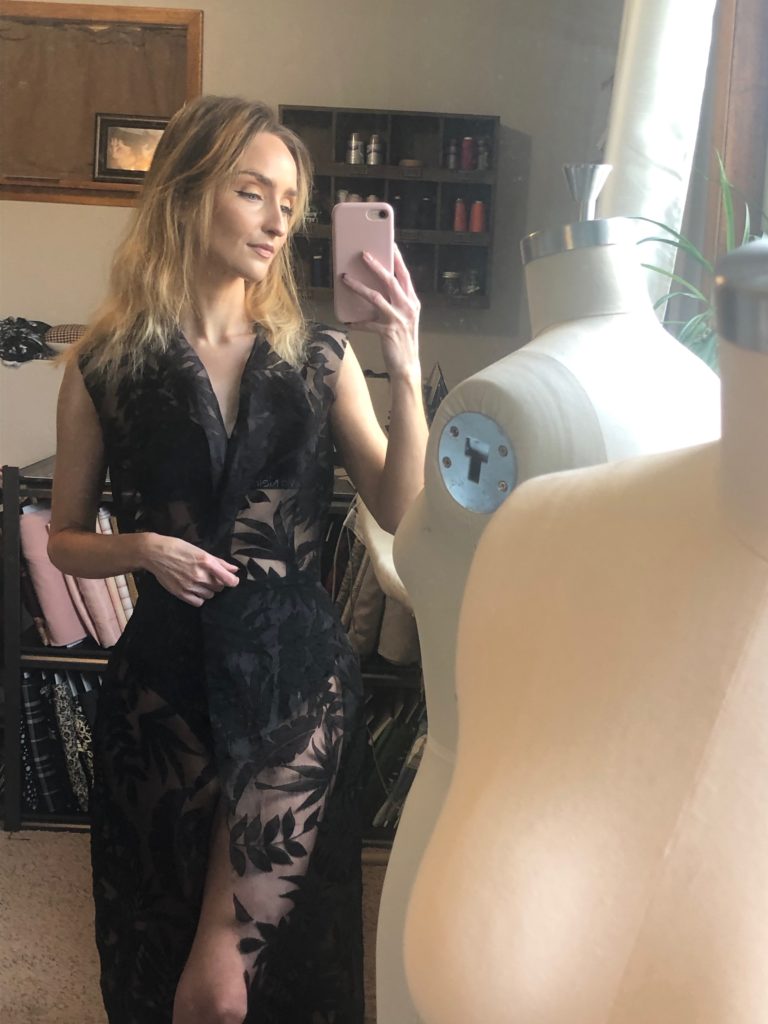
Lastly, I finish off this project by hand sewing on the buttons. The buttons I came across at my local hobby lobby and they are perfect for this project. Other than the little hiccup with the sizing I love the fit and style of this dress. For underneath the dress I am wearing the Whitney bottoms and the Jace top patterns by Edgewater Avenue. The Jace top is one of their free patterns so if you’re starting out sewing swimwear you might like that one. The fabric for the swimwear pieces are from my local thrift shop. One day I will sew a black slip dress to wear underneath this piece. Thank you so much for reading along.