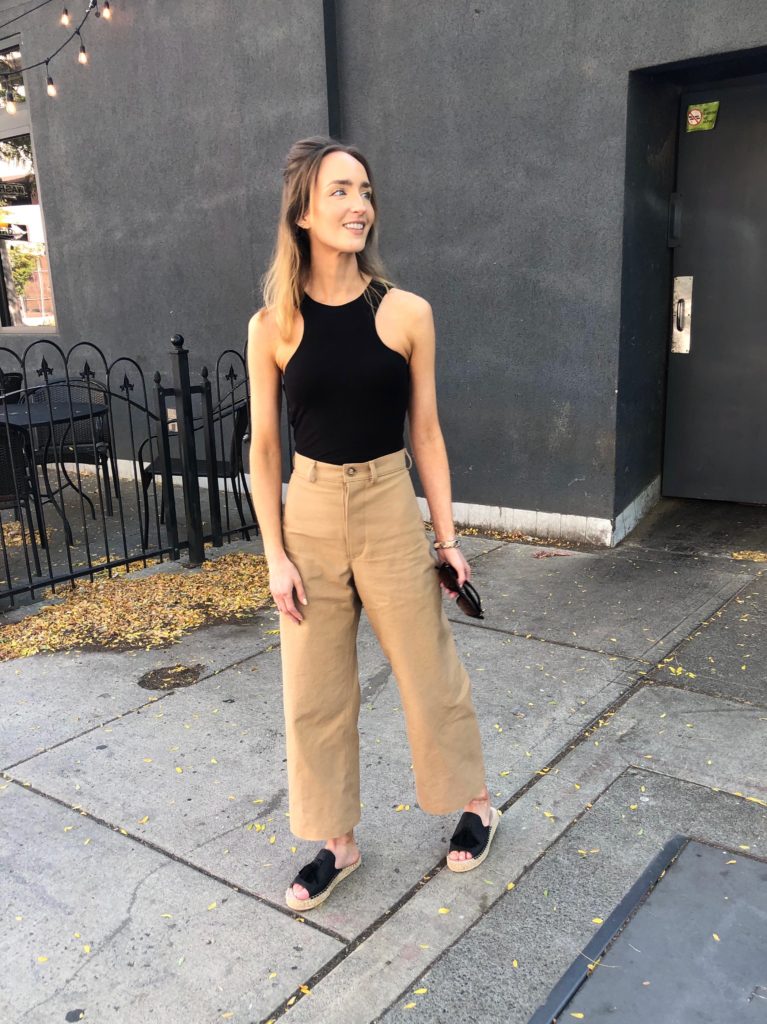
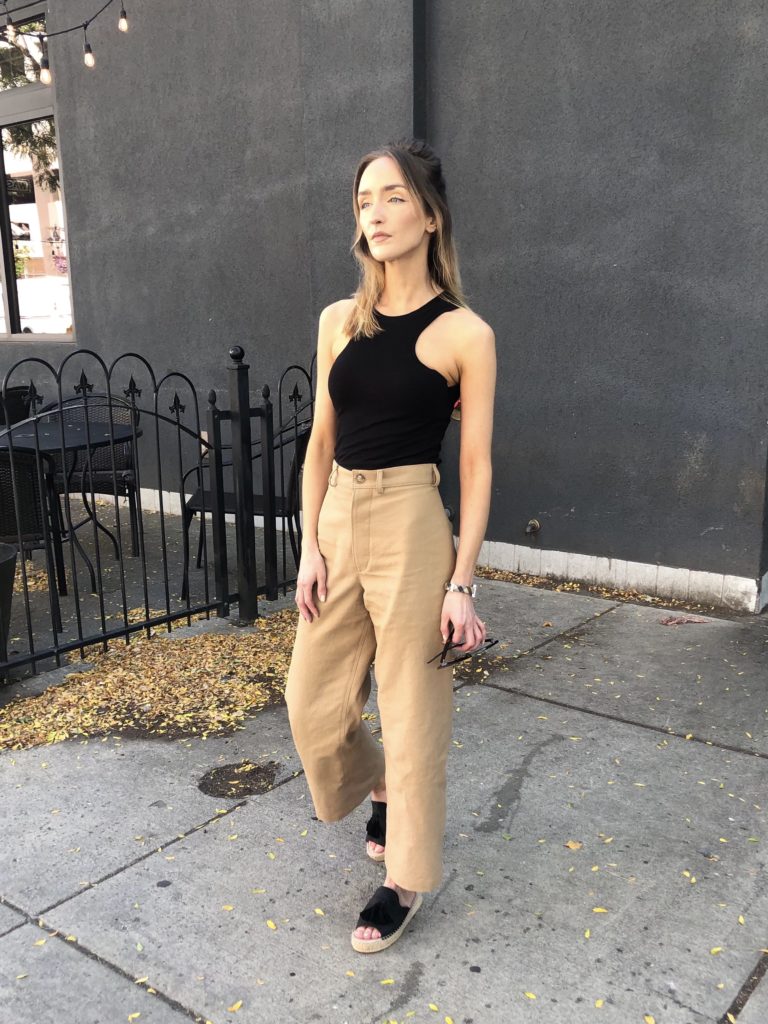
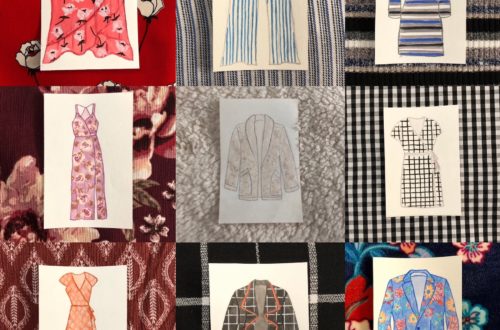
Hello! New blog post for you all today on the Persephone pants by Anna Allen Clothing. I bought this pattern last October, but I had a couple concerns that kept me held off. First, my body was fluctuating sizes last fall. And second the sizing starts a little larger than my natural waist. So anyways I will show you guys how I sized these to fit me. This is my first pair, a ‘wearable toile’ so there will be some adjustments made to future pairs, but a good starting point.
Sizing & Fabric
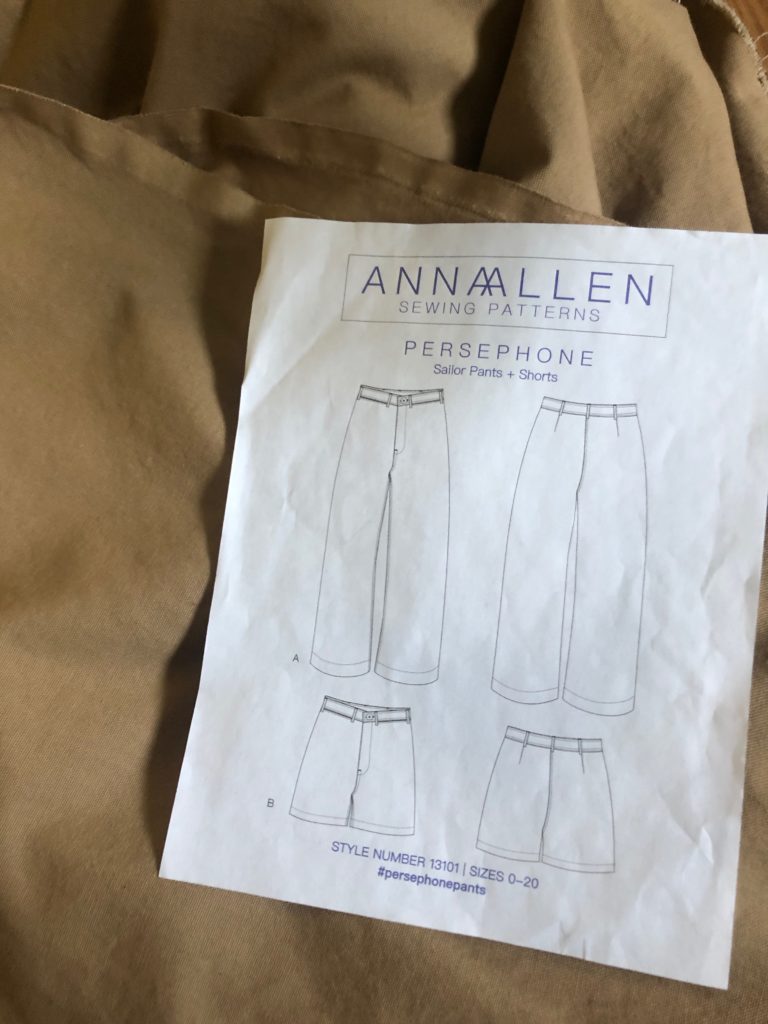
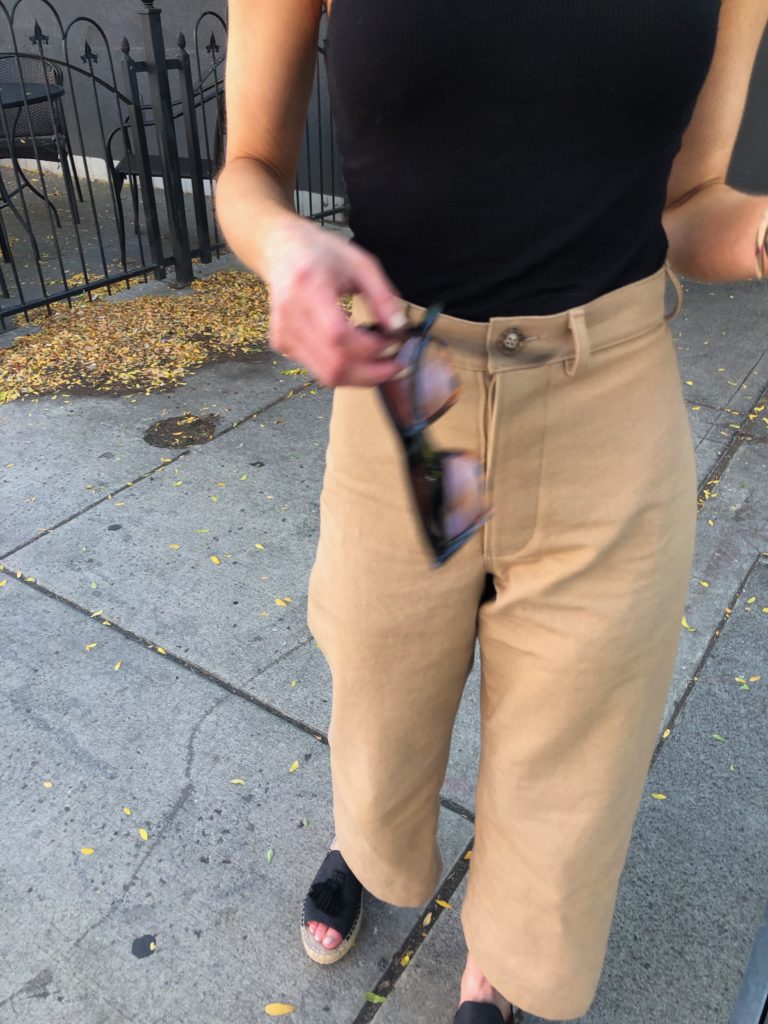
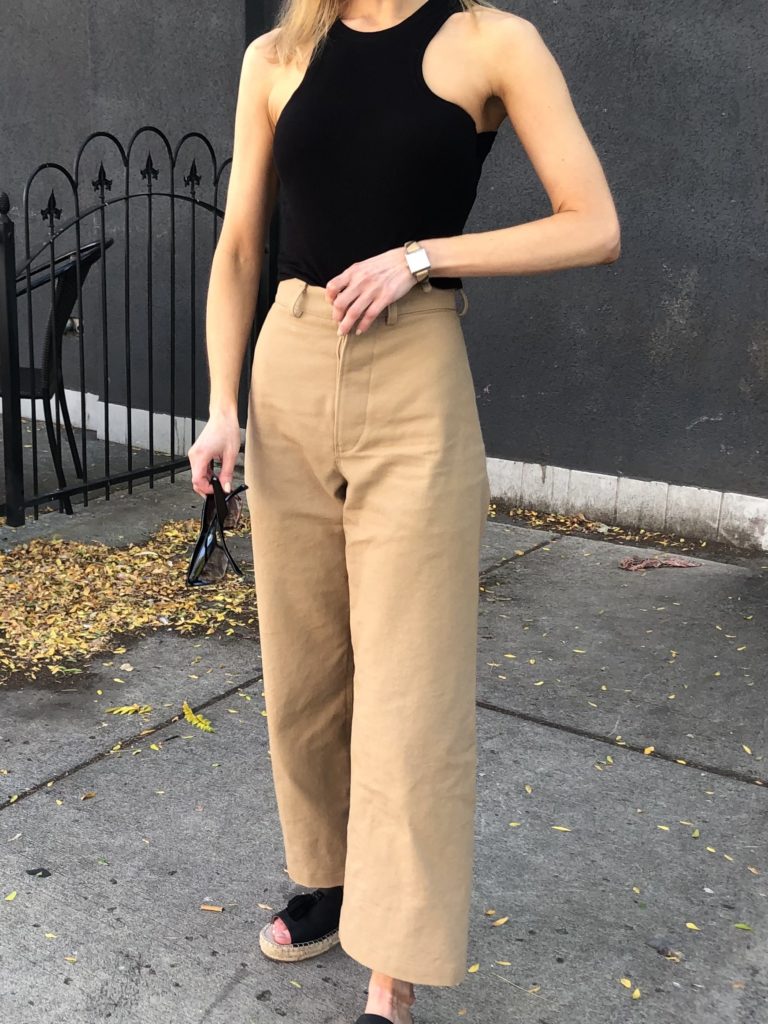
I went with the size 0 and graded down from there. The 0 waist measures 26 3/4in, while my waist is a 24in. However, the fabric is a non-stretch material so I want to leave some ease for these to be comfortable. I don’t know the specifics of the fabric it reminds me of a cotton denim or canvas. I found this in Walmart’s pre-rolled fabric section. A good deal for what I needed it for.
Modifictions to Sizing
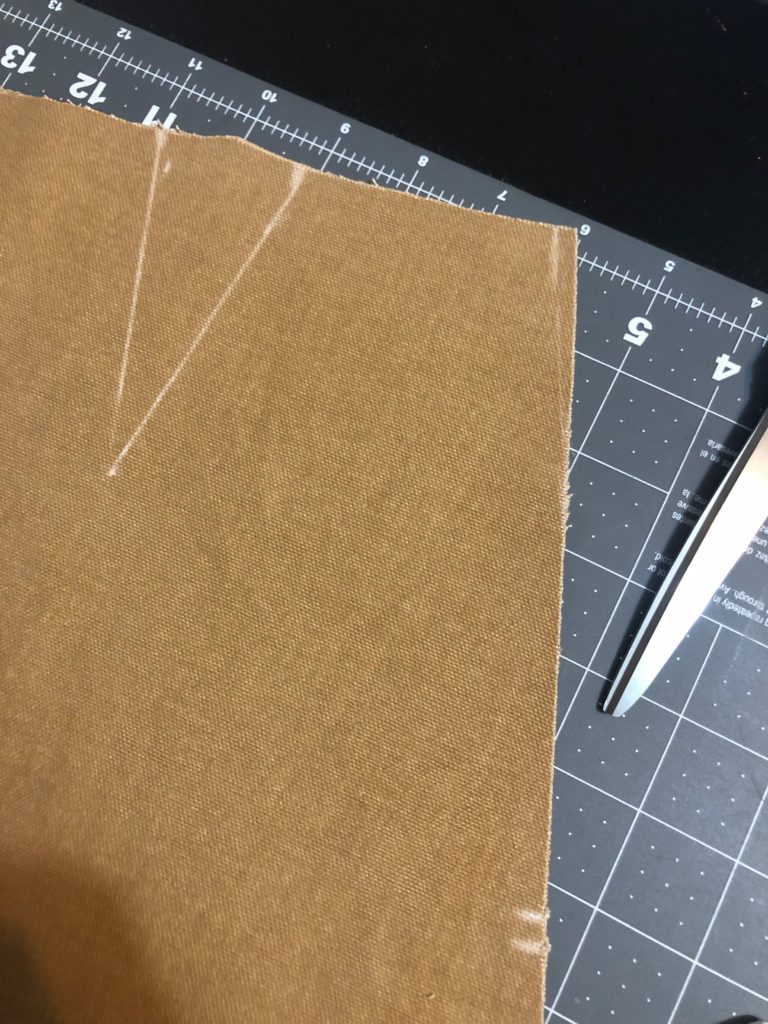
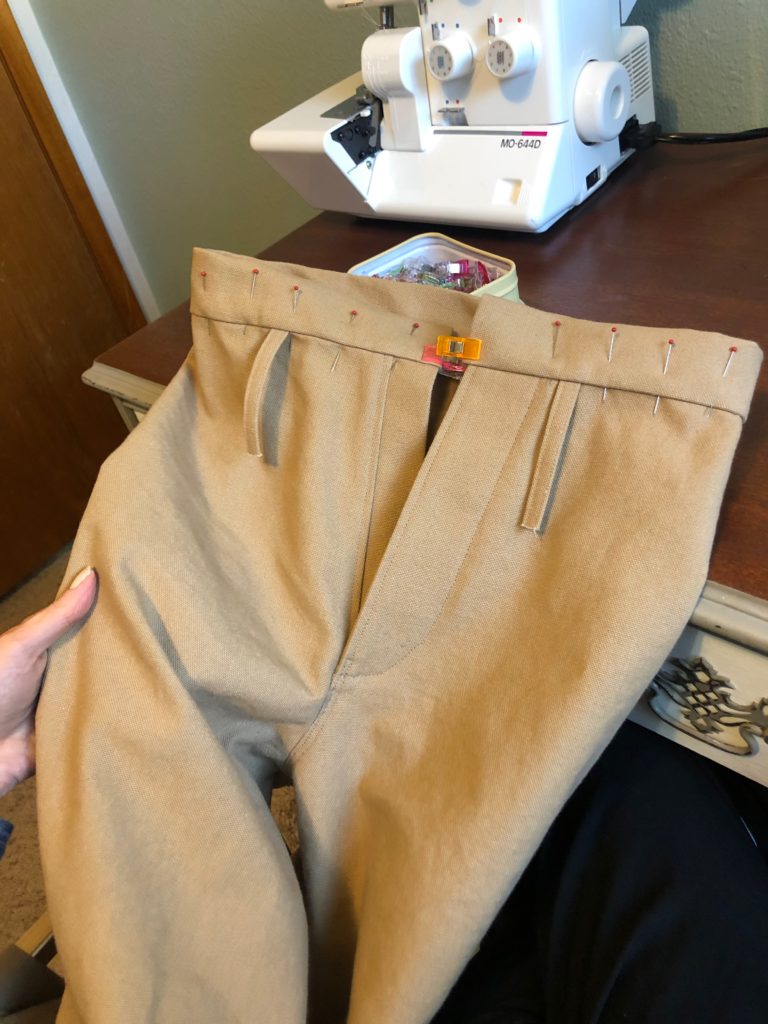
So to make adjustments in the sizing I went into the darts first. I extended the bottom width of each dart 1/2in. I did this by adding 1/4in outside the original dart marking. Since there are two darts in the back, this process reduced the sizing by 1in. One thing I will note now, before the rest of the sizing, I wish I would have extended the length of the dart as well. Where my darts come to a point there’s extra fabric. Im not filling out the booty section is what Im trying to convey.
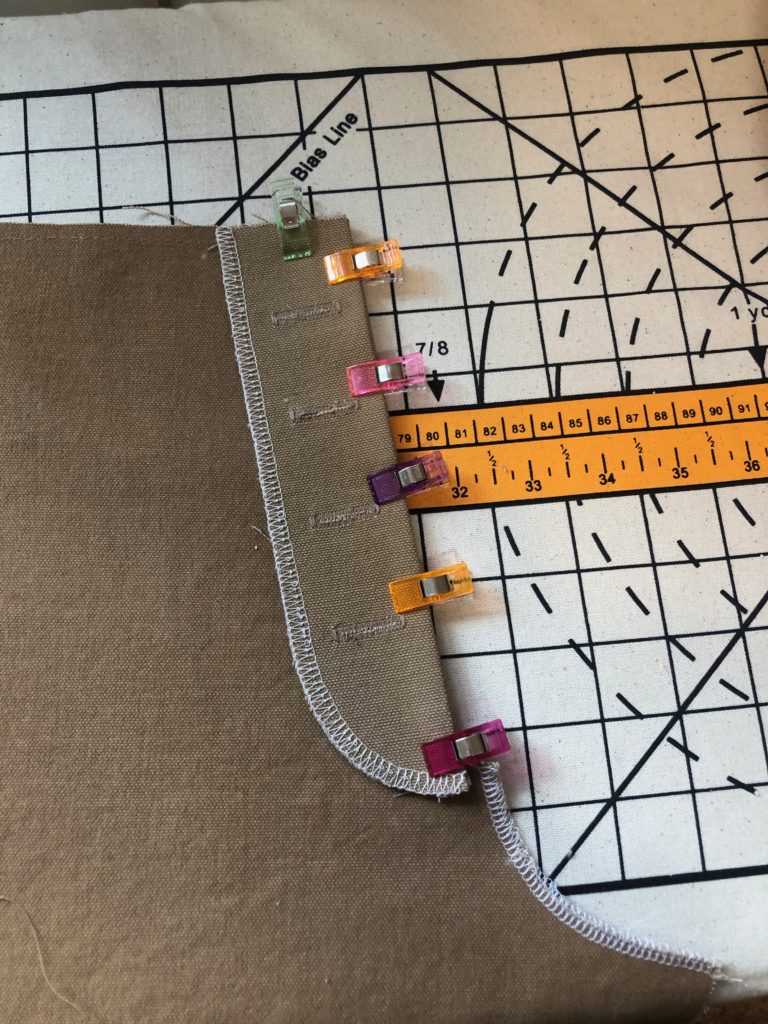
The second minor change I made for the sizing on the waist was to slim a little bit off the back seam edge. So with each left and right back pair I reduced the seam 1/4in and adjusted to fit the curve of the back seam. Reducing 1/4 from each side brings us to 1/2in and with the previous adjustments the total reduction is at 1 1/2in. I also reduced 1 1/2in off the original waistband to compensate for those adjustments.
Sewing
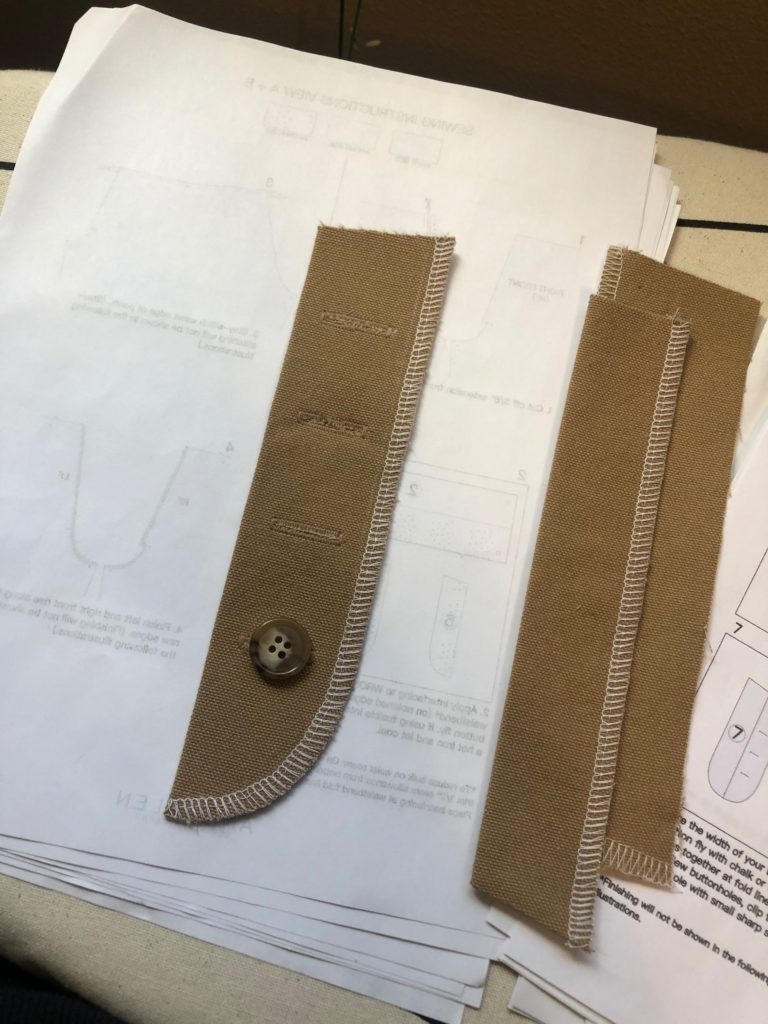
This was actually a surprisingly quick sewing project. I started these on a Tuesday night and finished on a Thursday afternoon with plenty of distractions in-between. I was feeling nervous my machine wouldn’t be tough enough to handle this fabric. Overall it performed well. There were a couple points, like top stitching the belt loops, that were a little dicey. But I did slow stitching and really listened to the machine and felt how it was doing. Maybe if I had an industrial heavy duty machine I would have felt confident to go quicker.
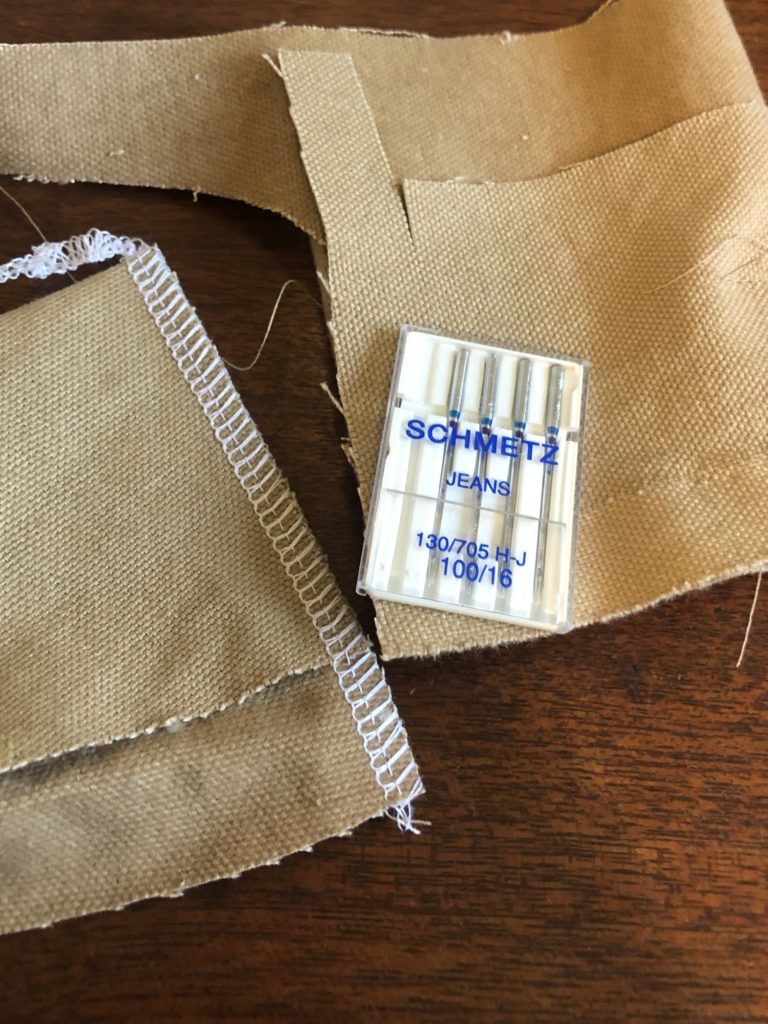
However, sewing is not something I want to rush. Let it be slow and romantic. Enjoy the chase. I used jeans needles, and as with all projects, I practiced on some scrap fabrics with my sewing machine and serger. Once my settings were in order I sewed these as per instructions. I do plan on making another pair of these in a white Rag & Bone denim I have in my stash. So, if you’re interested in a step-by-step tutorial please let me know. This was my first time making them and I was doing so much learning I could hardly teach it in this blog.
Final thoughts
Overall, love the fit of these pants. I did skip the pockets as I figured these would be so fitted on the front I wouldn’t use those pockets. Next time I do think I’ll add some back pockets. I need somewhere to put my phone ya know. The only other mod I made to these was to shorten the hem to fit my height. I cut 1 1/2in off the bottom of the pant legs and then hemmed them the suggested 1 1/2in.
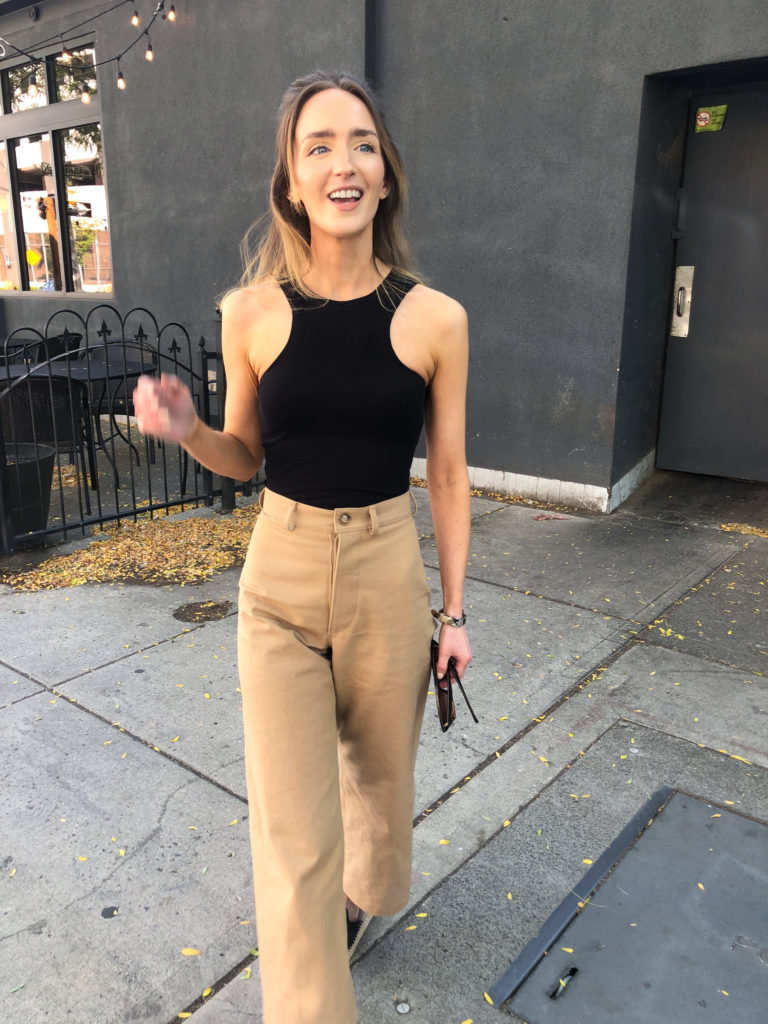
Some changes I will make to future pairs will be lengthen the dart like I mentioned previously. But I also have some “weggie issues” with these pants. A common problem with this pair I’ve heard. They’re not actually uncomfortable, but not the most flattering fit from behind. And since I also have a long crotch inseam I am going to make some adjustments with lowering the crotch.