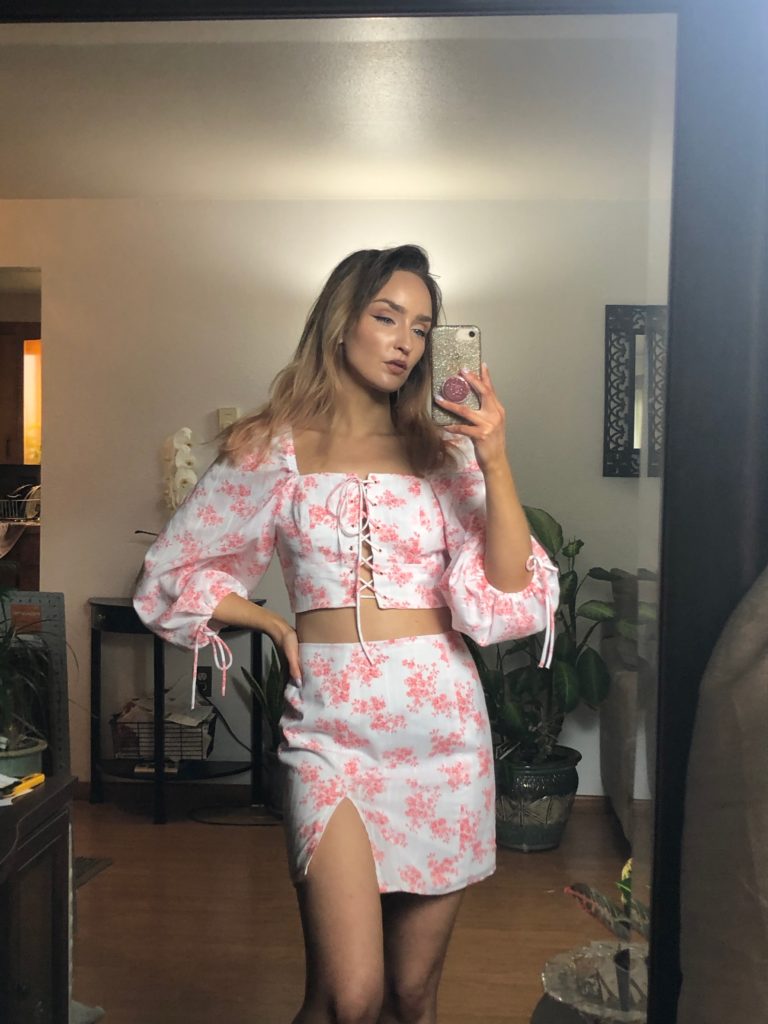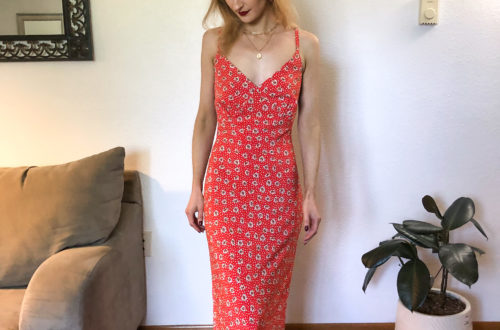

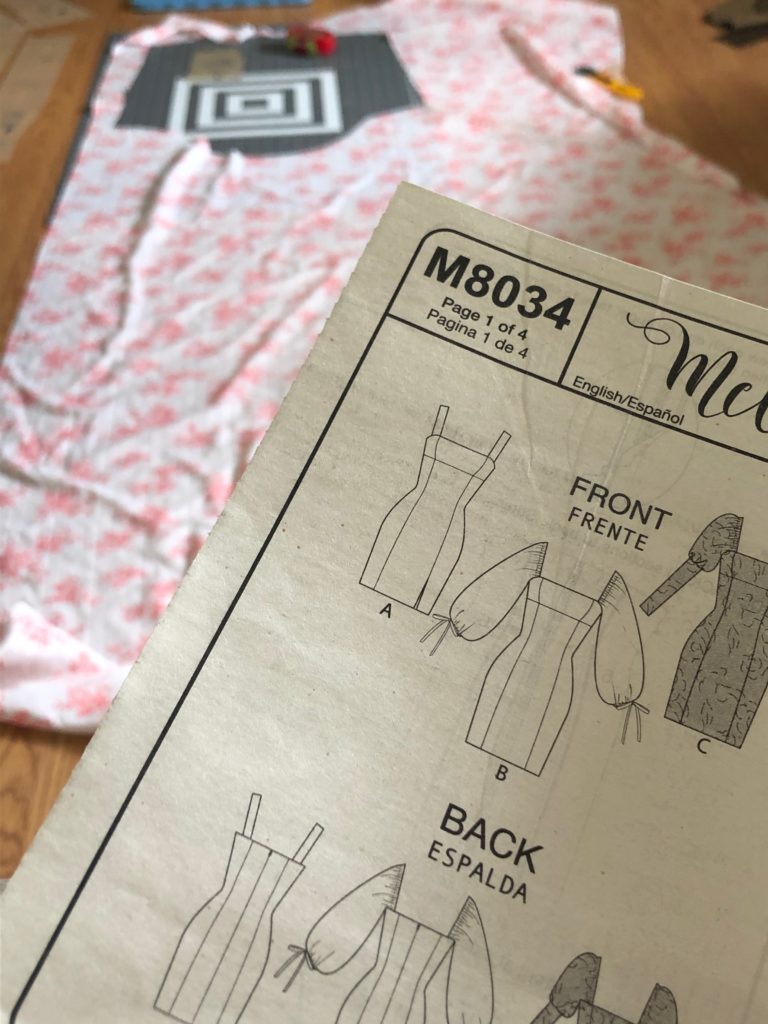
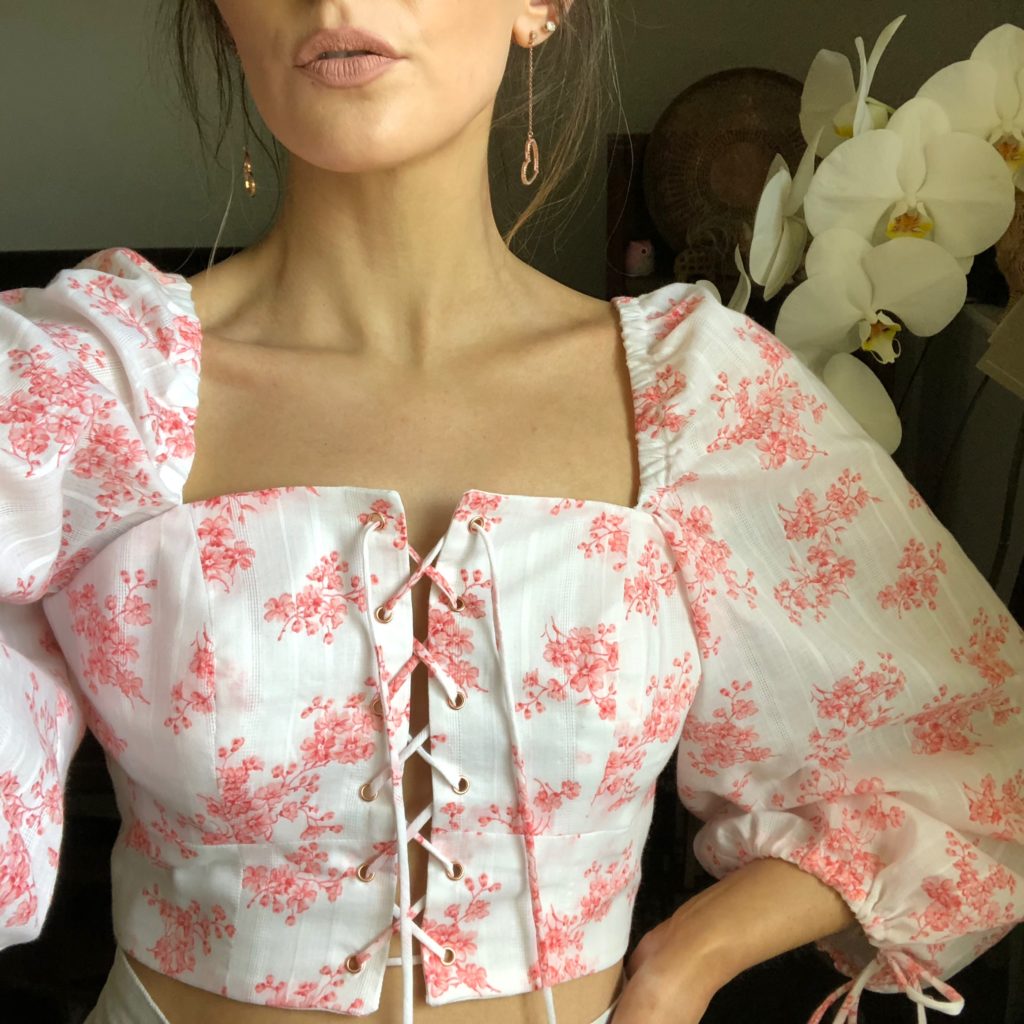
Hi everybody! Thank you for reading along. Today I am sharing how I made this two piece set out of a dress pattern. I wanted to create something flirty and feminine inspired by the fabric. I had bought the fabric off of eBay last year and was waiting for the right project. For the pattern I used Cora McCalls 8034 because of the beautiful puff sleeves.
Bodice
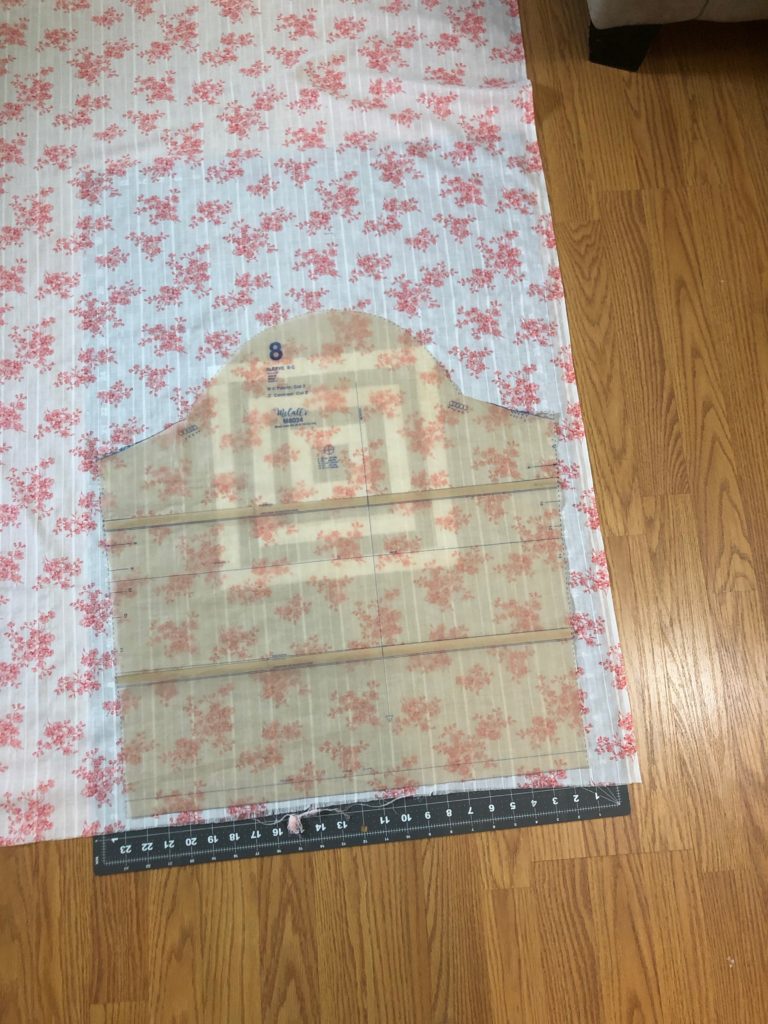
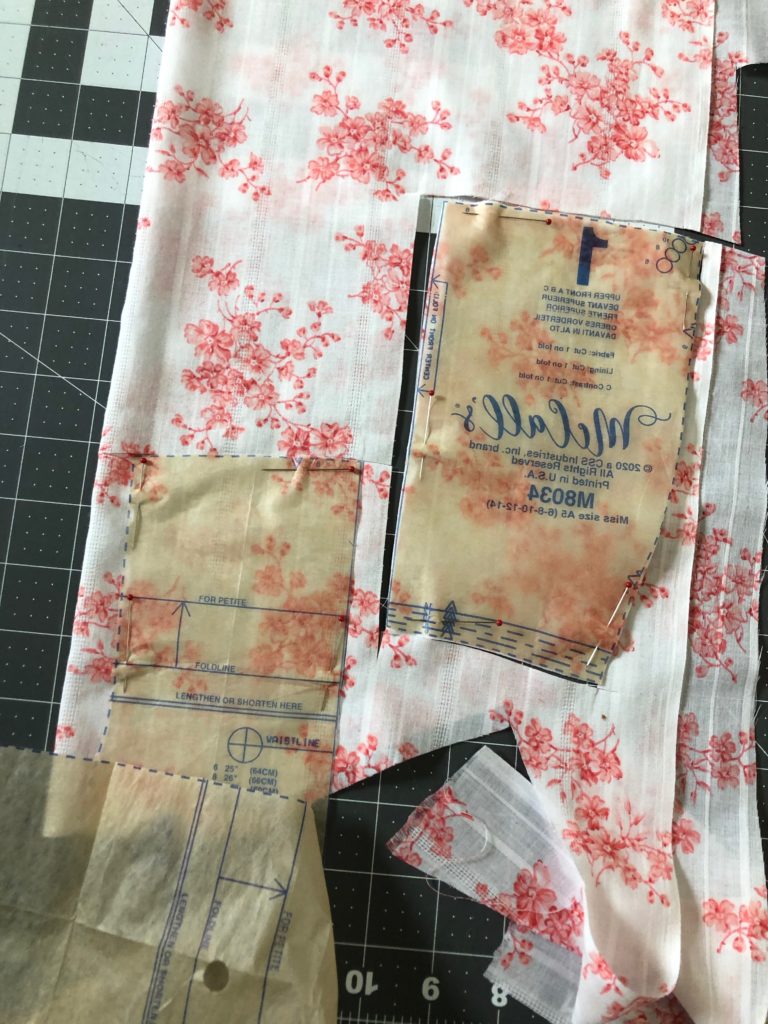
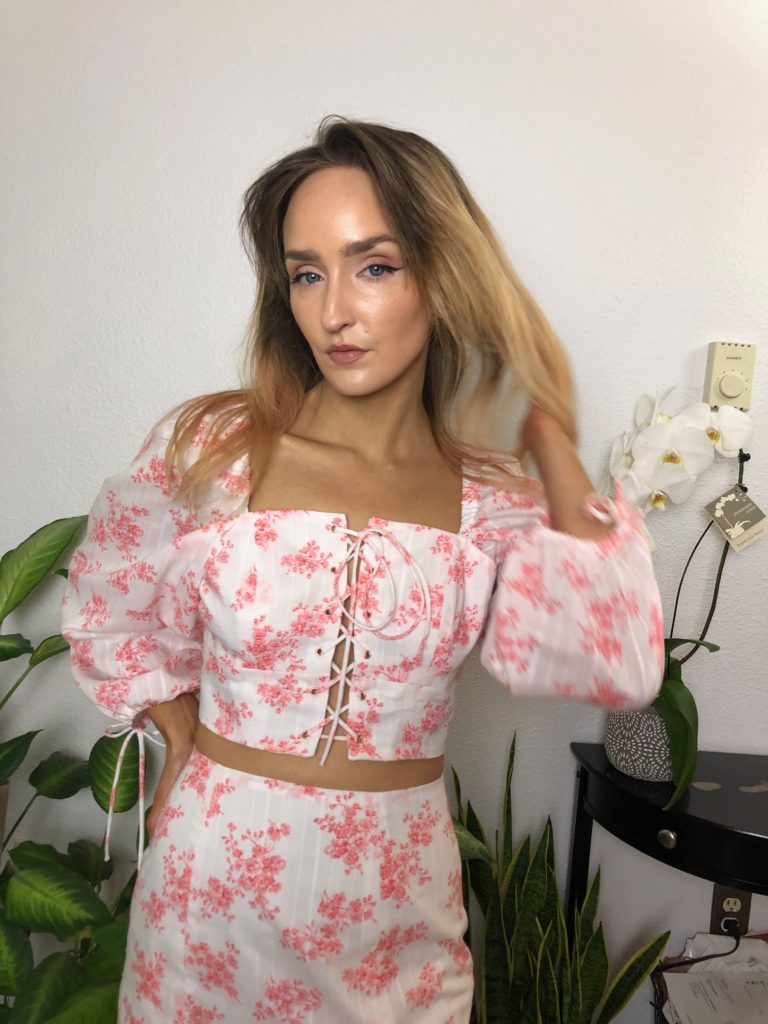
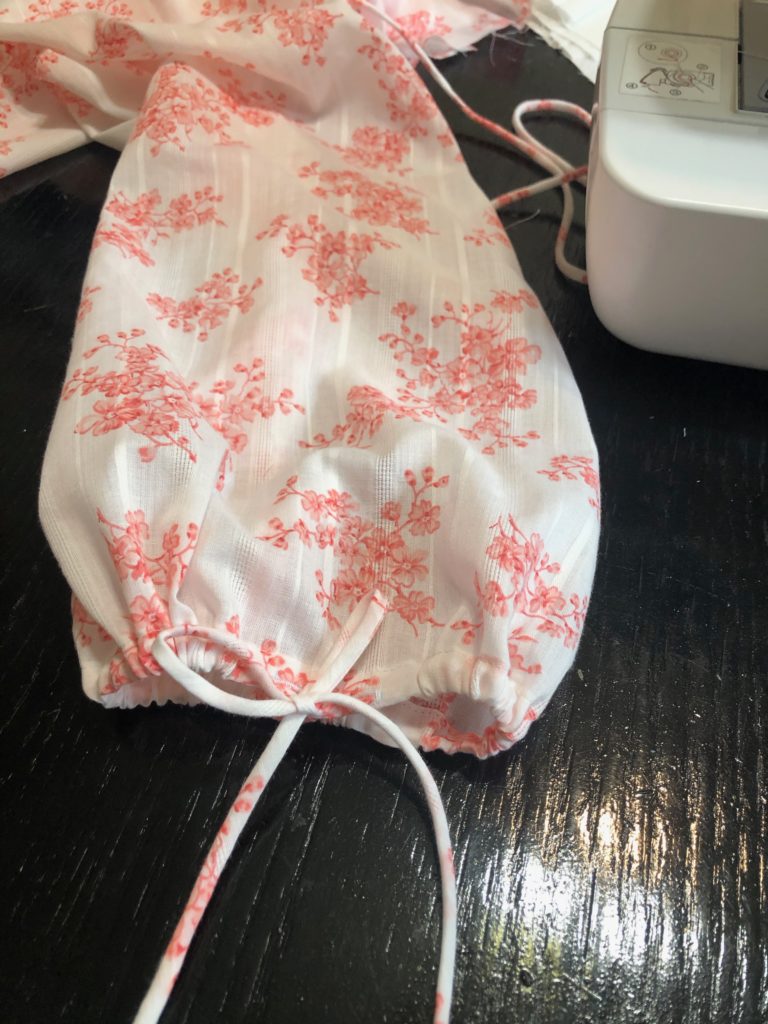
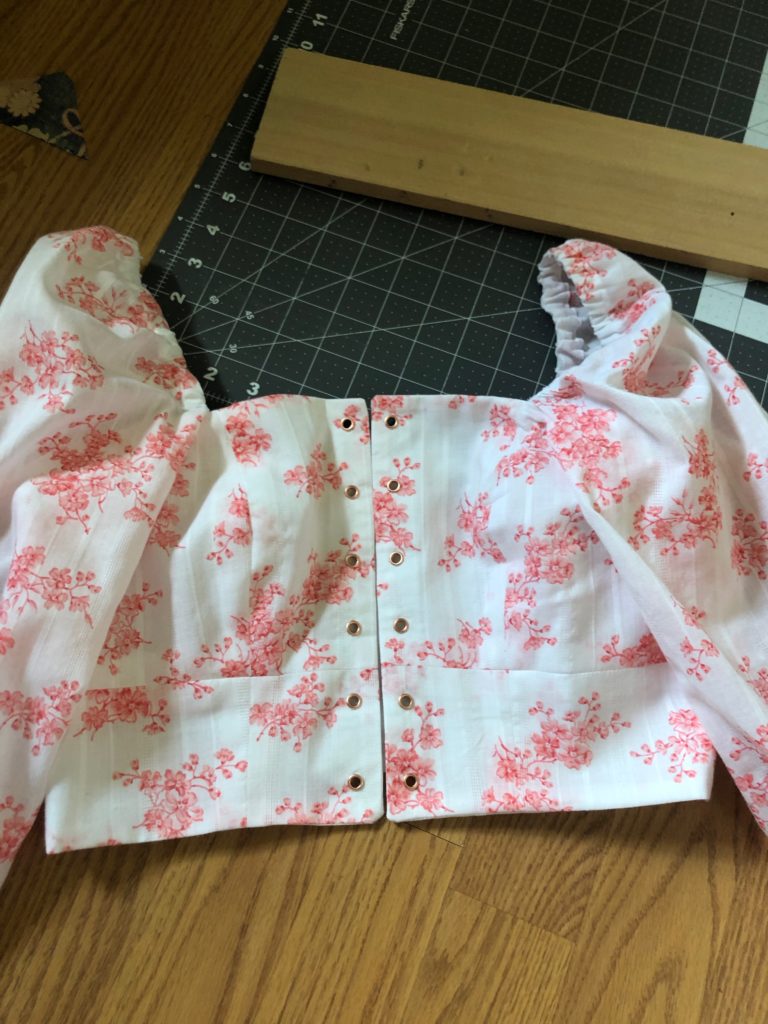
Starting with the puff sleeve I cut those on the petite length. After that, the bodice pieces 1 (upper front) and 4 (lower front) were not cut on the fold to allow the lace up front. I am confident of my sizing before I began this piece, however if you’re unsure leave yourself extra seam allowances. I cropped my bodice pieces at the lengthen/shorten line. The liner fabric I had bought is a linen/cotton remnant from Joanns.

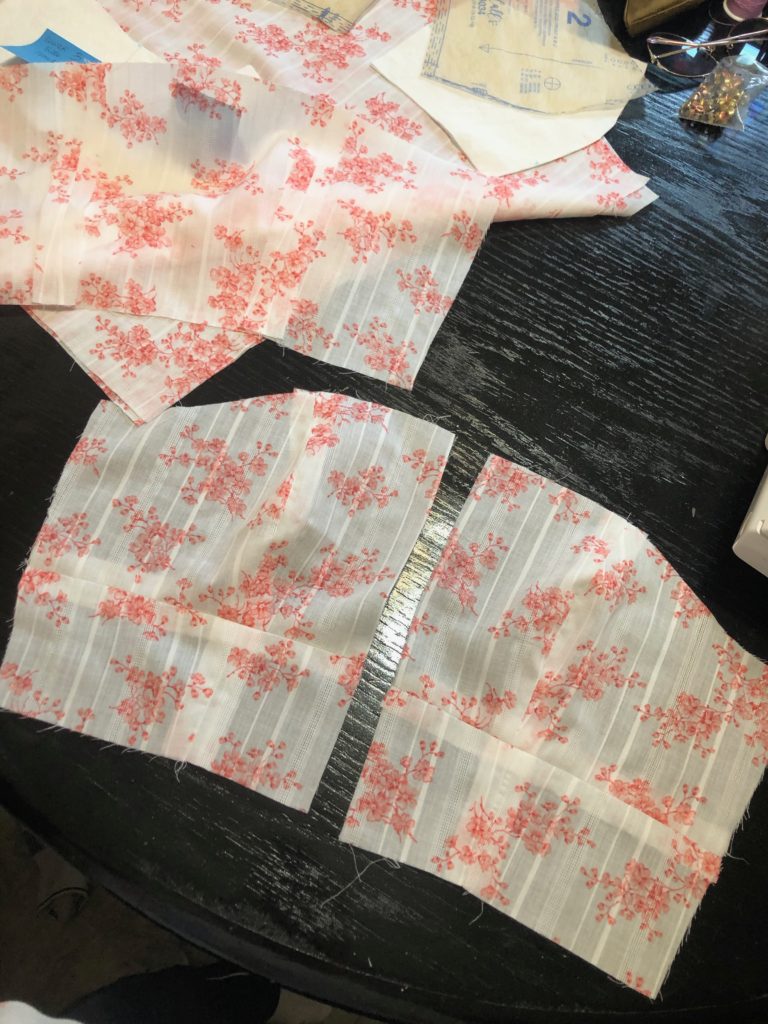

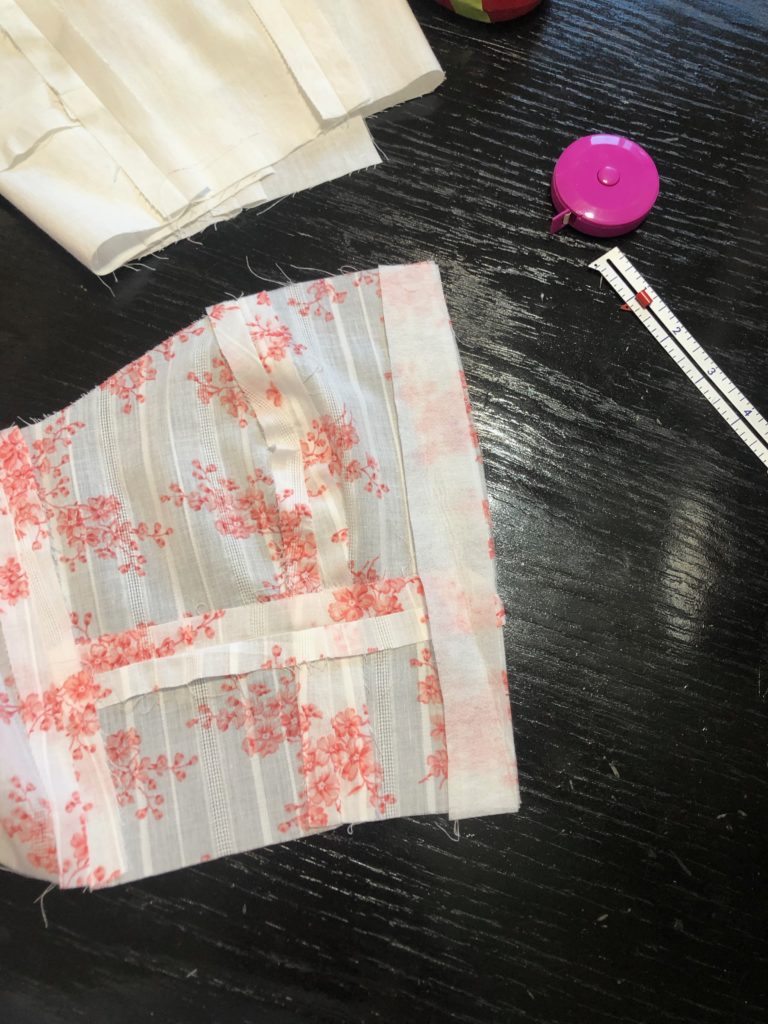
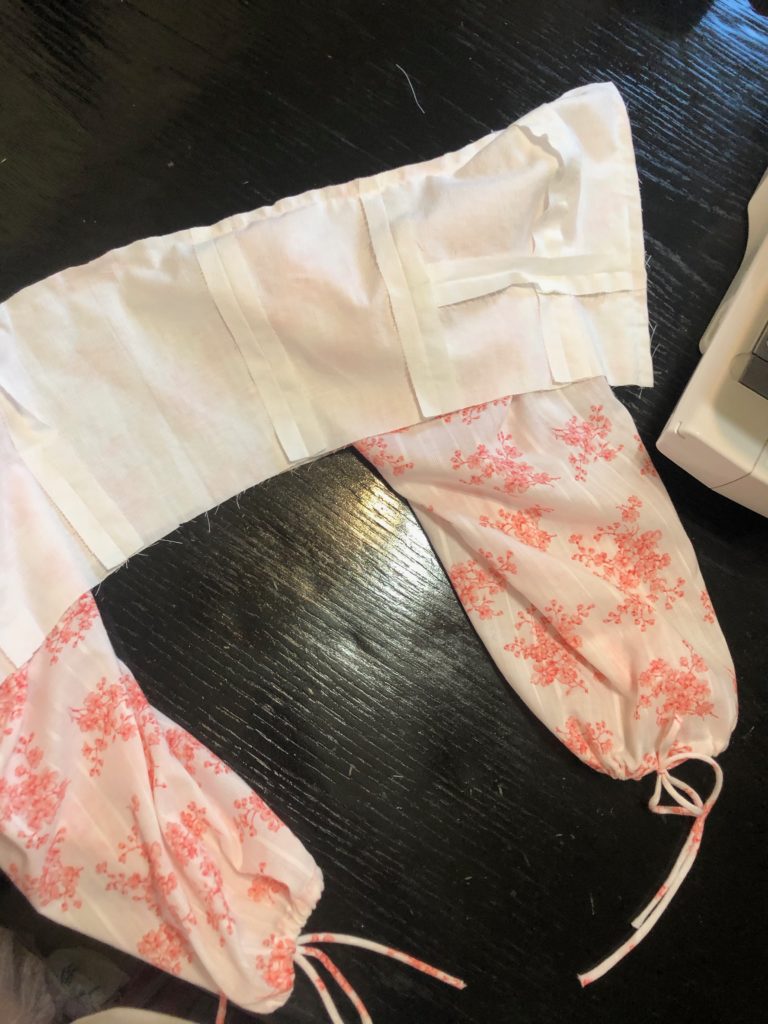
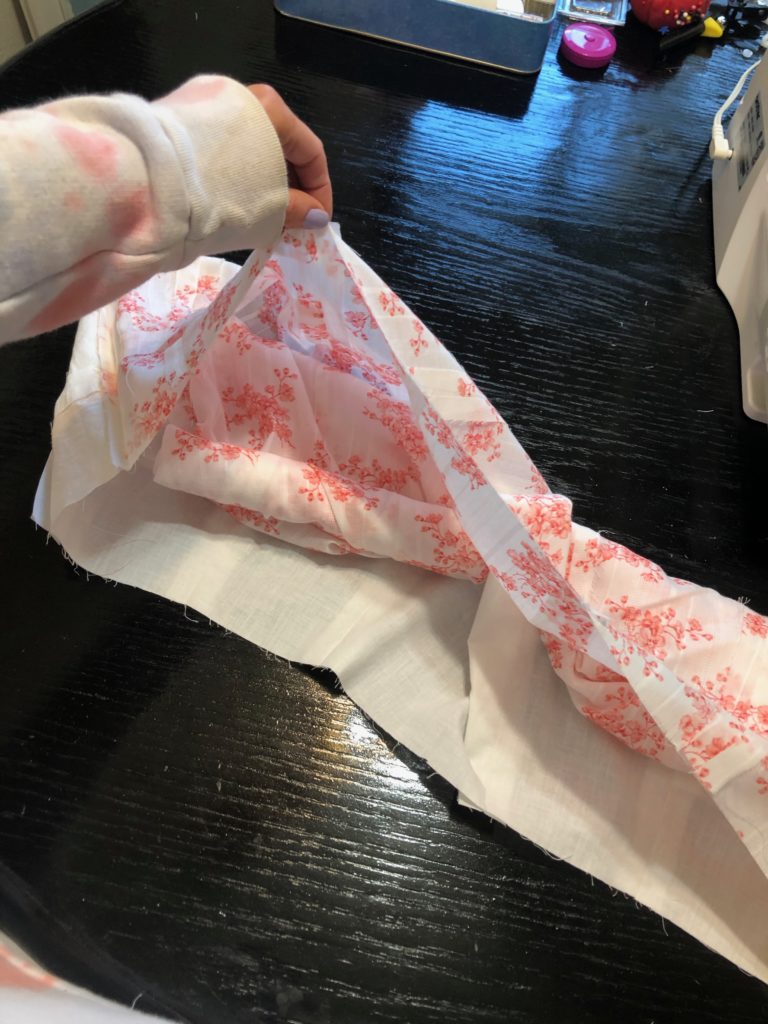
All bodice pieces and sleeves sew as normal till the lining. Prior to attaching the lining i applied a lightweight interfacing along the edge where the eyelets go. Beginning with the top seam I used the regular 5/8in allowance. Followed by under stitching. The front seam, where the eyelets go, I reduced to 3/8in. To finish the bottom seam I tucked in the arms to the inside like a burrito. Along the bottom 3/8in seam I left a 2in gap in the middle of the back of the blouse. This hole allows to pull the blouse to the correct side. Following up by blind-stitching the remaining hole.
Eyelets
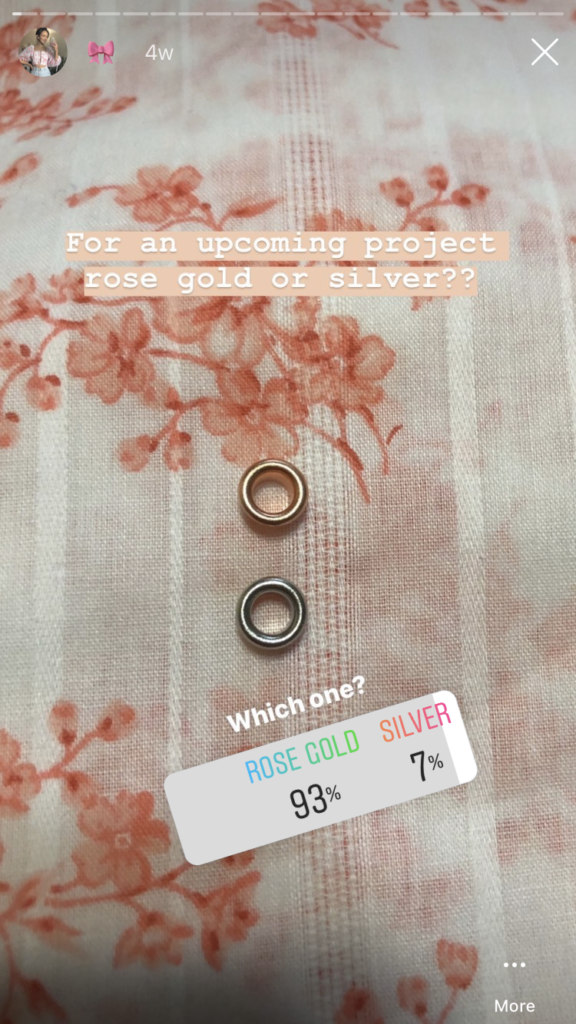
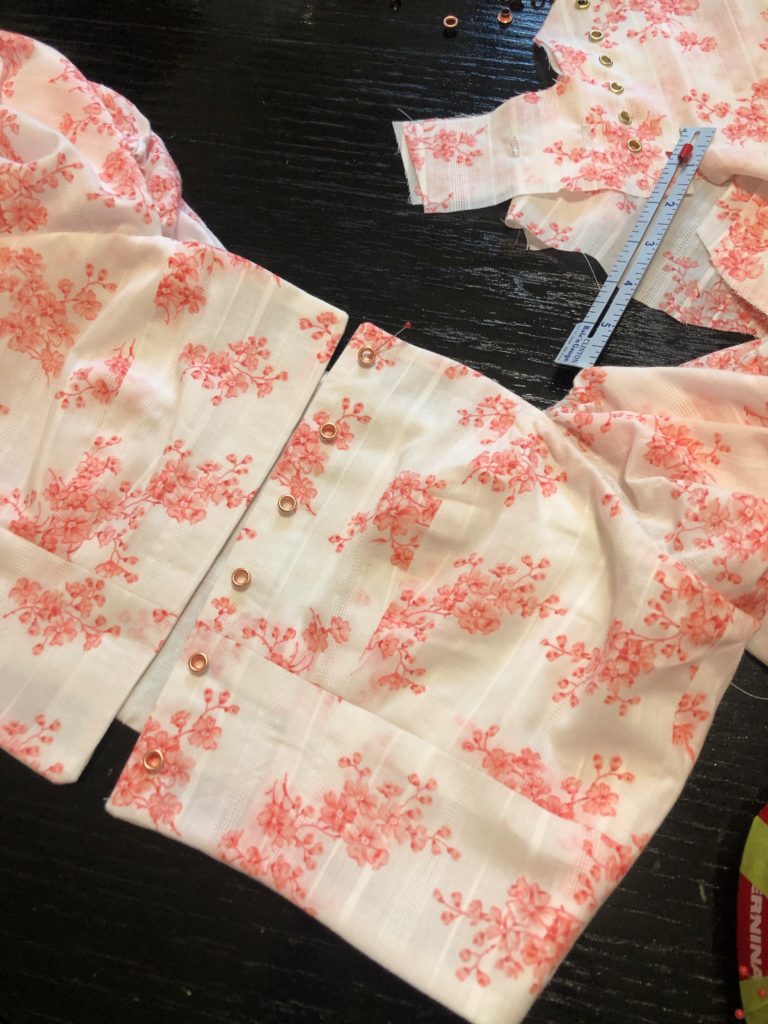
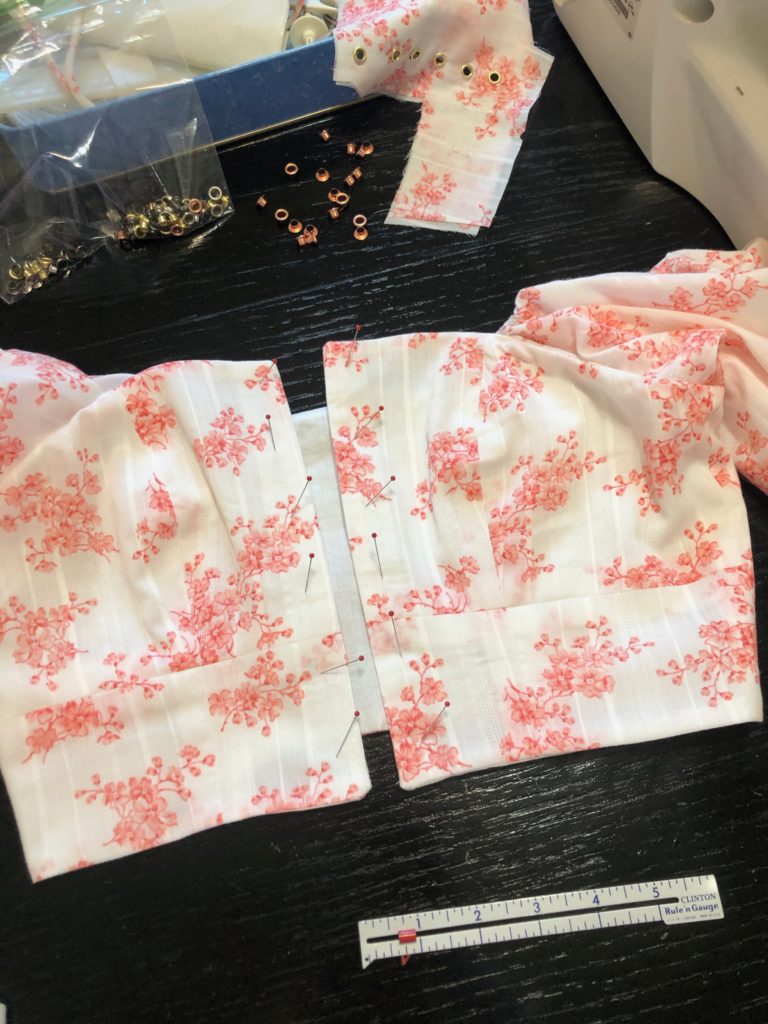
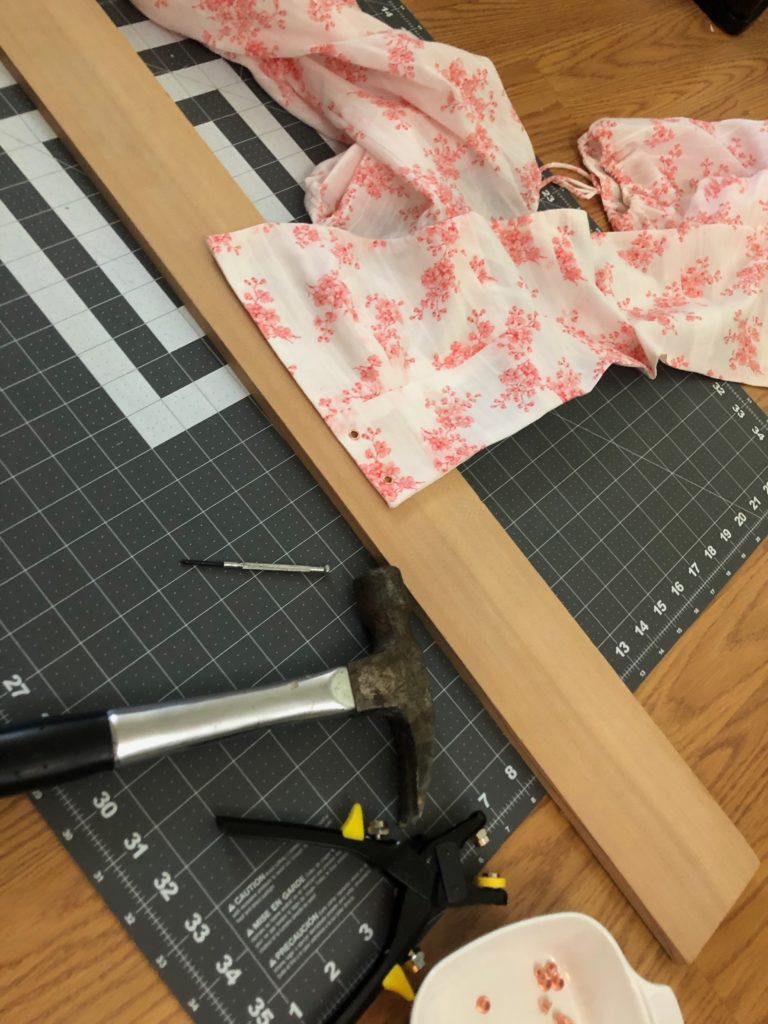
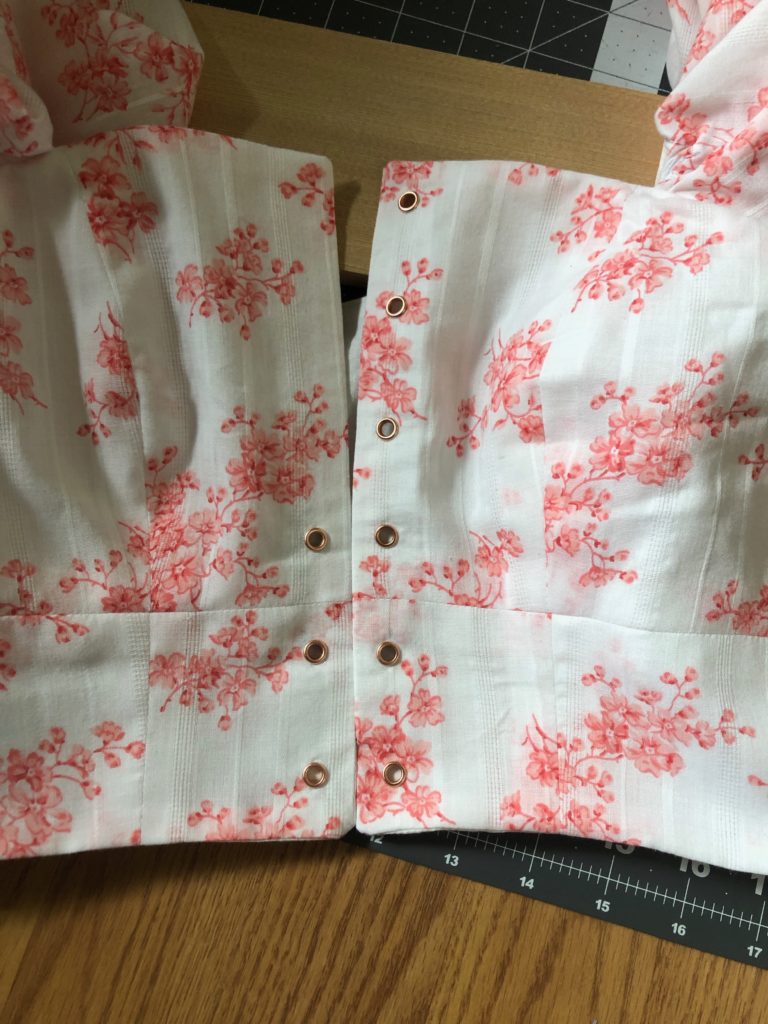
I had bought my eyelet kit at Hobby lobby. It includes several metal tones. Thanks to those that voted on Instagram for the rose gold! To begin I measured and marked where my eyelets would go. I used 6 eyelets per side beginning 1/2in from the top. Spacing each eyelet about 1 1/4in apart. Once marked I got tools. An awl, a hammer, and a piece of wood. My main advice for the eyelets is make the hole small! Smaller than you think. You can always increase the size however if you start too large you may not be able to salvage it.
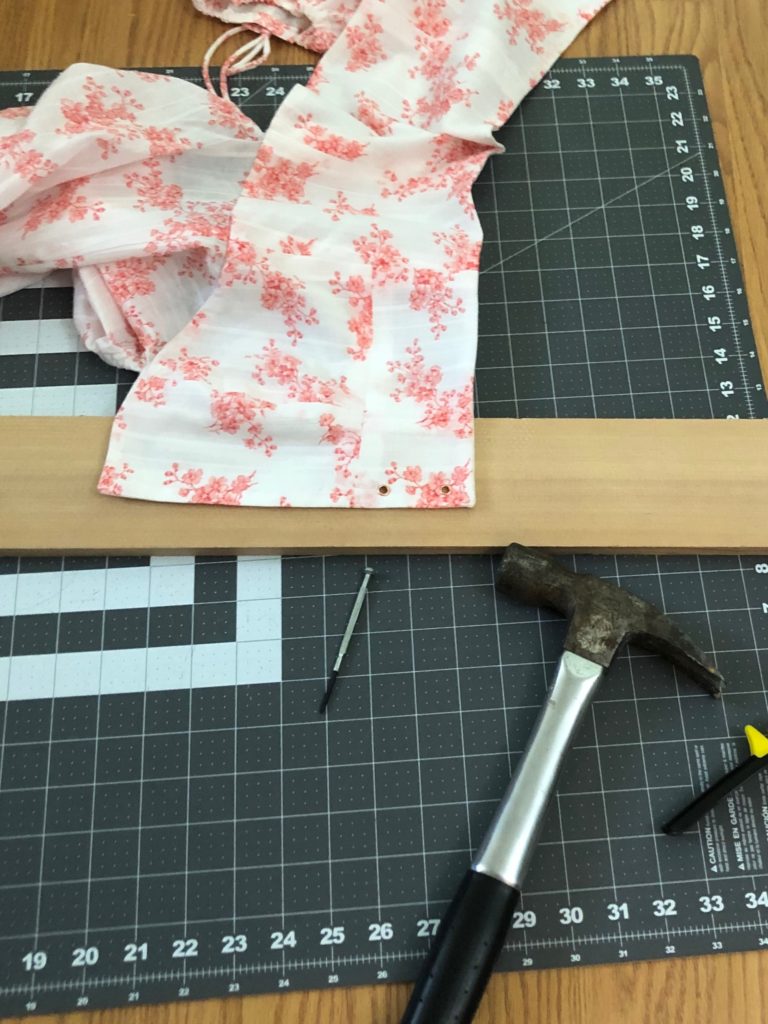
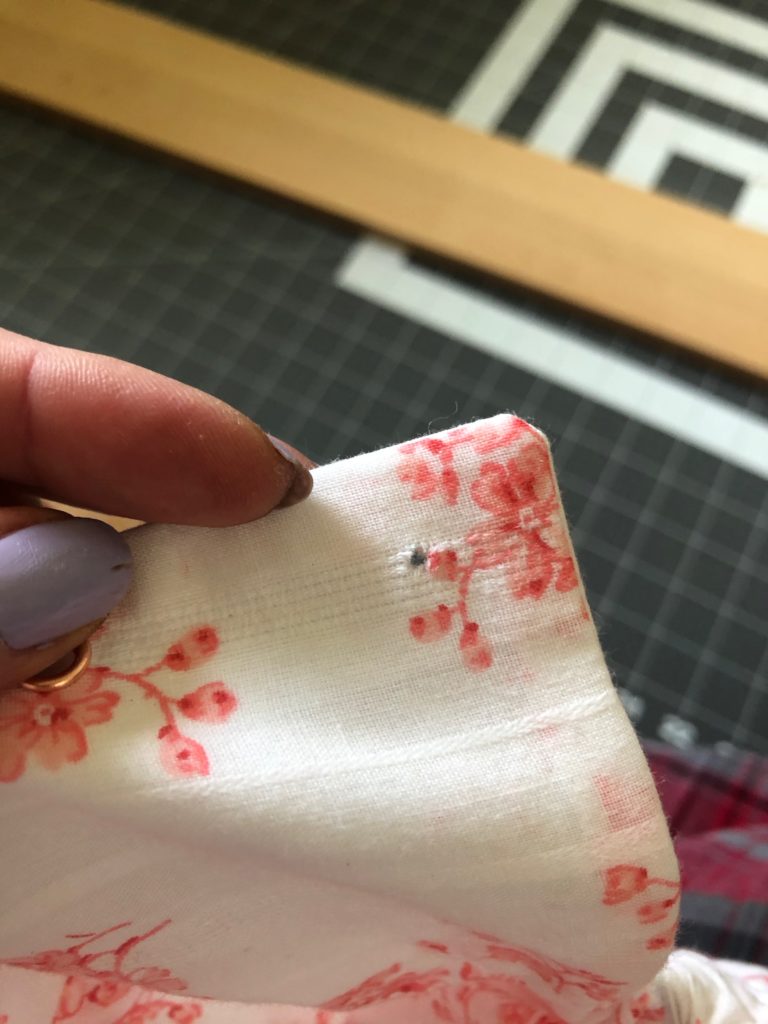
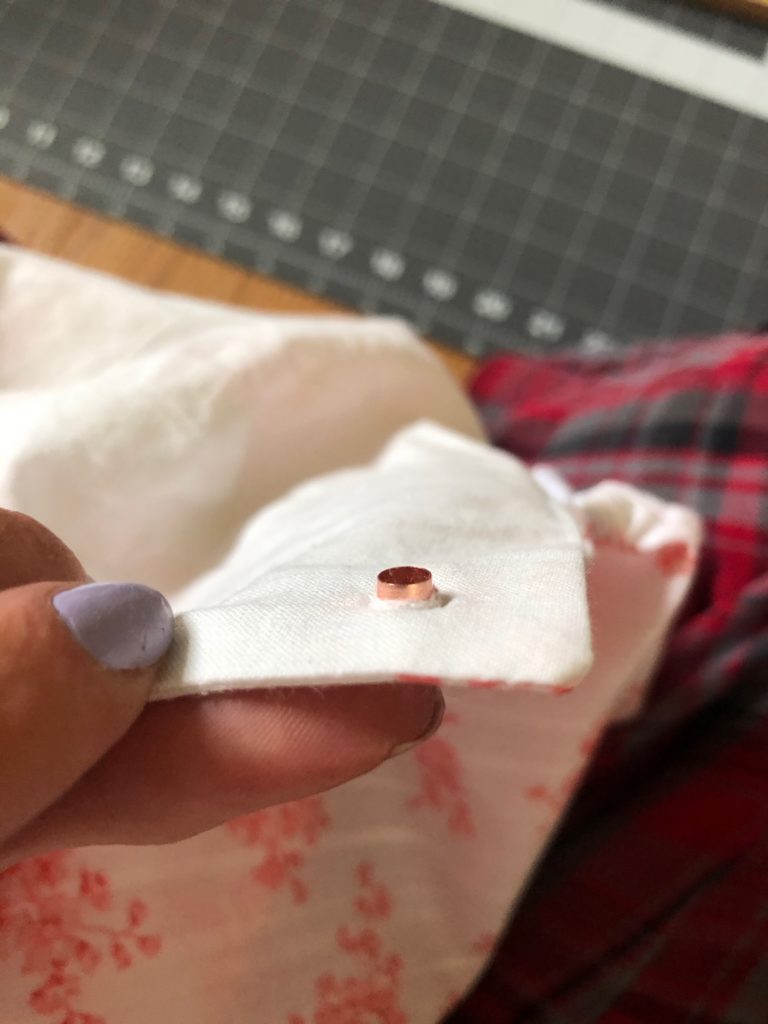
At one point I had a nice wooden handled awl. Consequently I’ve missed placed it so I used the metal one. Awls can be purchased at any sewing stores or sections. After hammering the awl I then used scissors to trim the hole. You want your perforation to sit snuggly on the base of the eyelet. Then clamp with eyelet tool. I worked my way up from the bottom one side at a time.

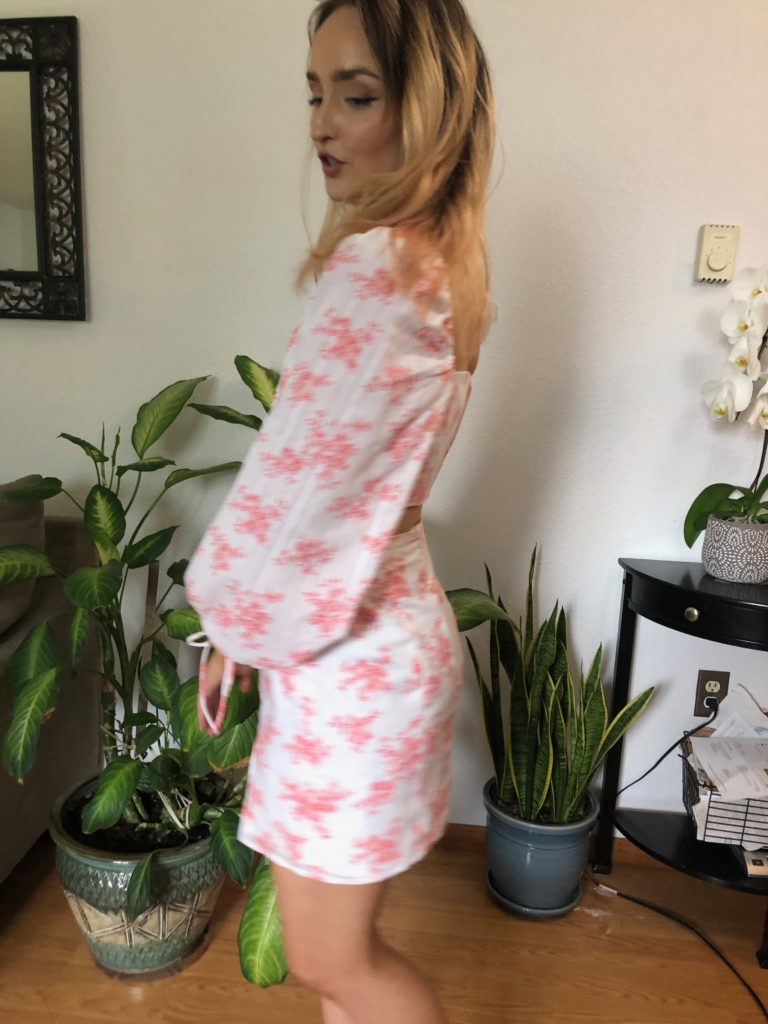
Skirt
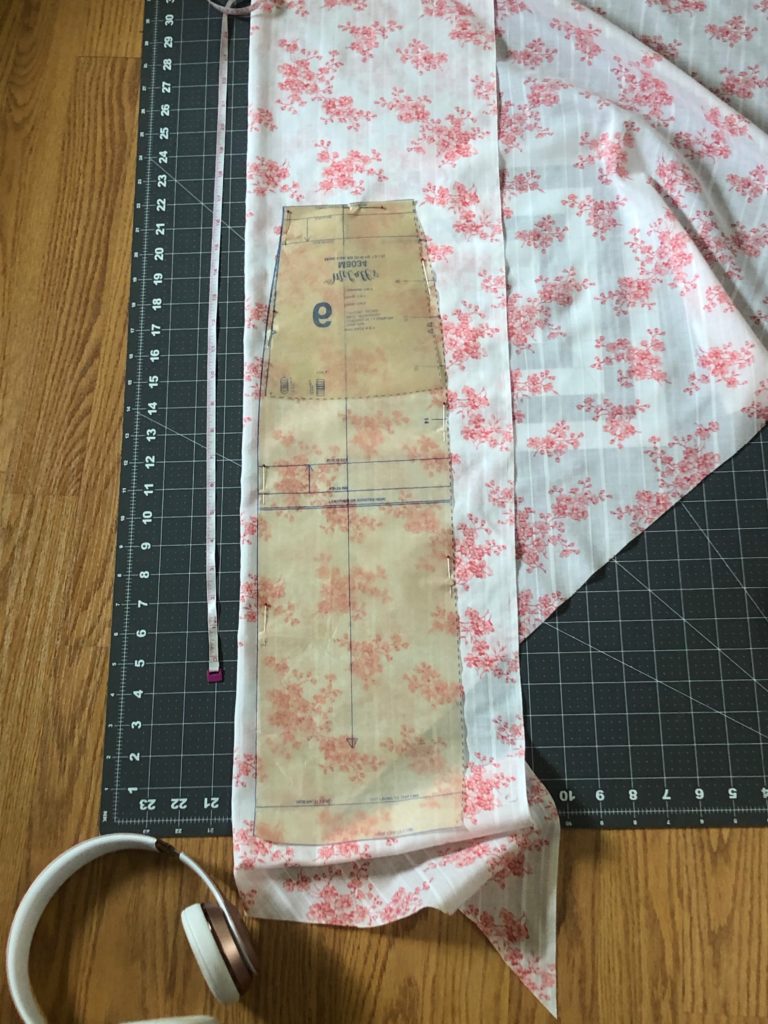
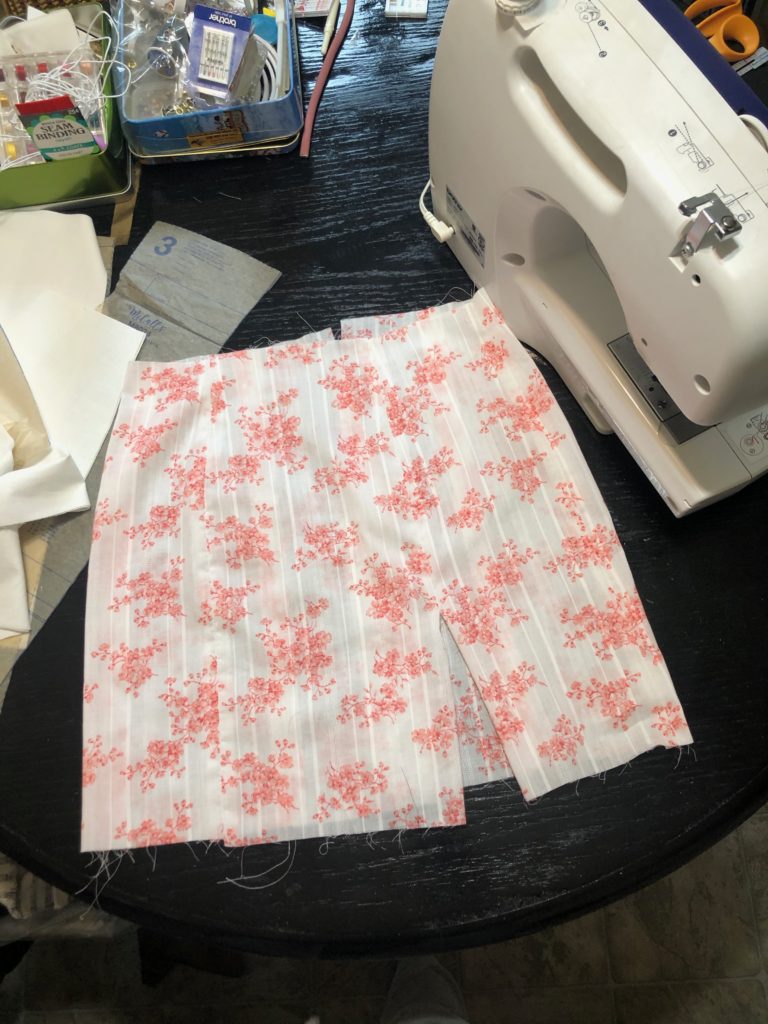
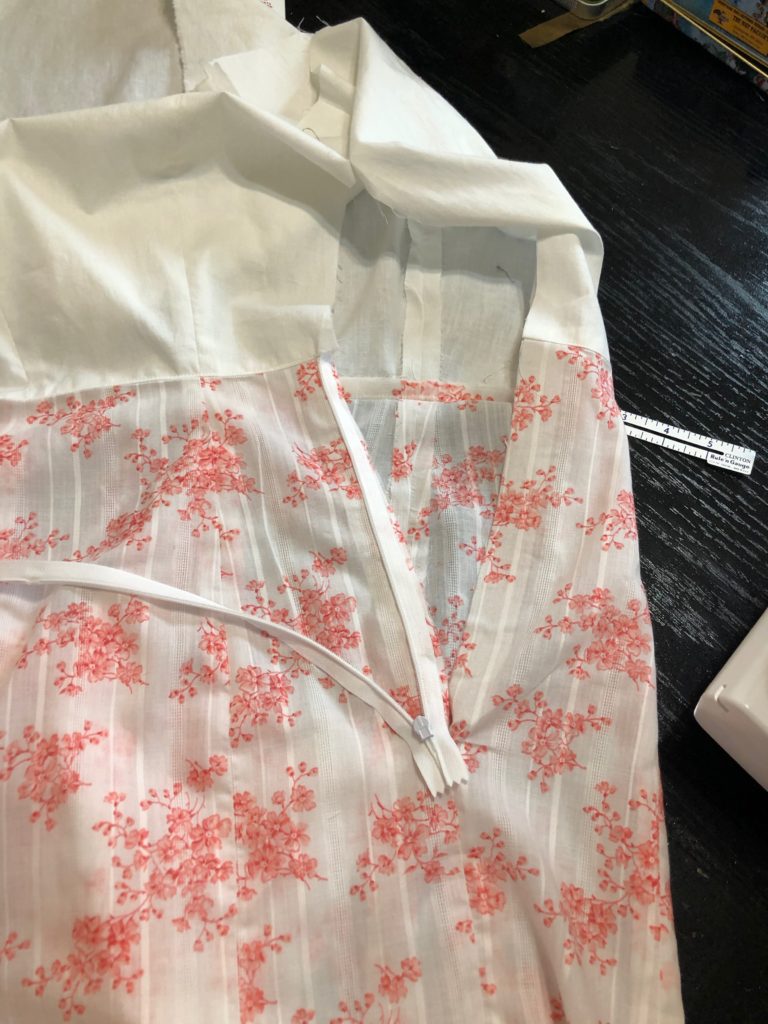
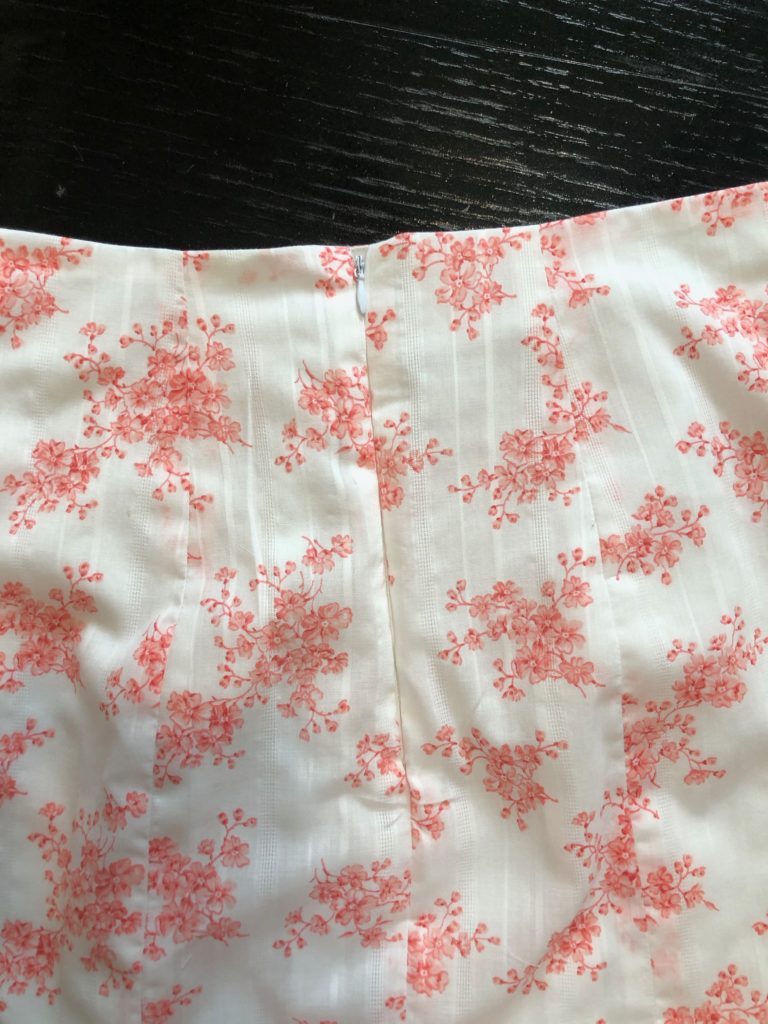
Similarly with the bodice the skirt is in a size 6. For the top of the skirt I cut at the same lengthen/shorten line as the bodice. The length is a mini with a left side split. Lined with the same fabric as the bodice. After that, under stitching the lining and then onto the invisible zipper. Most importantly working with lightweight fabrics is adding interfacing where applicable. Placing the interfacing on the backside of the main fabric. Following that I installed the invisible zip. Leaving the liner to be hand stitched.
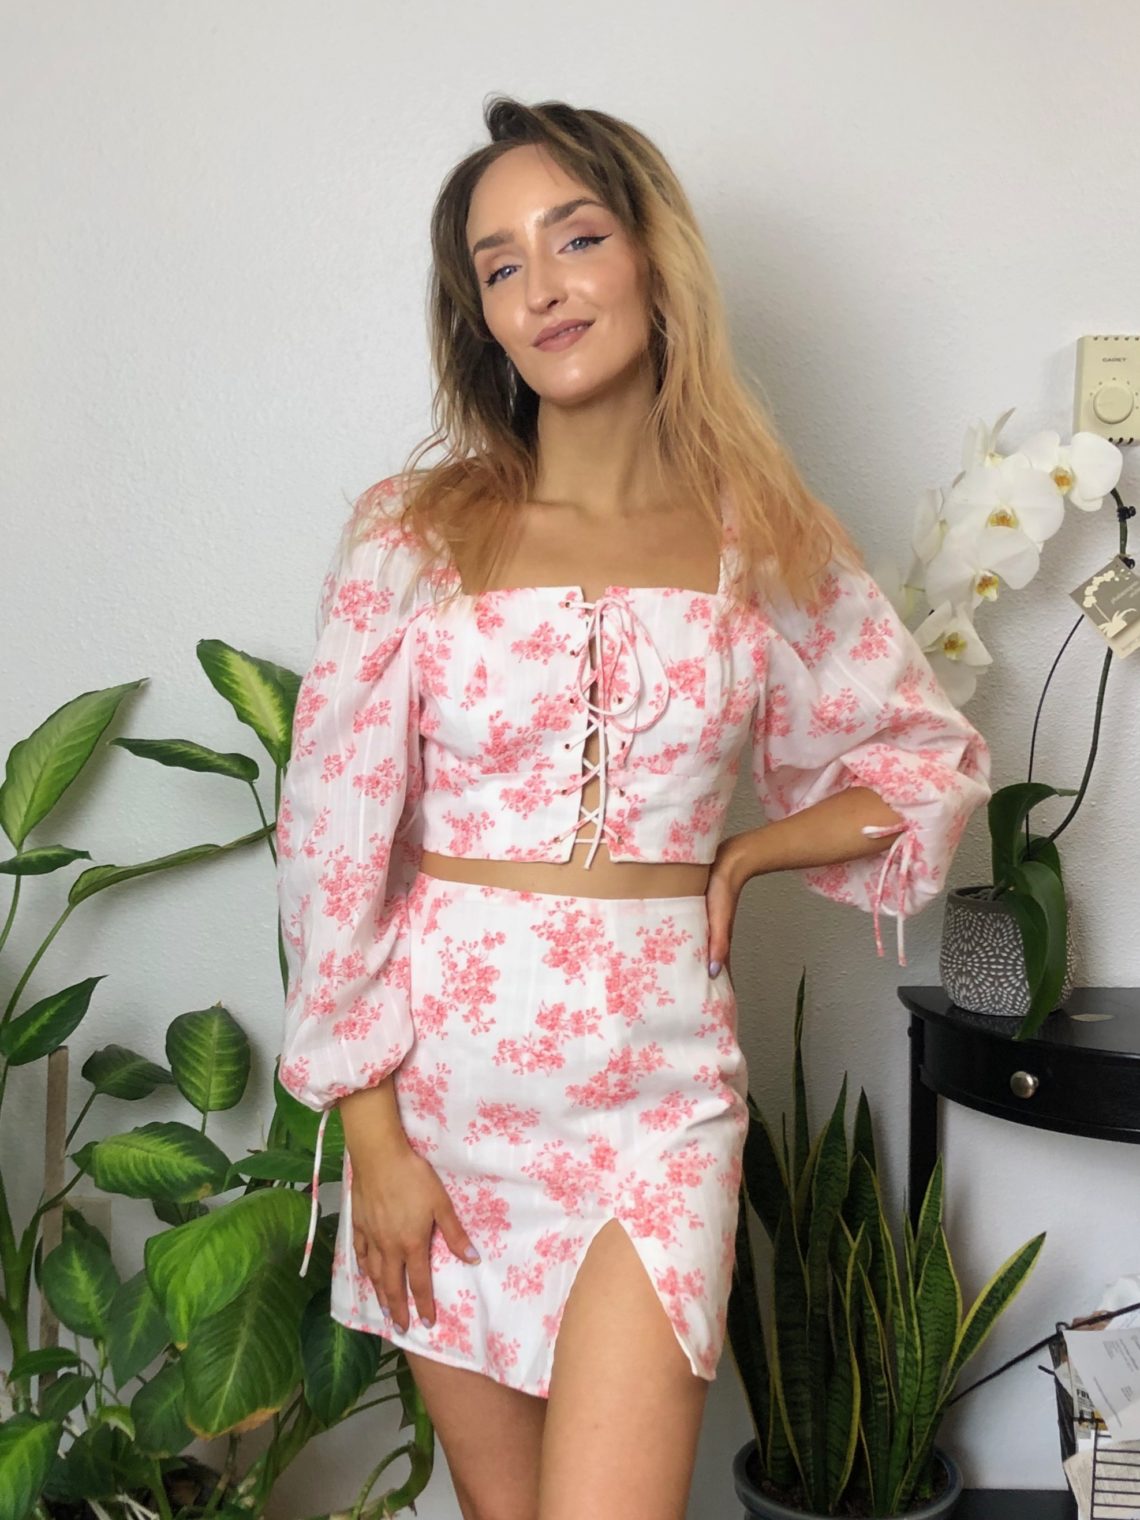
Overall i’m obviously pleased with how this set turned out. For me the pattern is always the beginning. They’re adaptable to your own style. Sewing becomes a very creatively freeing process.