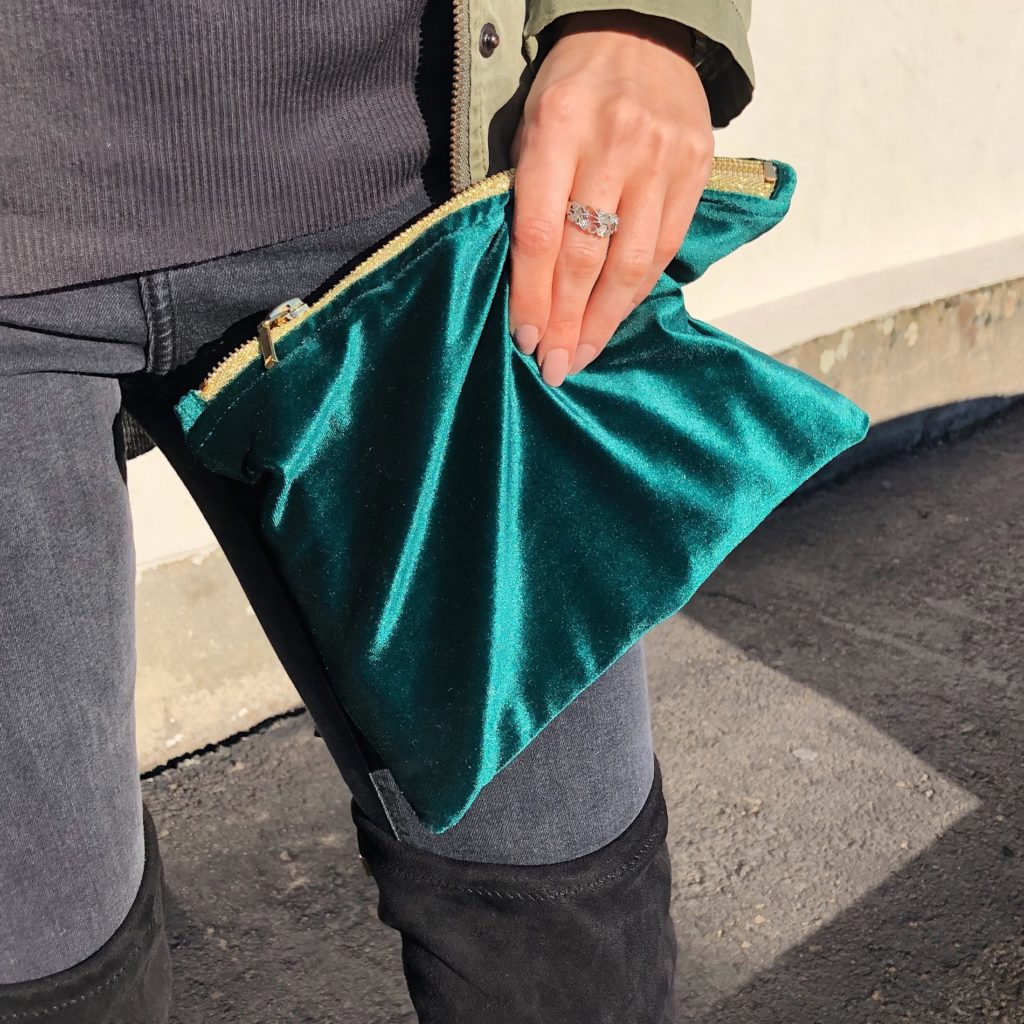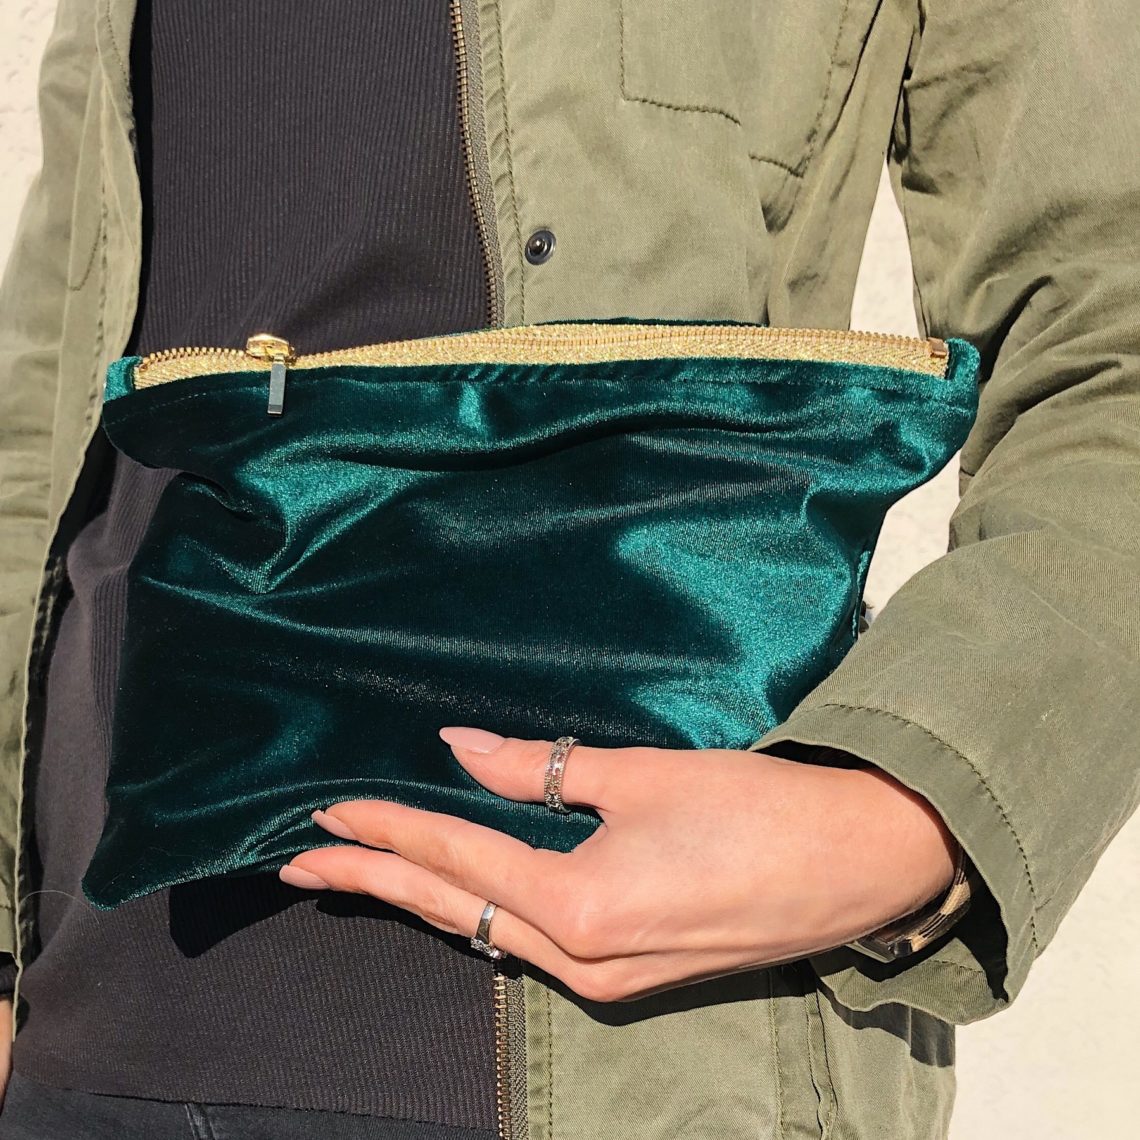

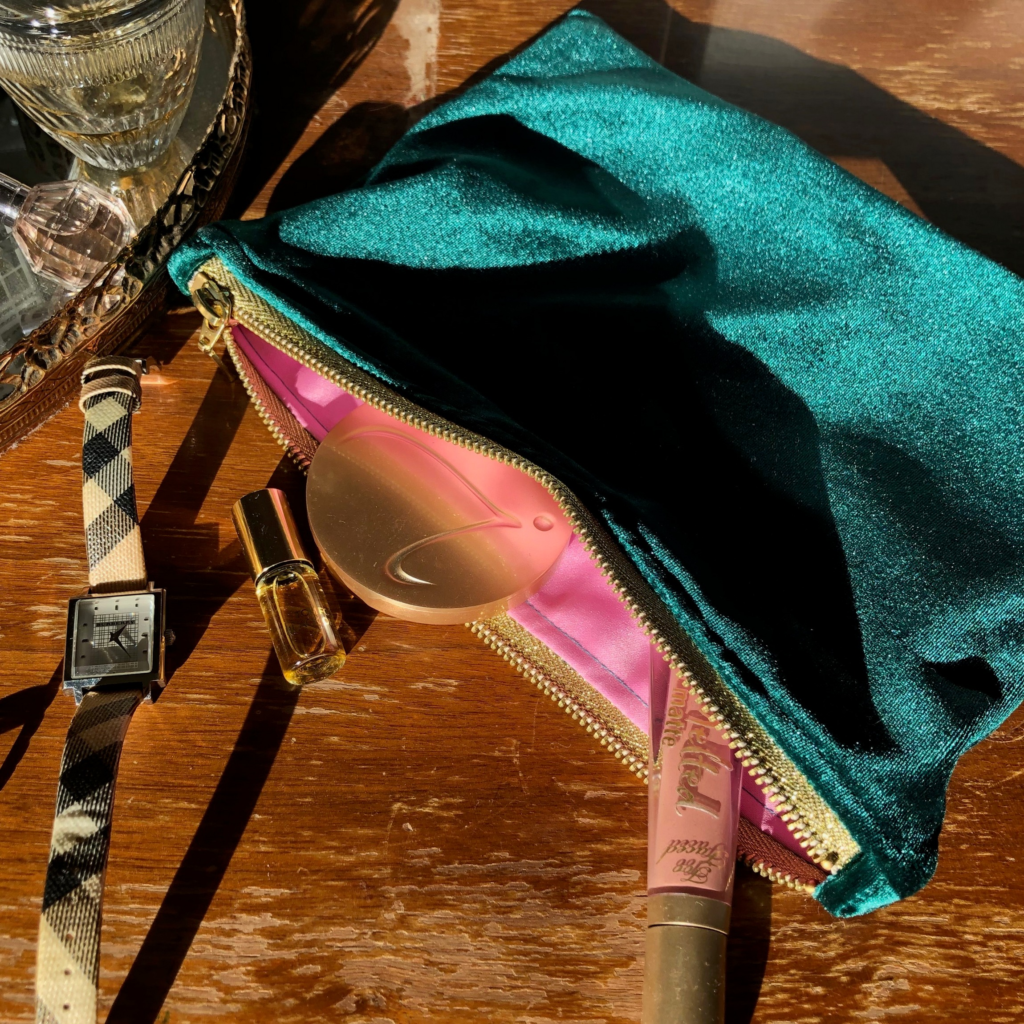
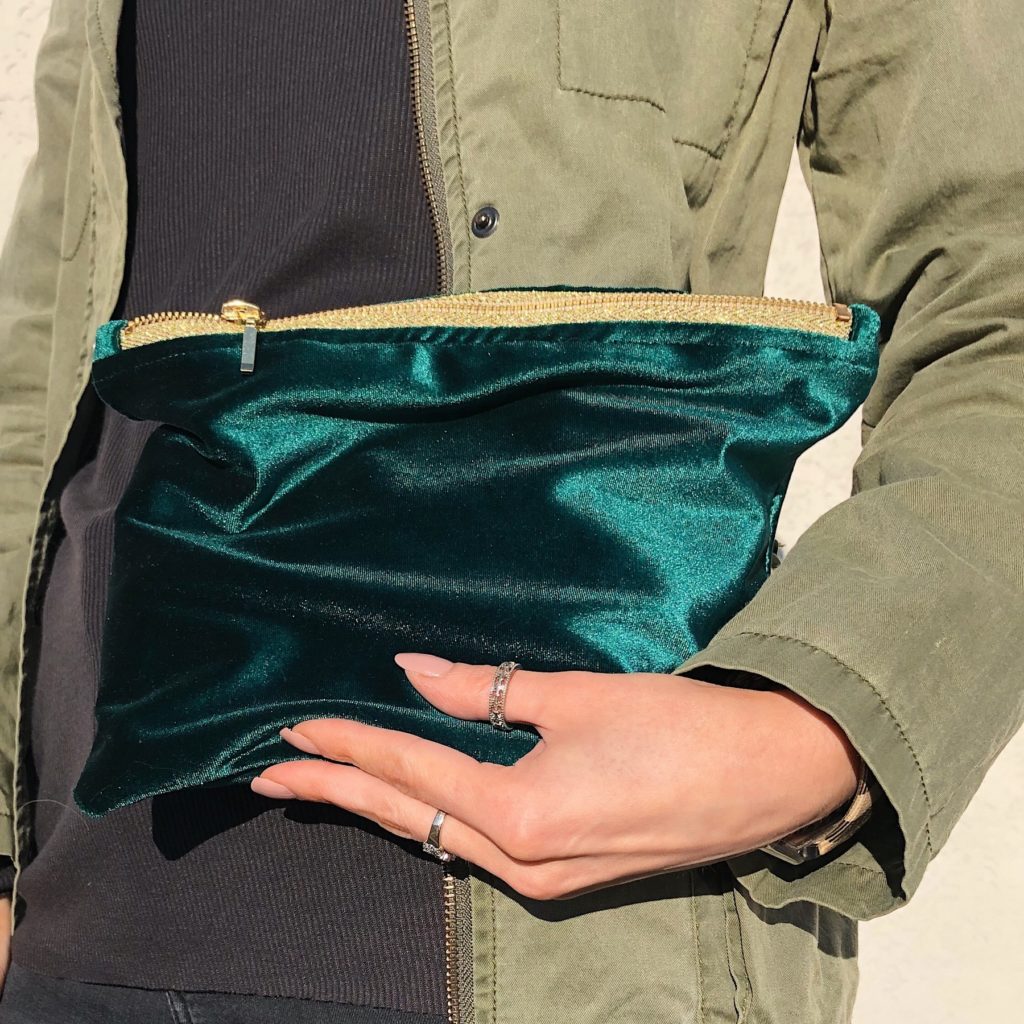
When I was doing some fall fabric shopping I saw this green velvet at Hobby Lobby and fell in love. This fabric gives me all the holiday vibes and I knew right away there were several sewing projects I wanted to make with it. I decided to make a rectangular clutch since I have a ready-made faux suede clutch in the same style that I always reach for. I spent a little extra on a metallic zipper from Joann Fabric and added zipper tabs because I love those little details. I adore the way this clutch turned out. In the outfit pictures below you’ll see I used my clutch for a casual lunch date, but this would be a great evening bag to pair with a LBD.
Let’s get started!
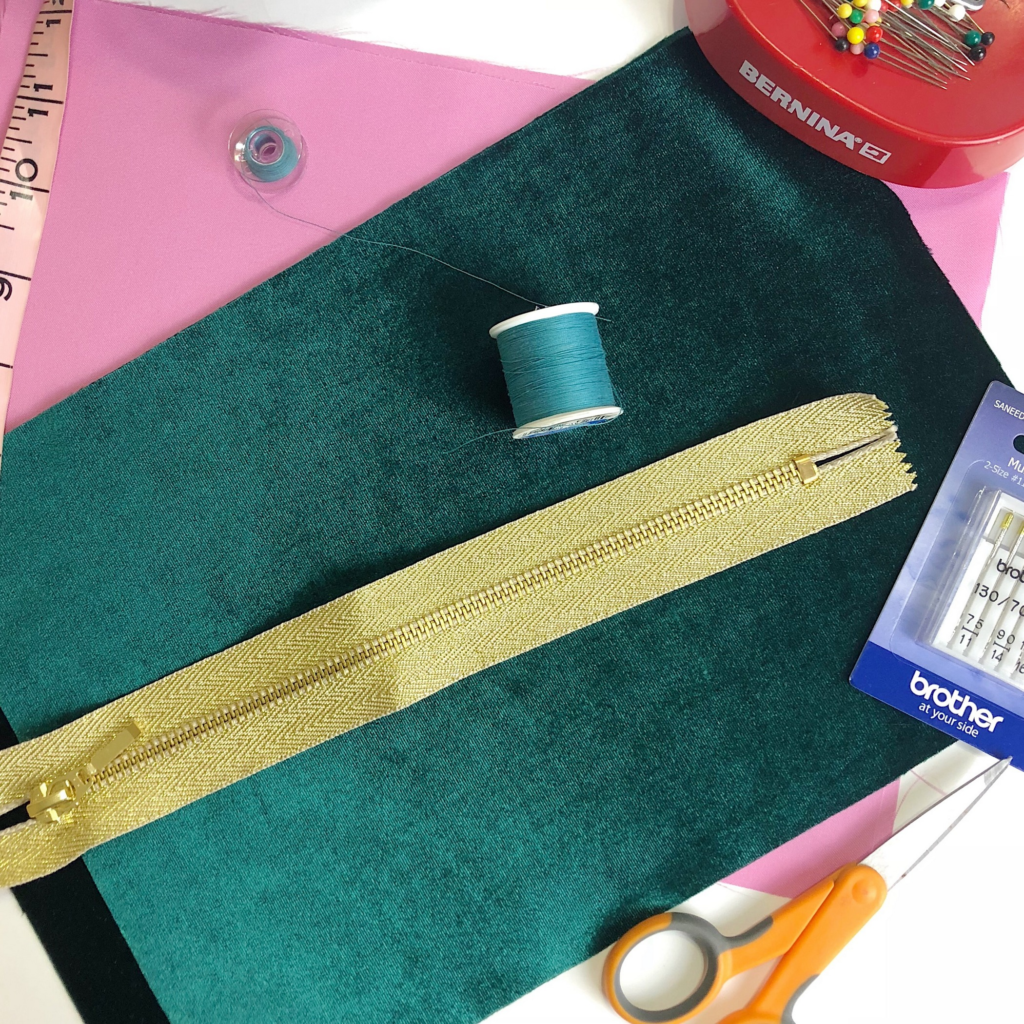
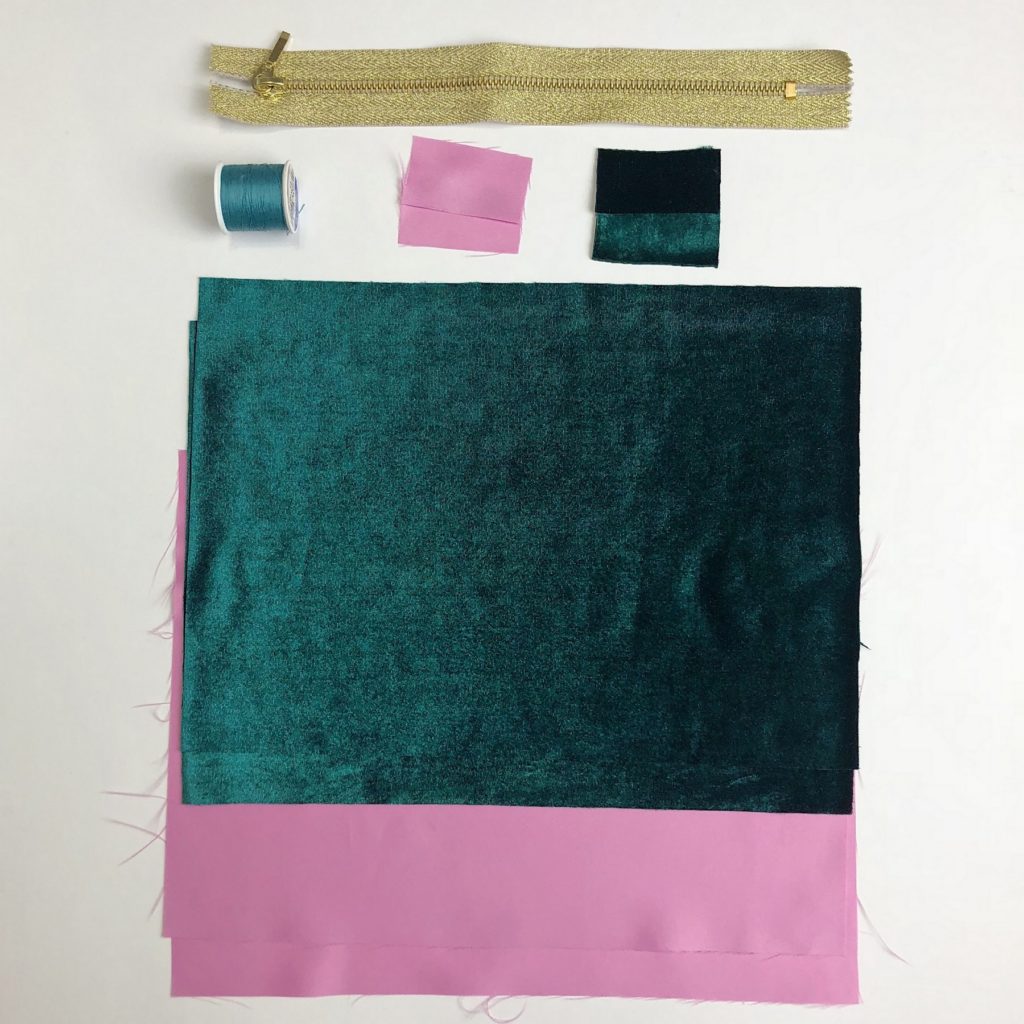
Materials:
- 9 inch zipper
- Two main pieces 8in x 11.25in
- Two liner pieces 8in x 11.25in
- Two zipper tabs of main fabric 2in x 1.25in
- Two zipper tabs of liner fabric 2in x 1.25in
- Matching thread
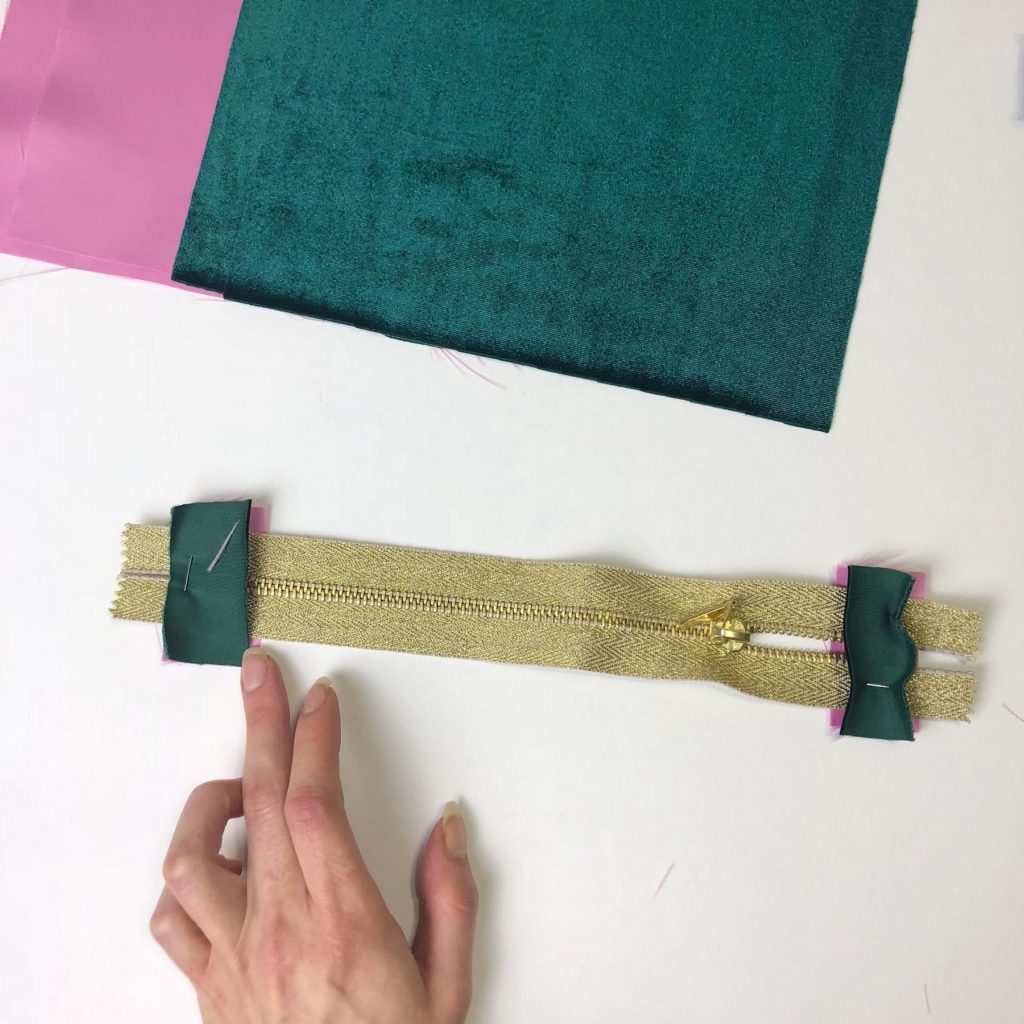

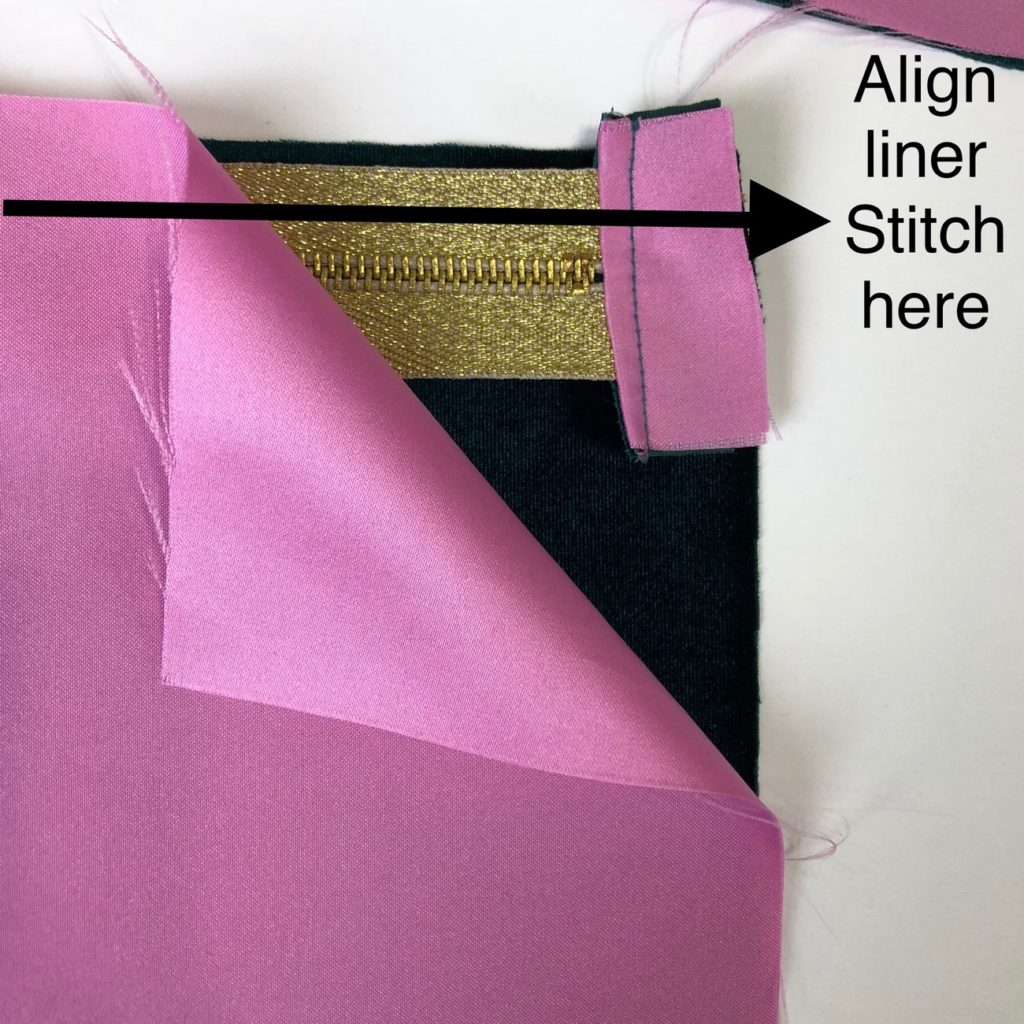
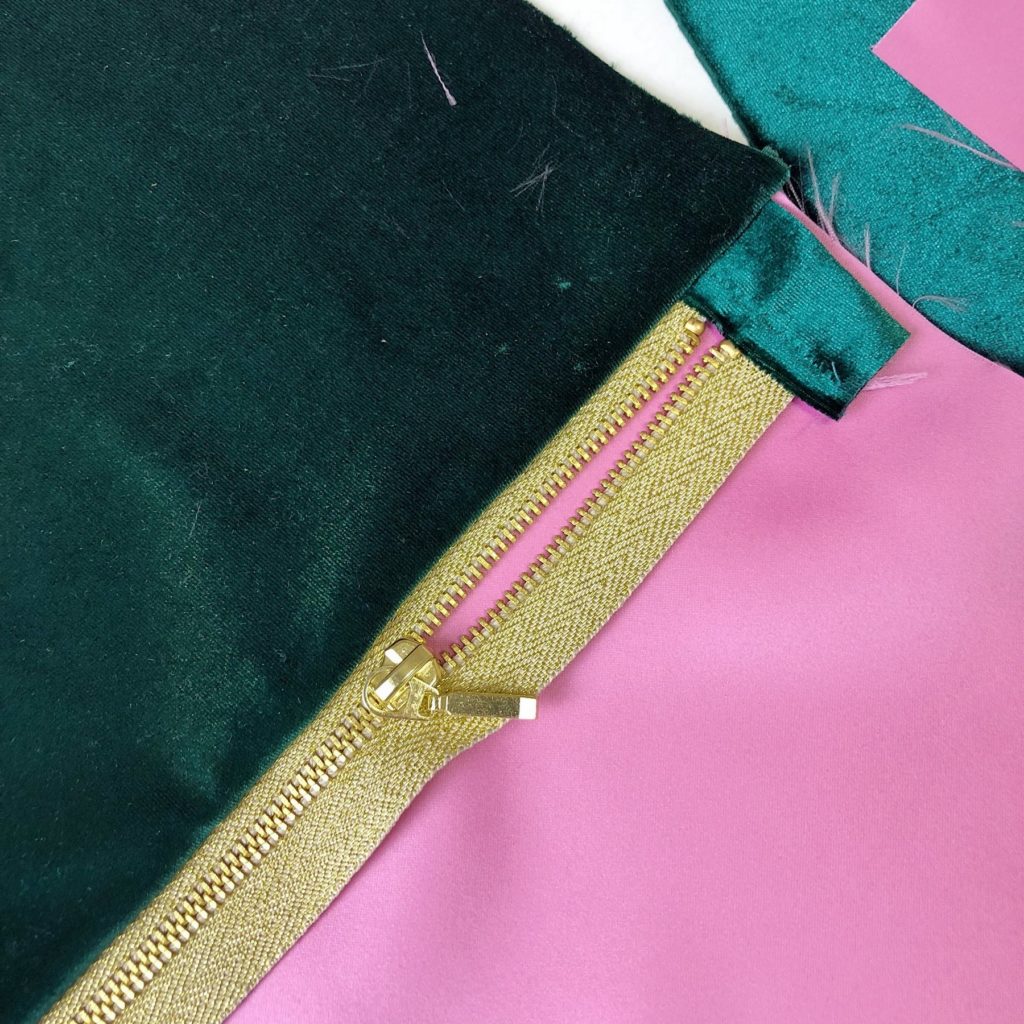
The first step will be to make the zipper tabs. You’ll want to start by placing the main fabric, the velvet, correct side down against the top of the zipper. Then place the liner fabric correct side against the bottom of the zipper. On the end the zipper closes, you’ll want to leave a small gap for the head of the zipper. The image above shows the gap. You’ll then stitch above the metal head of the zipper and repeat for the bottom of the zipper.
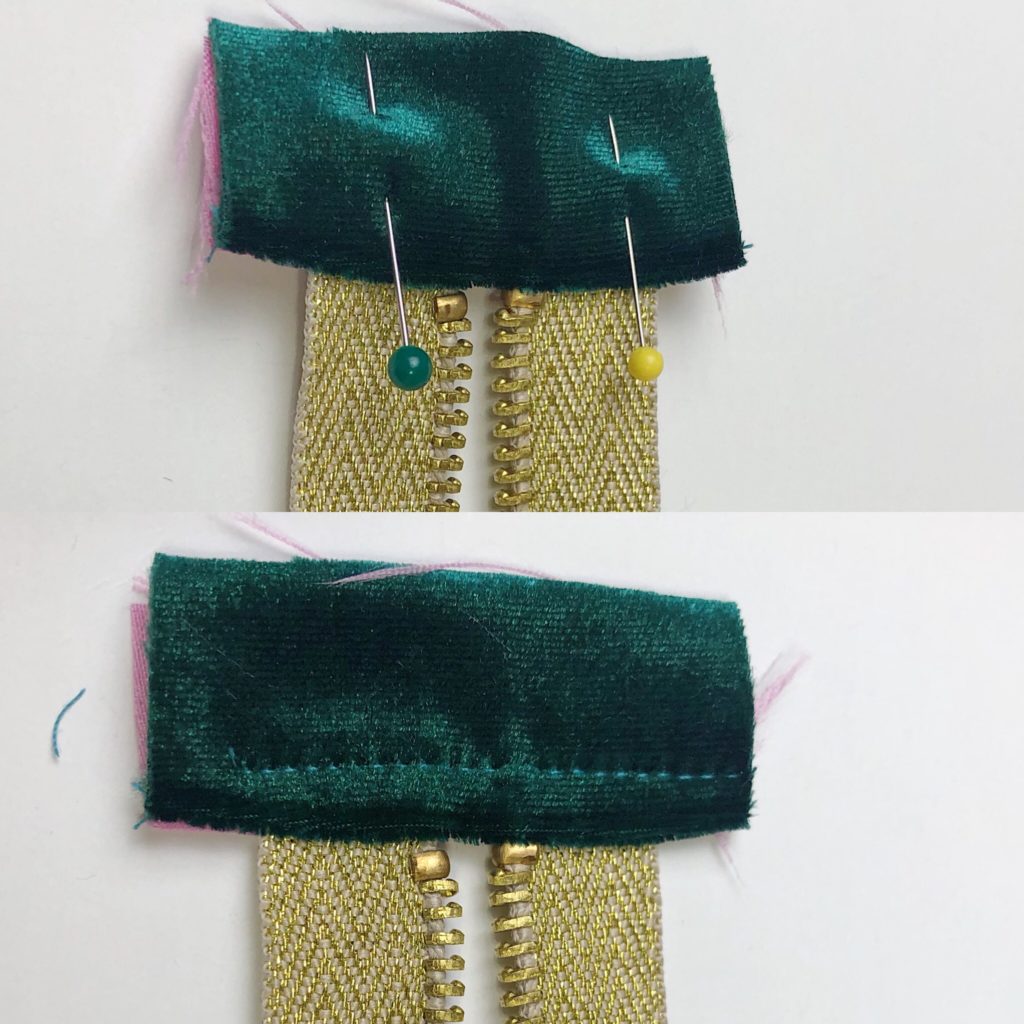
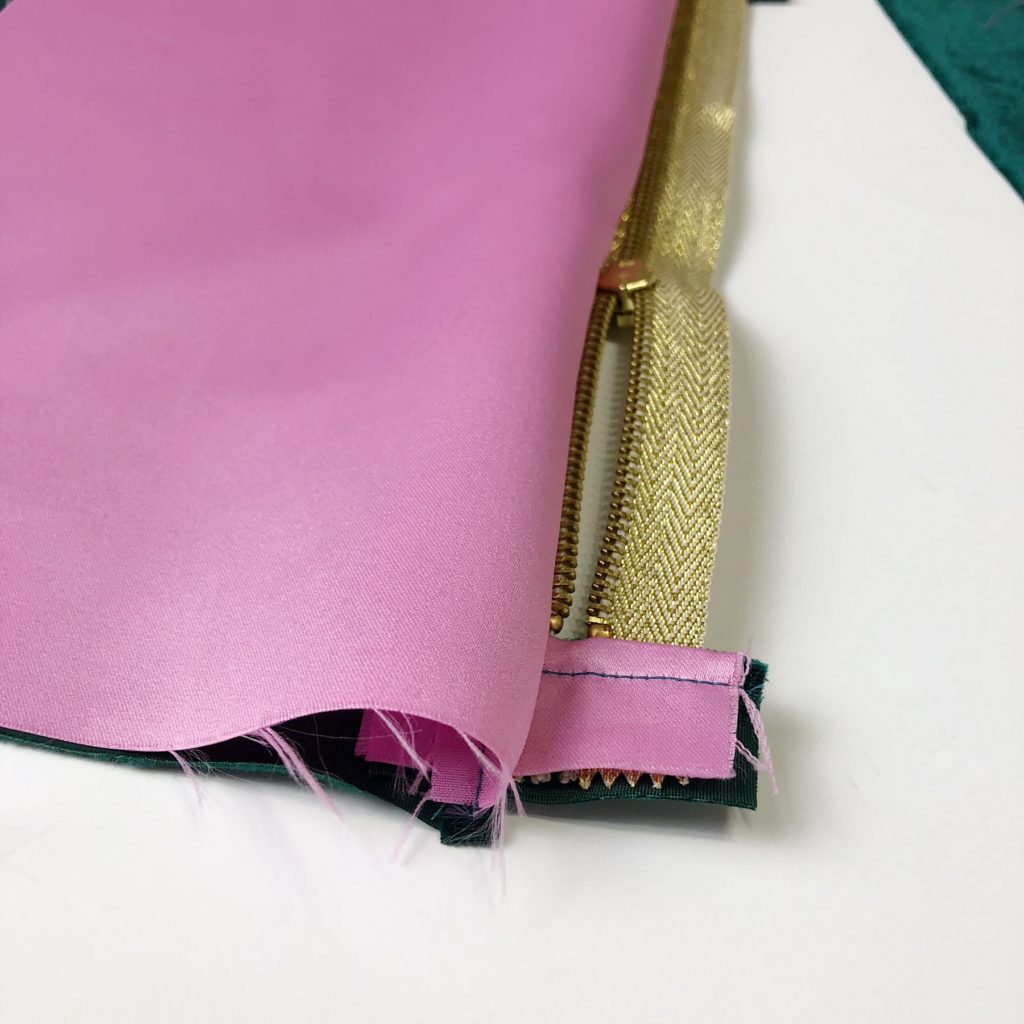
Once you’ve completed your first stitch you can flip your fabric right side and make a topstitch on your tabs.
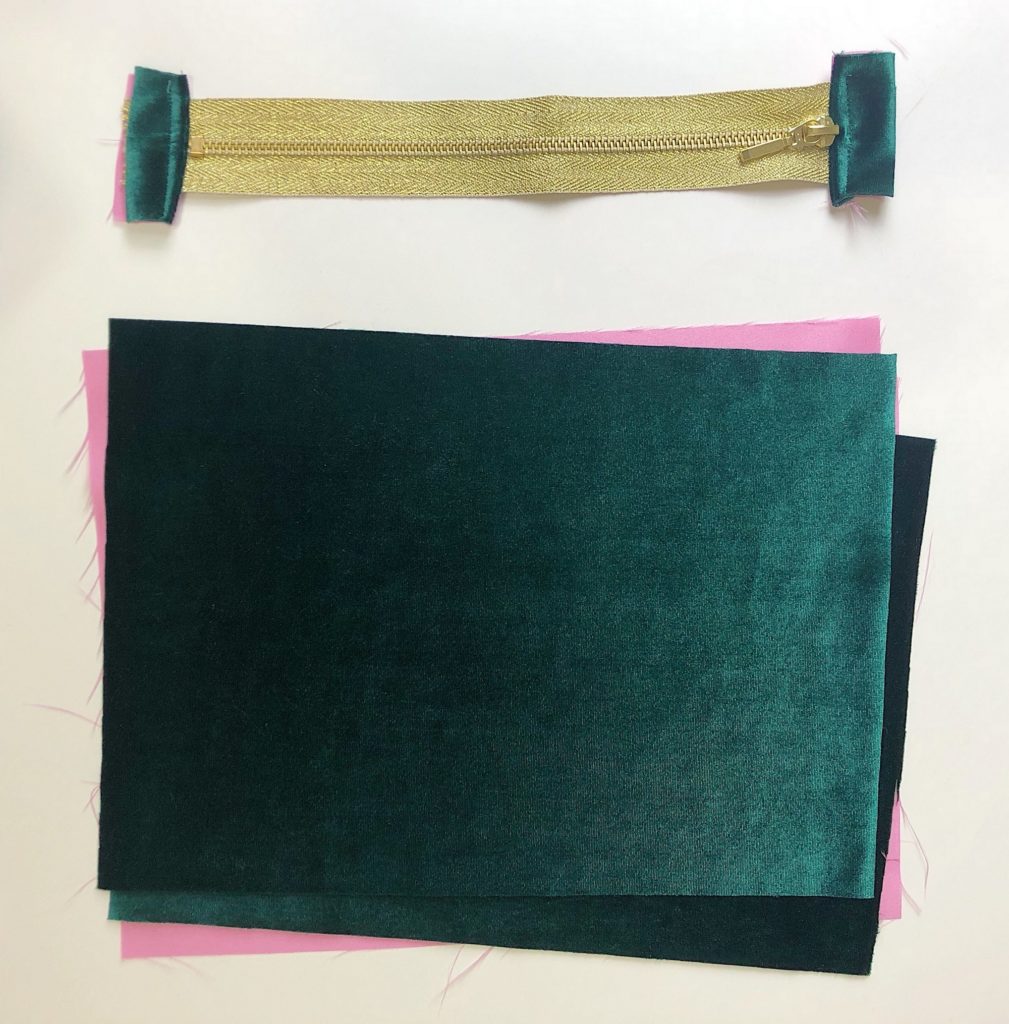
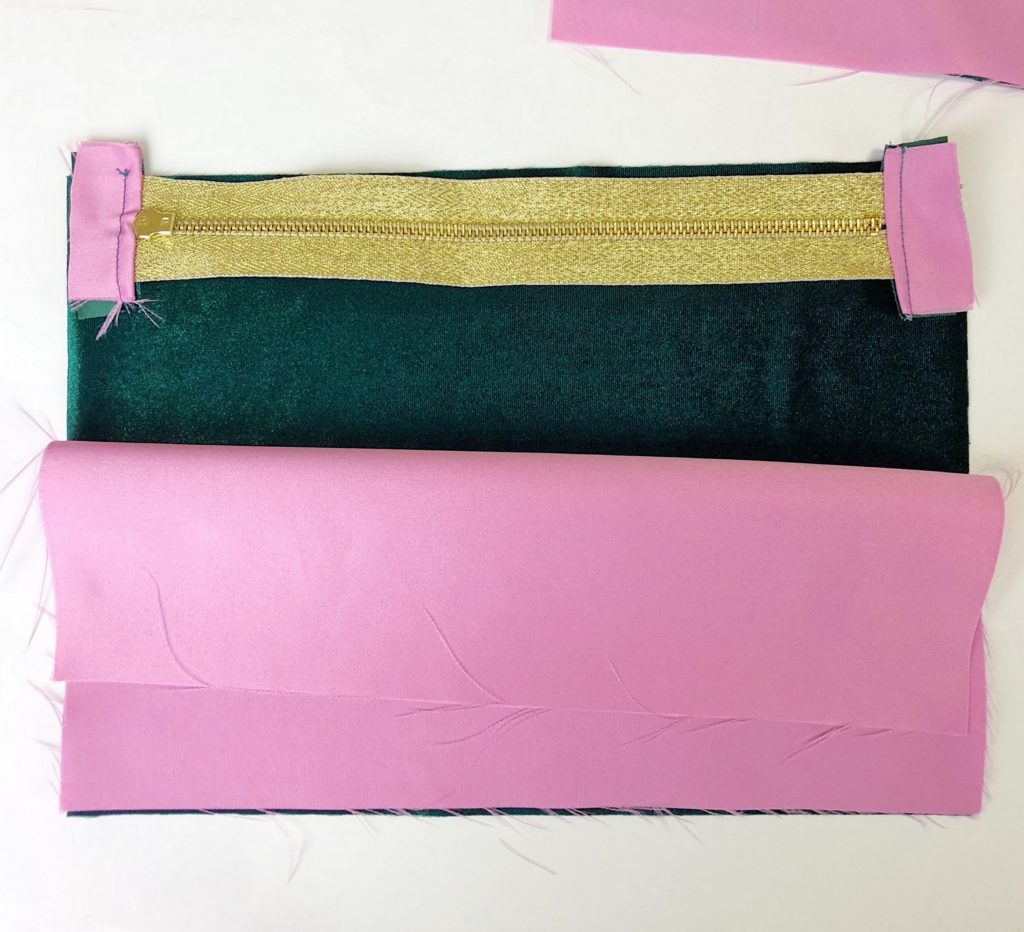
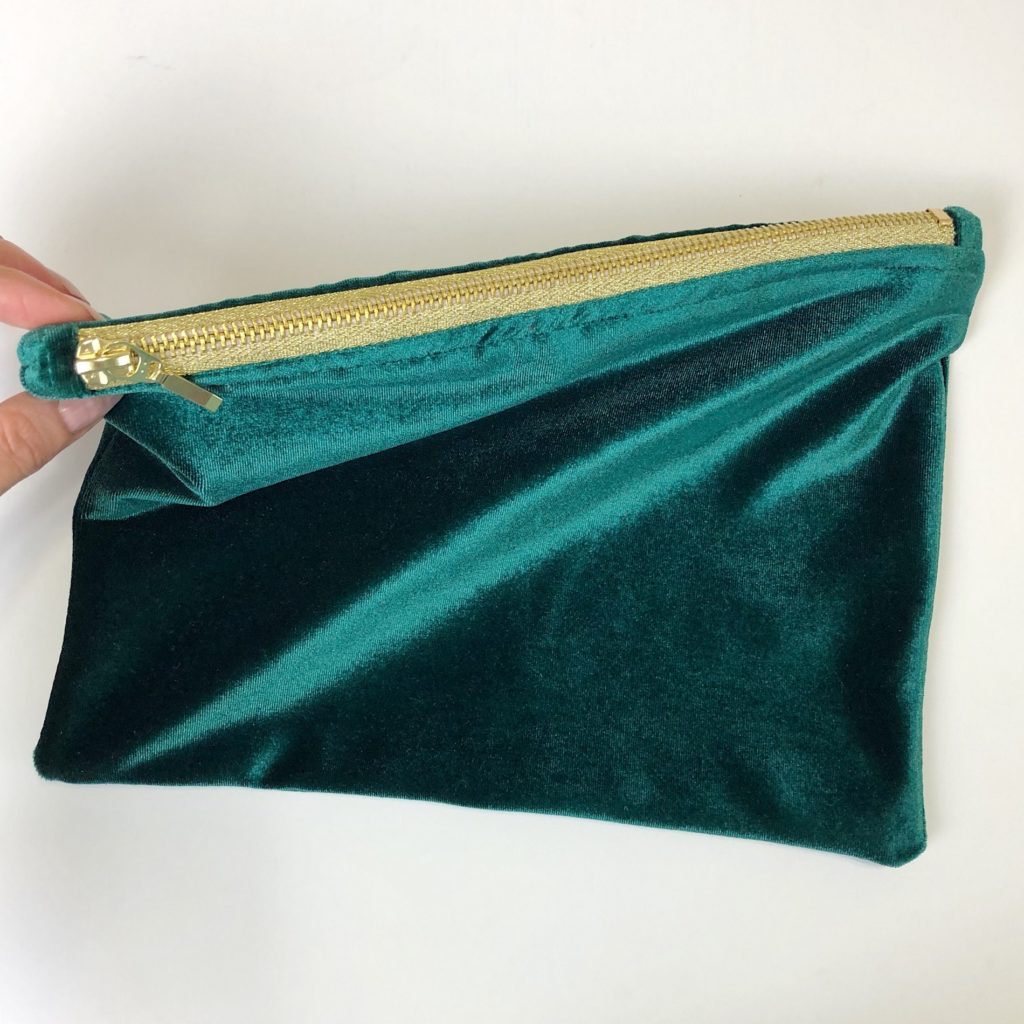
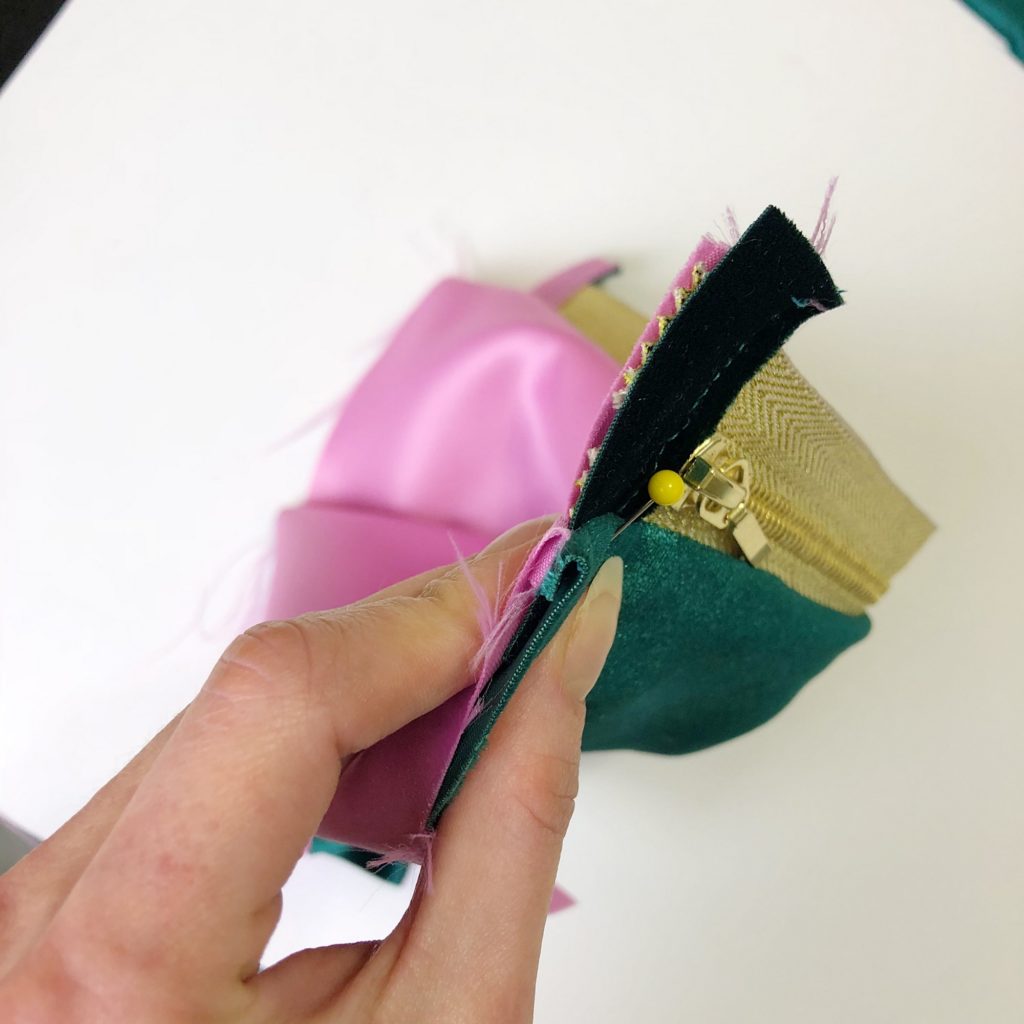
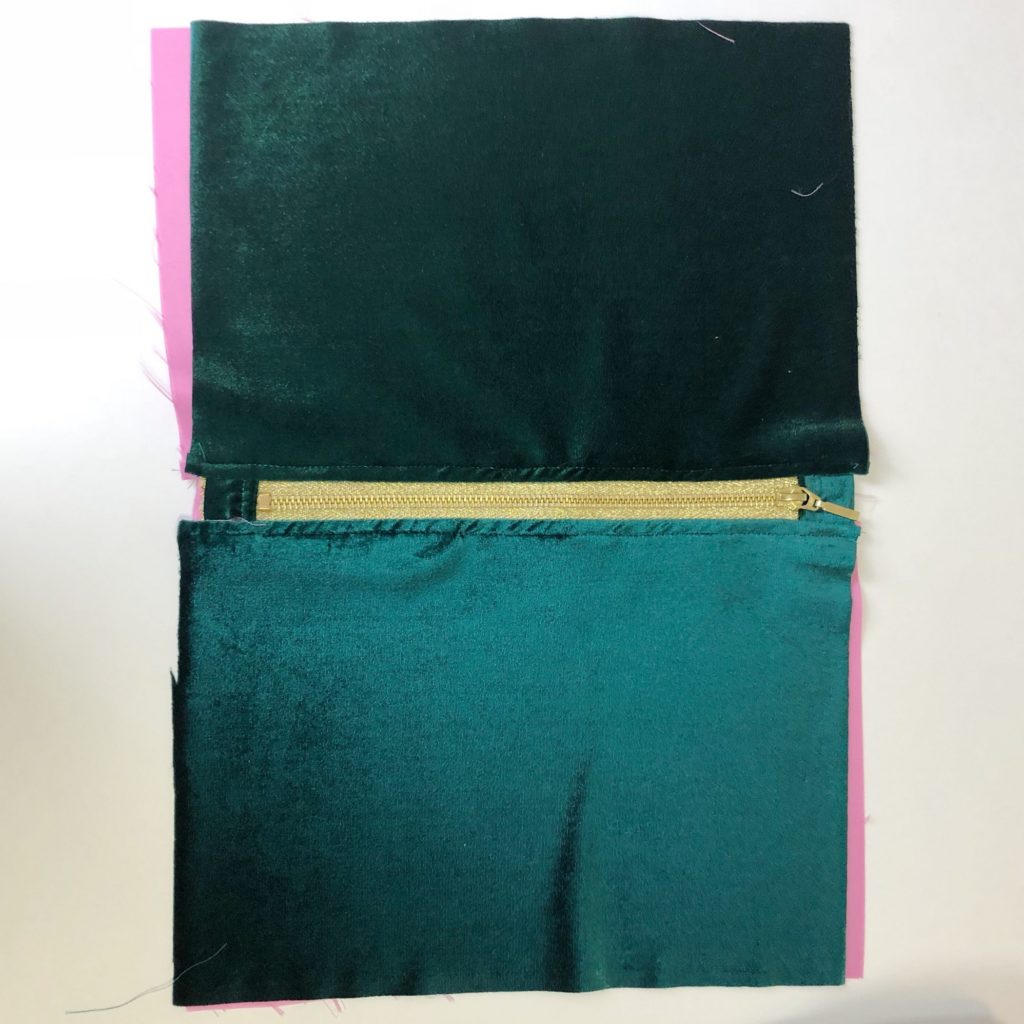
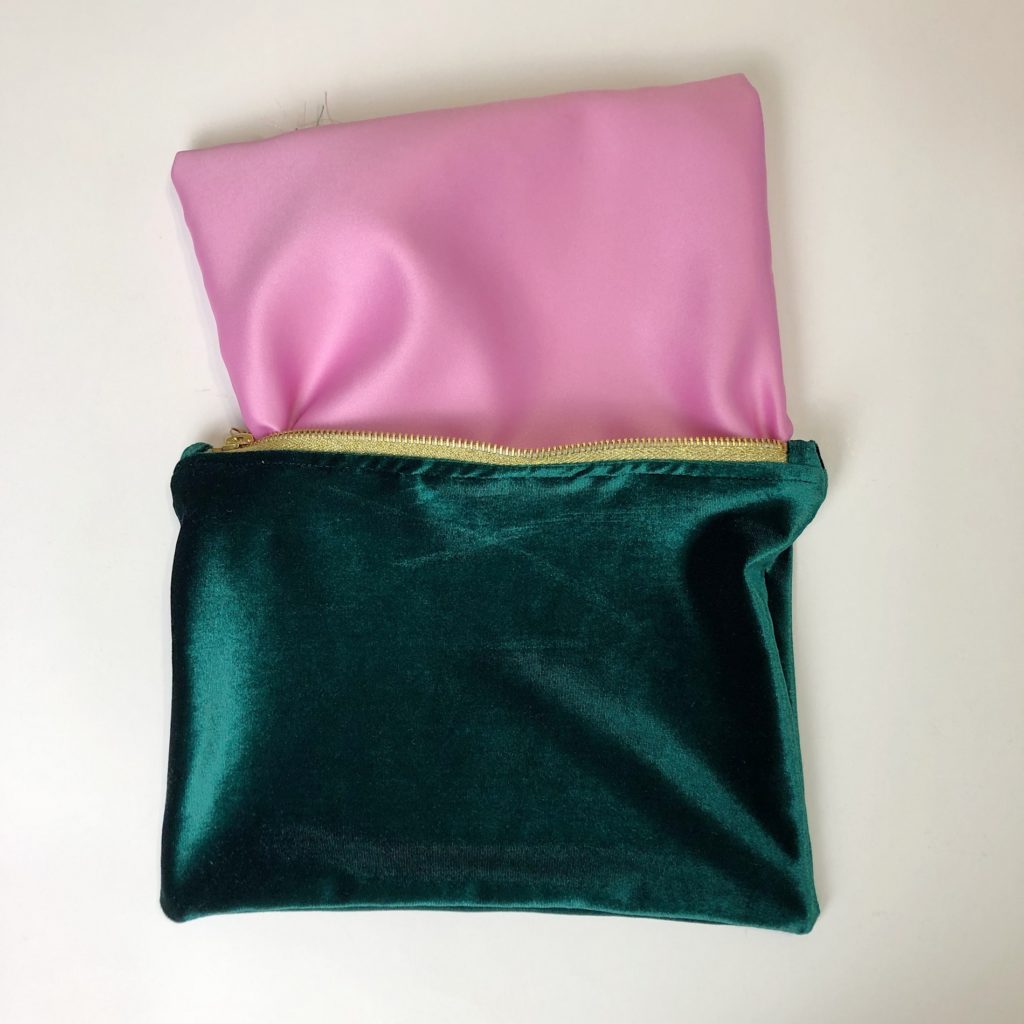
Your zipper tabs should be complete and look like images above. Now we can work on constructing the body of the bag. Place main fabric correct side up. Place zipper face down, the head of the zipper will be against the correct side of the fabric. Align the length of the zipper with the length of the main fabric. Take the lining fabric wrong side up and place along length of zipper. The correct side of your liner fabric should be against the correct side of the main fabric with the zipper sandwiched in between. Pin along the top length of fabrics and zipper and stitch close to zipper teeth.
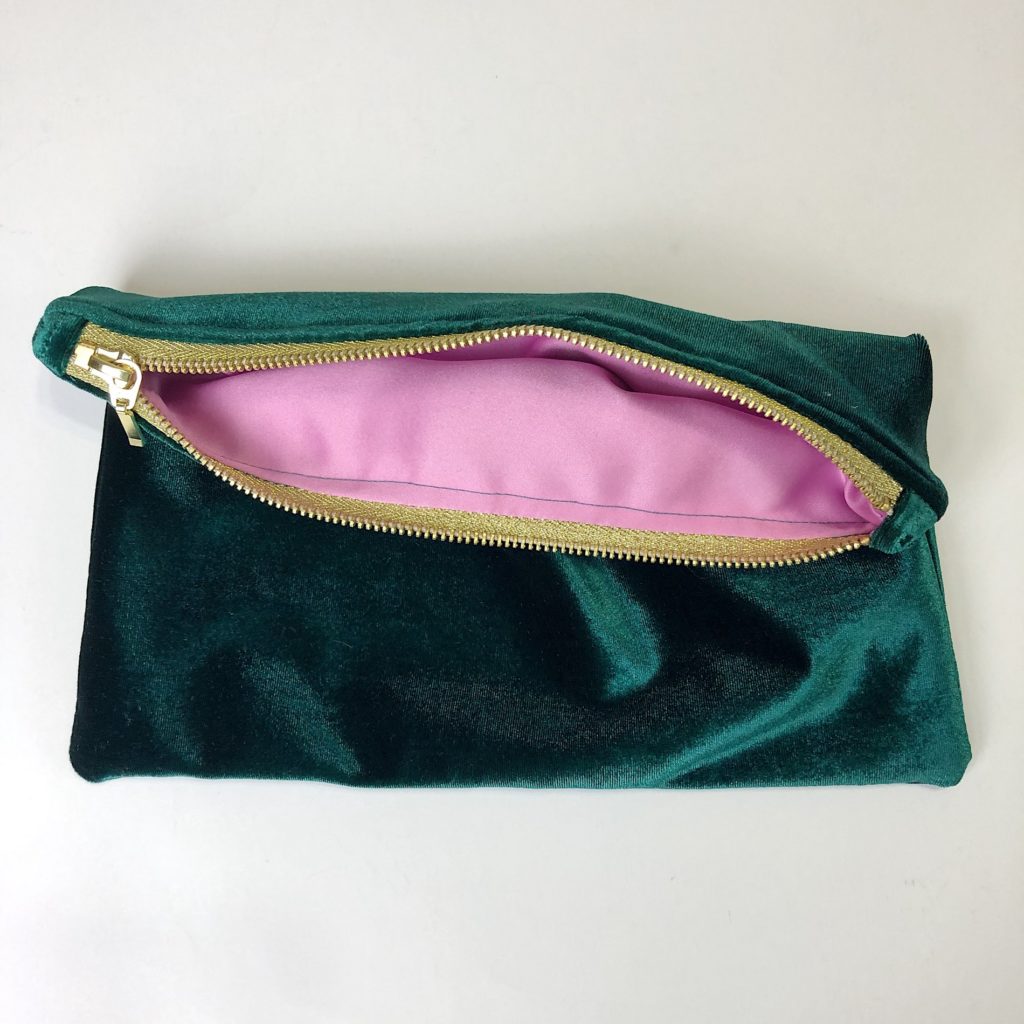
After making your stitch along the length of the fabrics and zipper you can flip your fabrics to the correct side. When opening your zipper it should reveal the correct side of your liner like in the picture above. Next we will work on a topstitch.
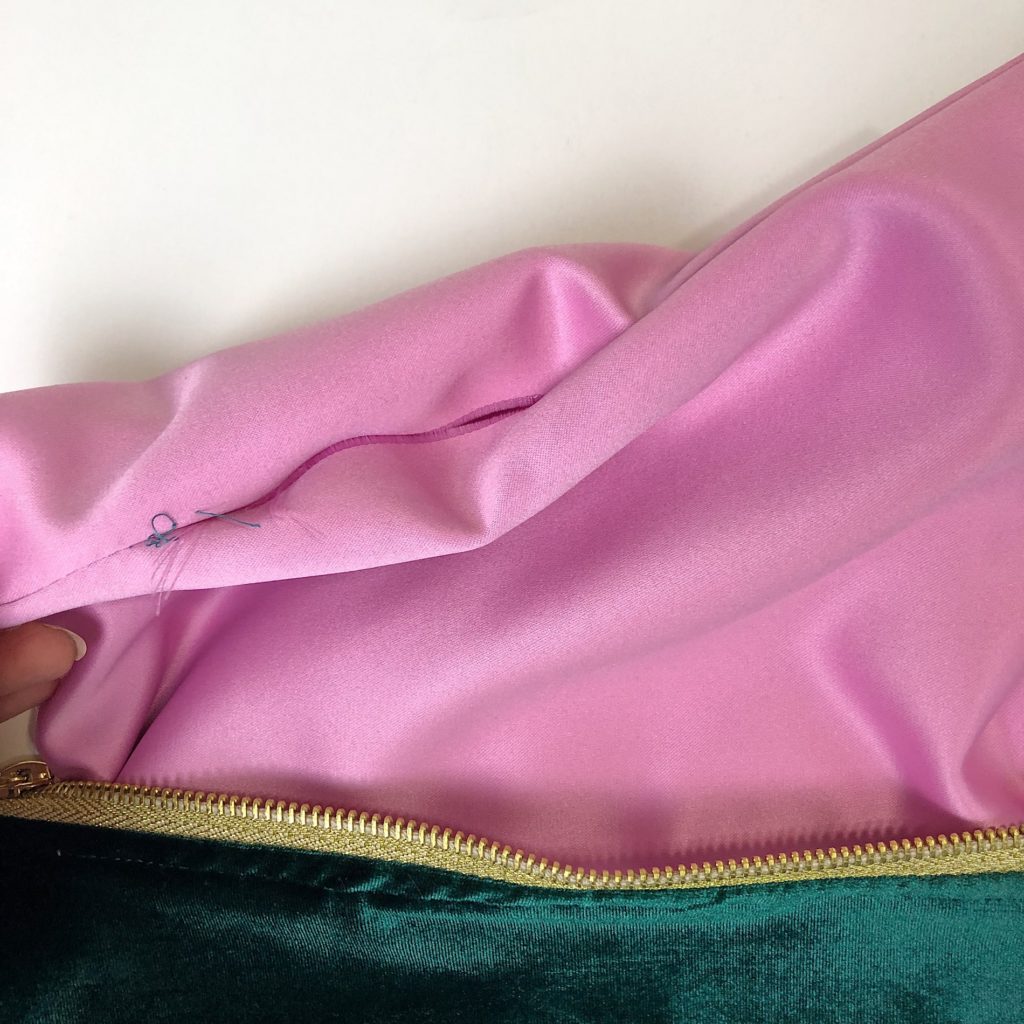
The fabric naturally wants to bubble up. A topstitch will be important so the liner fabric doesn’t get caught in the zipper teeth.

Pressing together main fabric and liner fabric, pin and make your topstitch. Now back to working on the body of the bag, we place the remaining piece of main fabric correct side up. Working with the unsewn side of the zipper, place the zipper head face down against correct side of main fabric. Place liner fabric face down on top of the zipper and main fabric. Again we should have the zipper sandwiched between the two correct sides of our fabrics. Be sure to align the length of the zipper edge with the liner and main fabric. Pin along the top length of the layers and make a stitch close to the zipper teeth. Flip your fabric right side and make another top stitch.
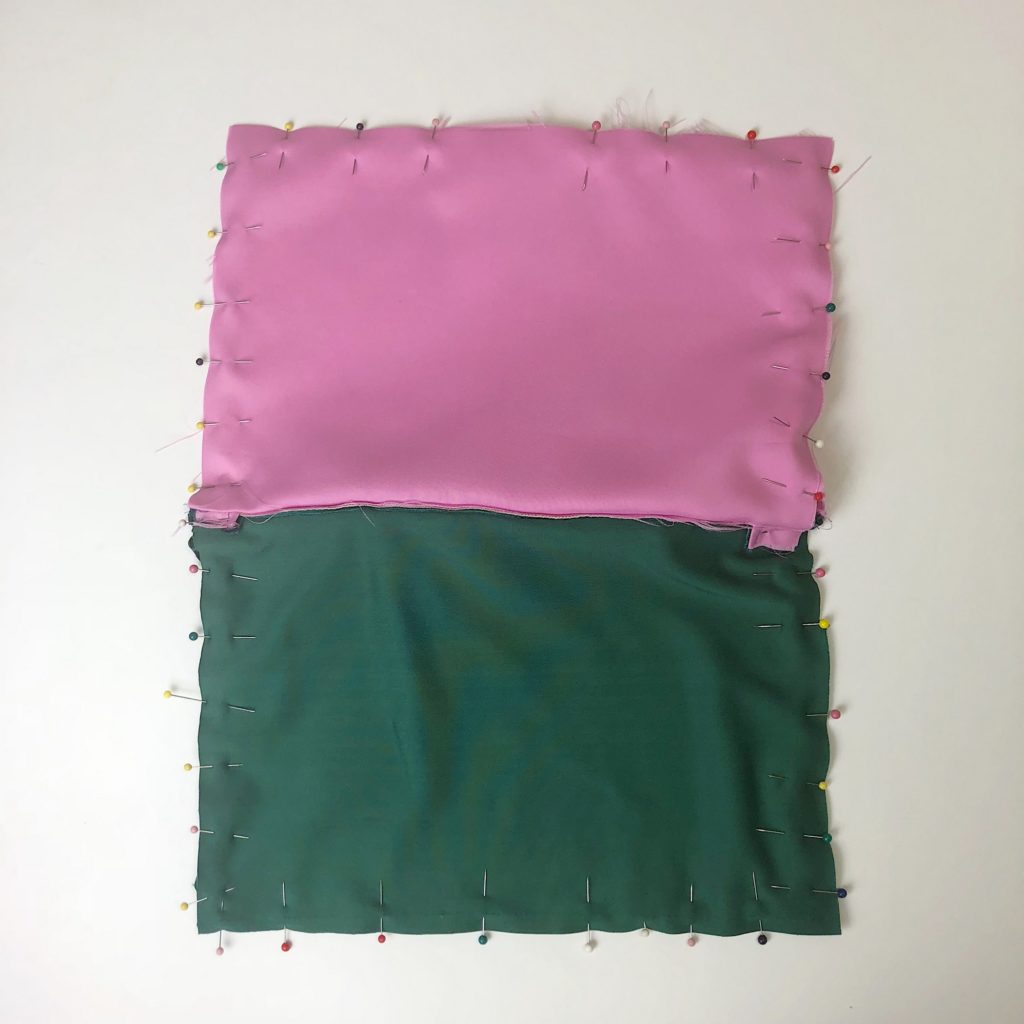
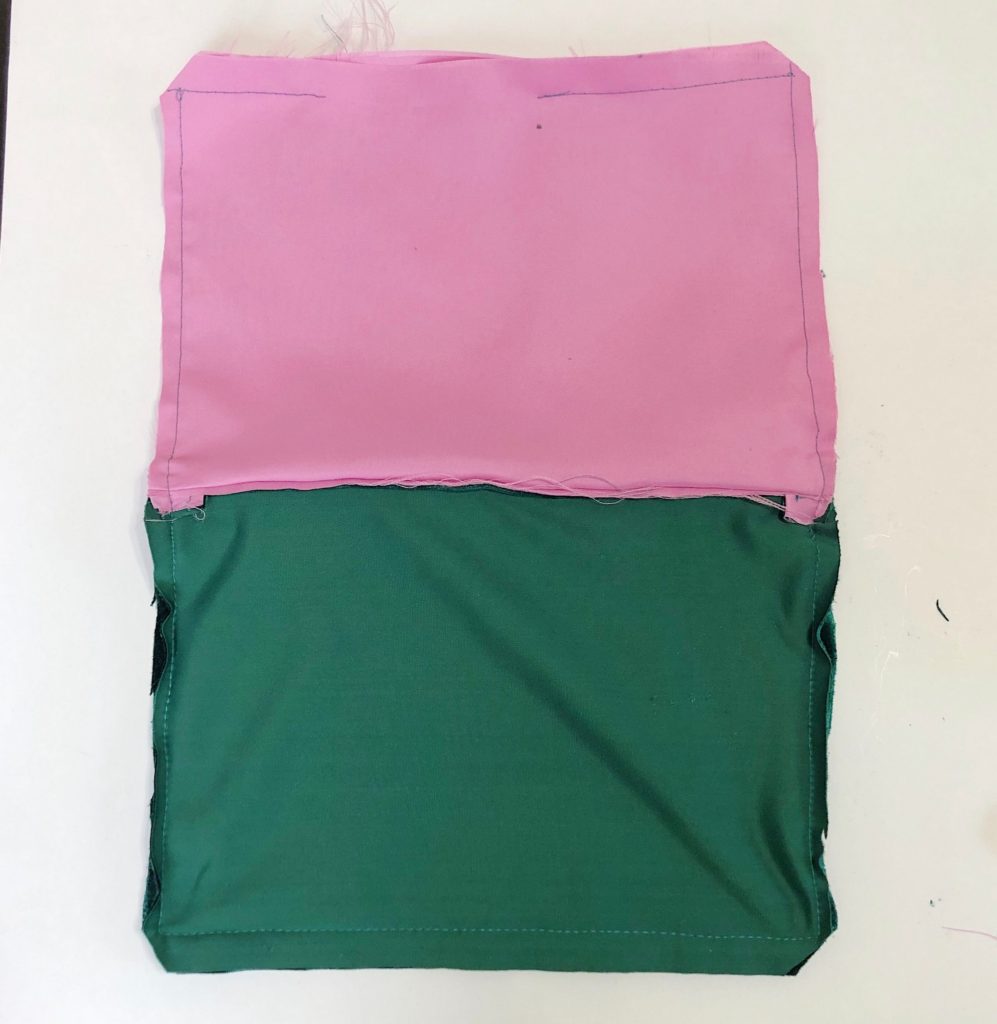
Now that we have finished the topstitch on both sides, we can finish constructing the body of the bag. To prepare, open the zipper so you will be able to flip your bag through later. Flip up the main fabric so that correct sides of the main fabric are against each other. Repeat with the liner fabric so that correct sides are together and align all sides and corners. Pin the main fabric pieces together. Pin together the liner pieces leaving a gap at the base of the liner to flip our bag through. Once pinned, make a 1/2in stitch around main bag and liner, leaving the gap unstitched.
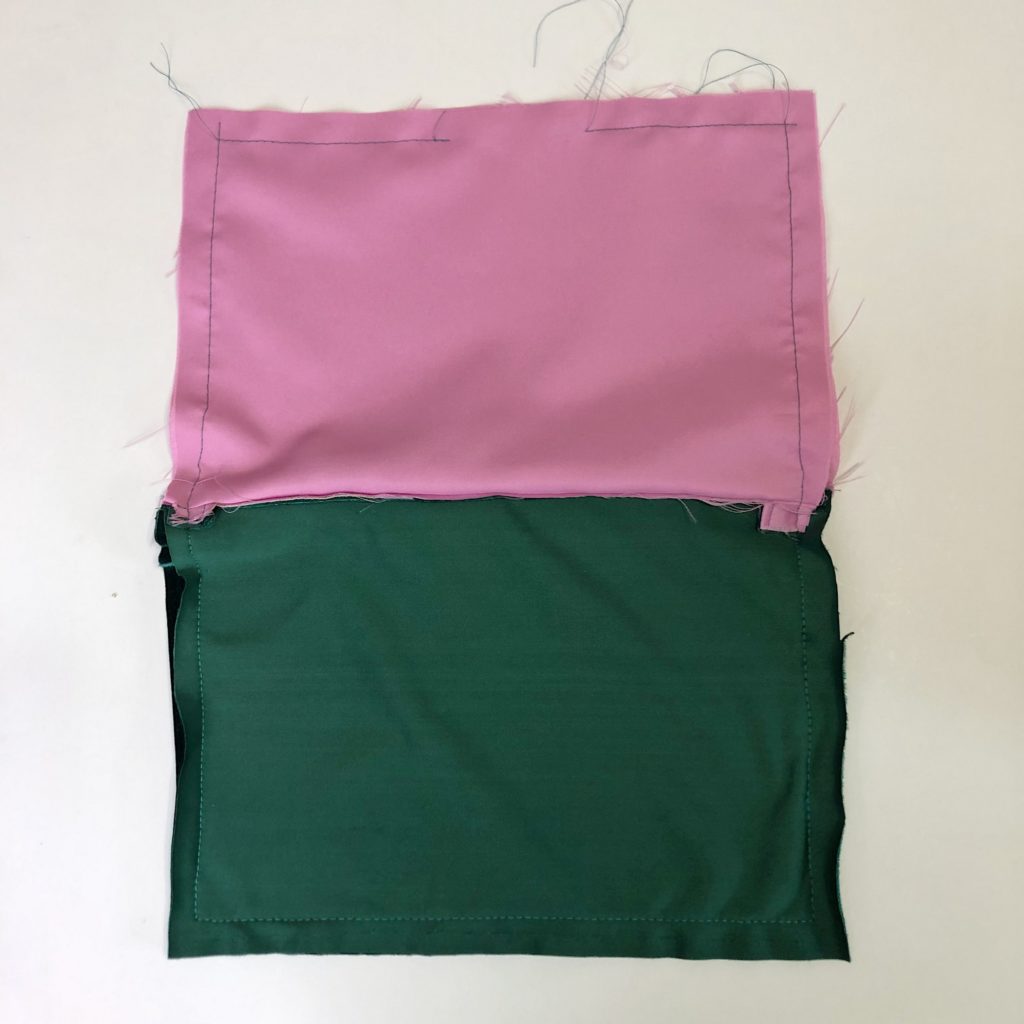
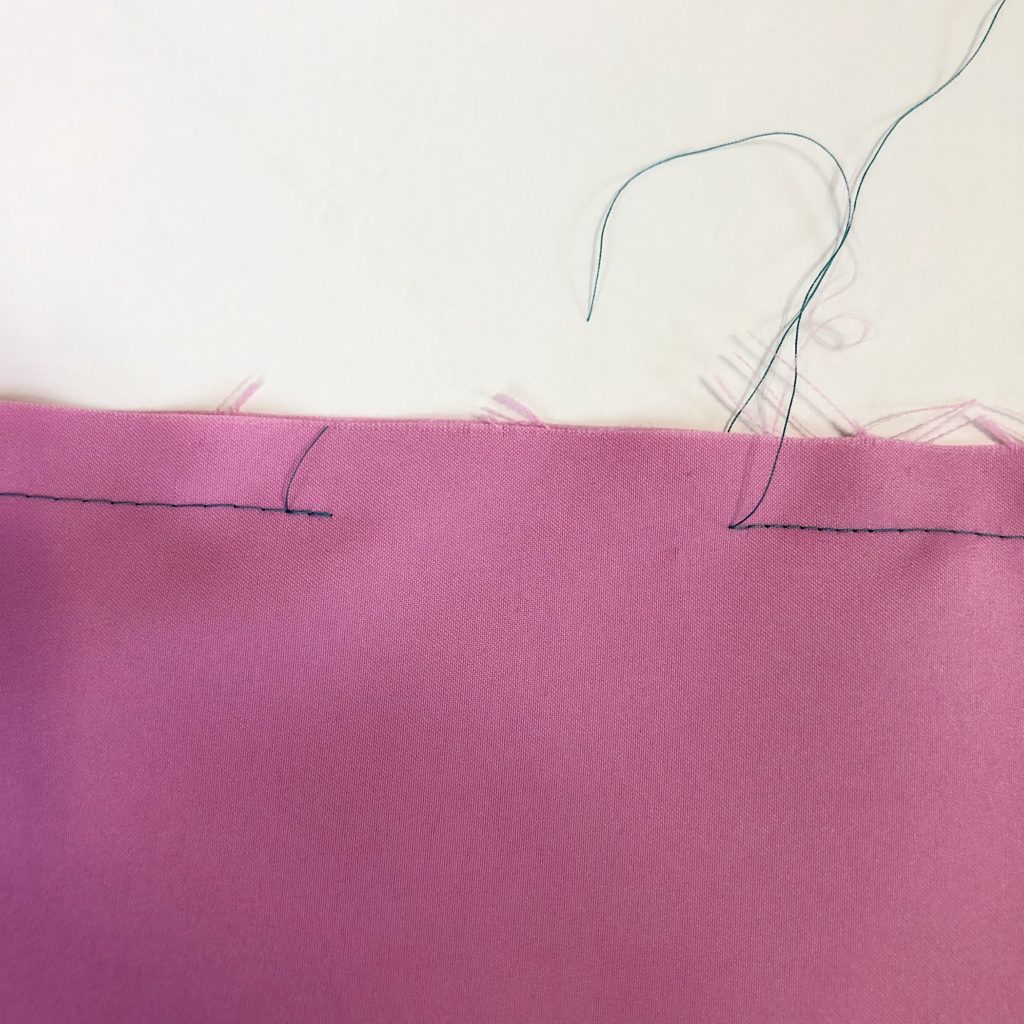
Once you’ve made a 1/2in stitch around the bag you can trim your corners off at an angle. Trimming your corners at an angle allows for less bulk and therefore a sharper corner. I did trim around the outer part of my seam allowance to reduce any bulking.
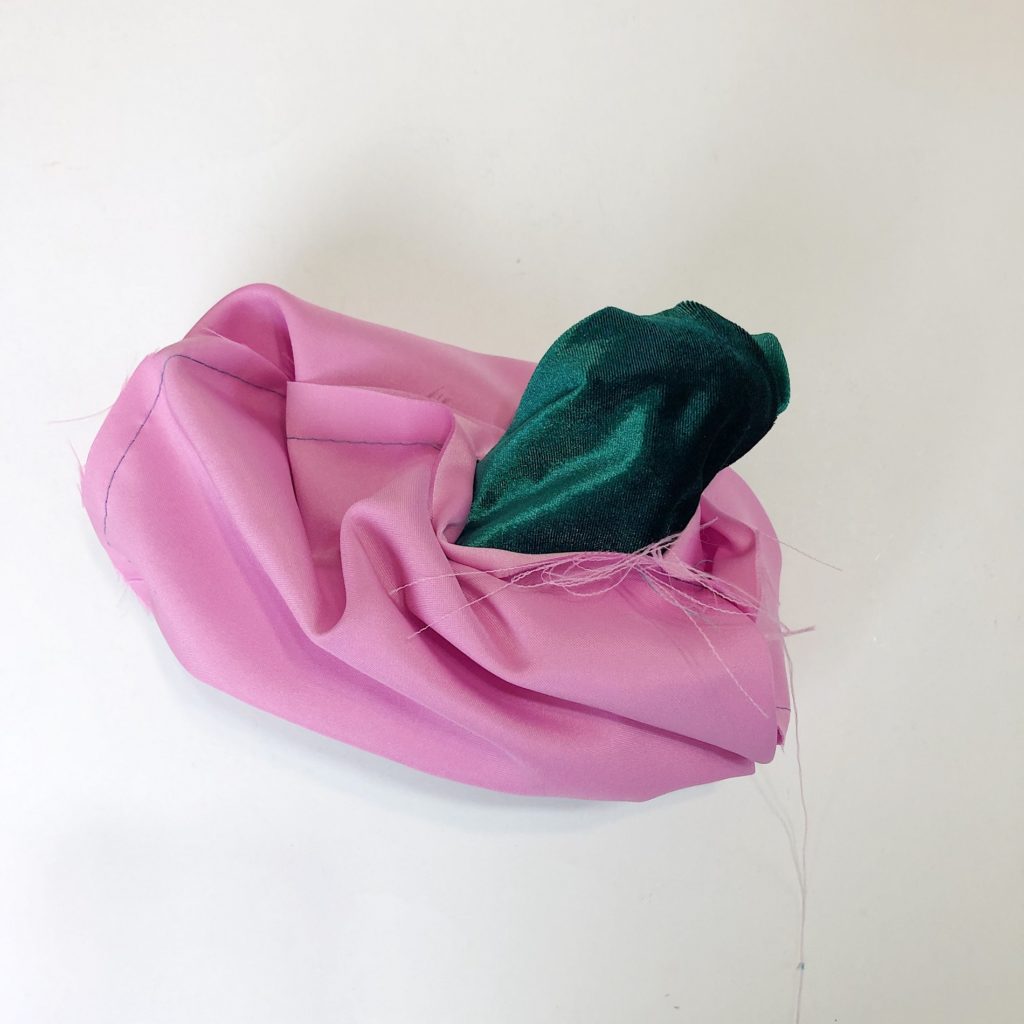
After your sides and corners are trimmed to your preference we can begin turning our bag out to the correct side. This is where it becomes important that the zipper is open. Don’t worry if you’ve forgotten (I’ve done it!) you can work the zipper open, just be careful not to catch the zipper teeth in the fabric. Using the gap we left in the lining begin to pull the bag correct side through and push out your corners as you go.
The last step to finishing up the clutch, is stitching the gap in the inner lining closed. Push in the lining and enjoy your new handmade clutch! These little bags make great gifts and are easily personalized.